Shoemaking has been a skill I wanted to learn in combination with leathercraft. To be exact, I meant something like this:
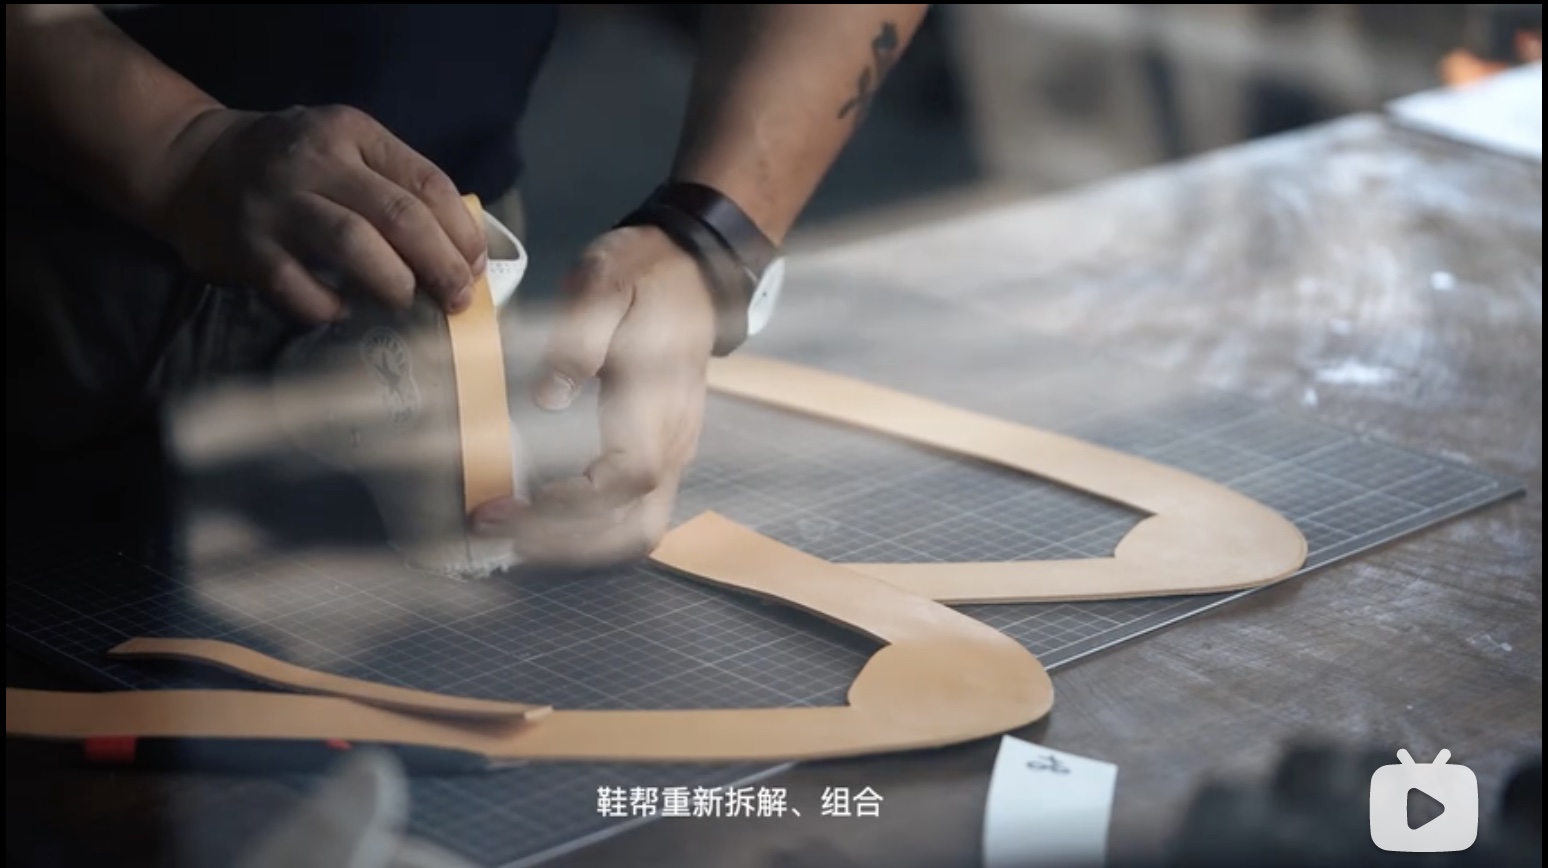
The full video from which this screen shot is taken can be found here.
Ideation
Combining with the reading we did on Tuesday about customization and fitting, I decided to adopt an auxetic pattern. They also demoed with a shoe!
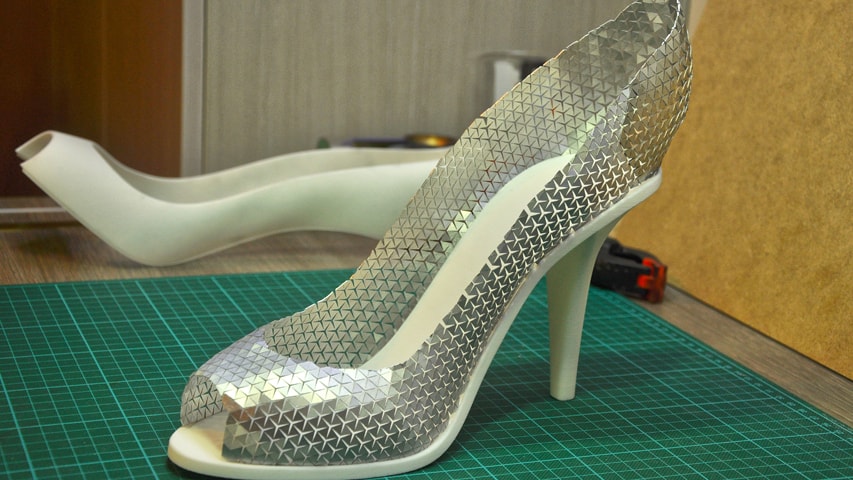
I also found this tutorial which I pretty much intend to try later.

I also found someone else’s documentation on a similar experience, using auxetic pattern for a fashion piece design and making, which gave me a lot of encouragement.
Modeling
Then I need to decide which material to use. I only have limited resources that are accessible to me in a short amount of time (which are things that I hoard), so I immediately decided to go with plastics and fabrics for the sole and the upper layer of the shoes. Pretty standard choices.
Shoe patterning is no joke. We are all once troubled by poorly designed shoes. I would love to invest into the patterning of a proper shoe, but I decided to first replicate the sole shape on my favorite - Converse Chuck Taylor in women size 7.
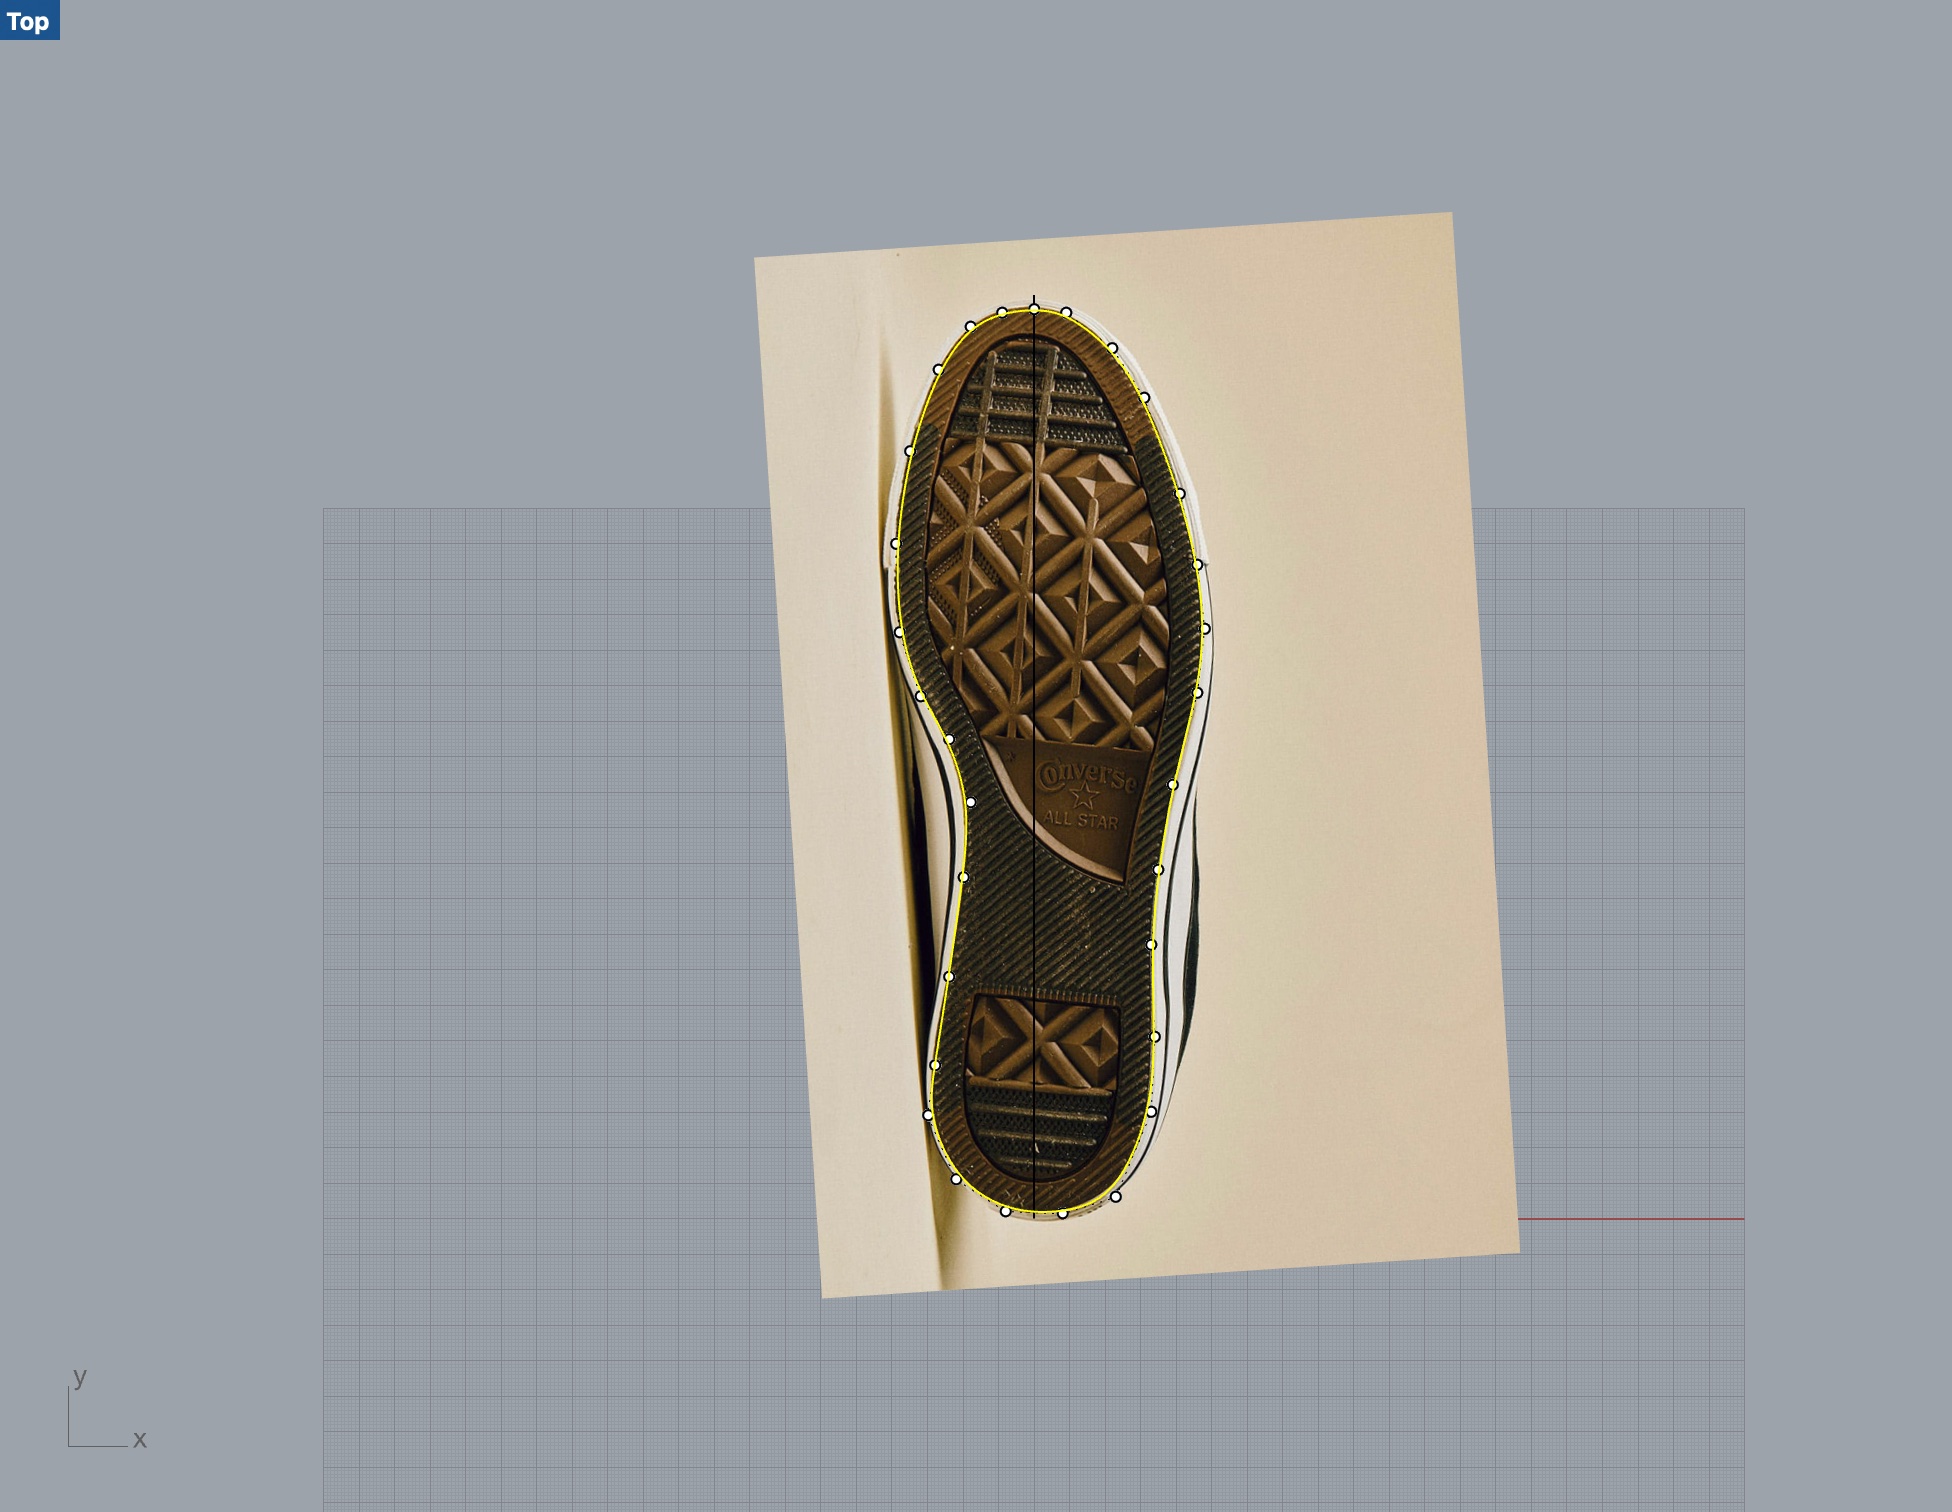
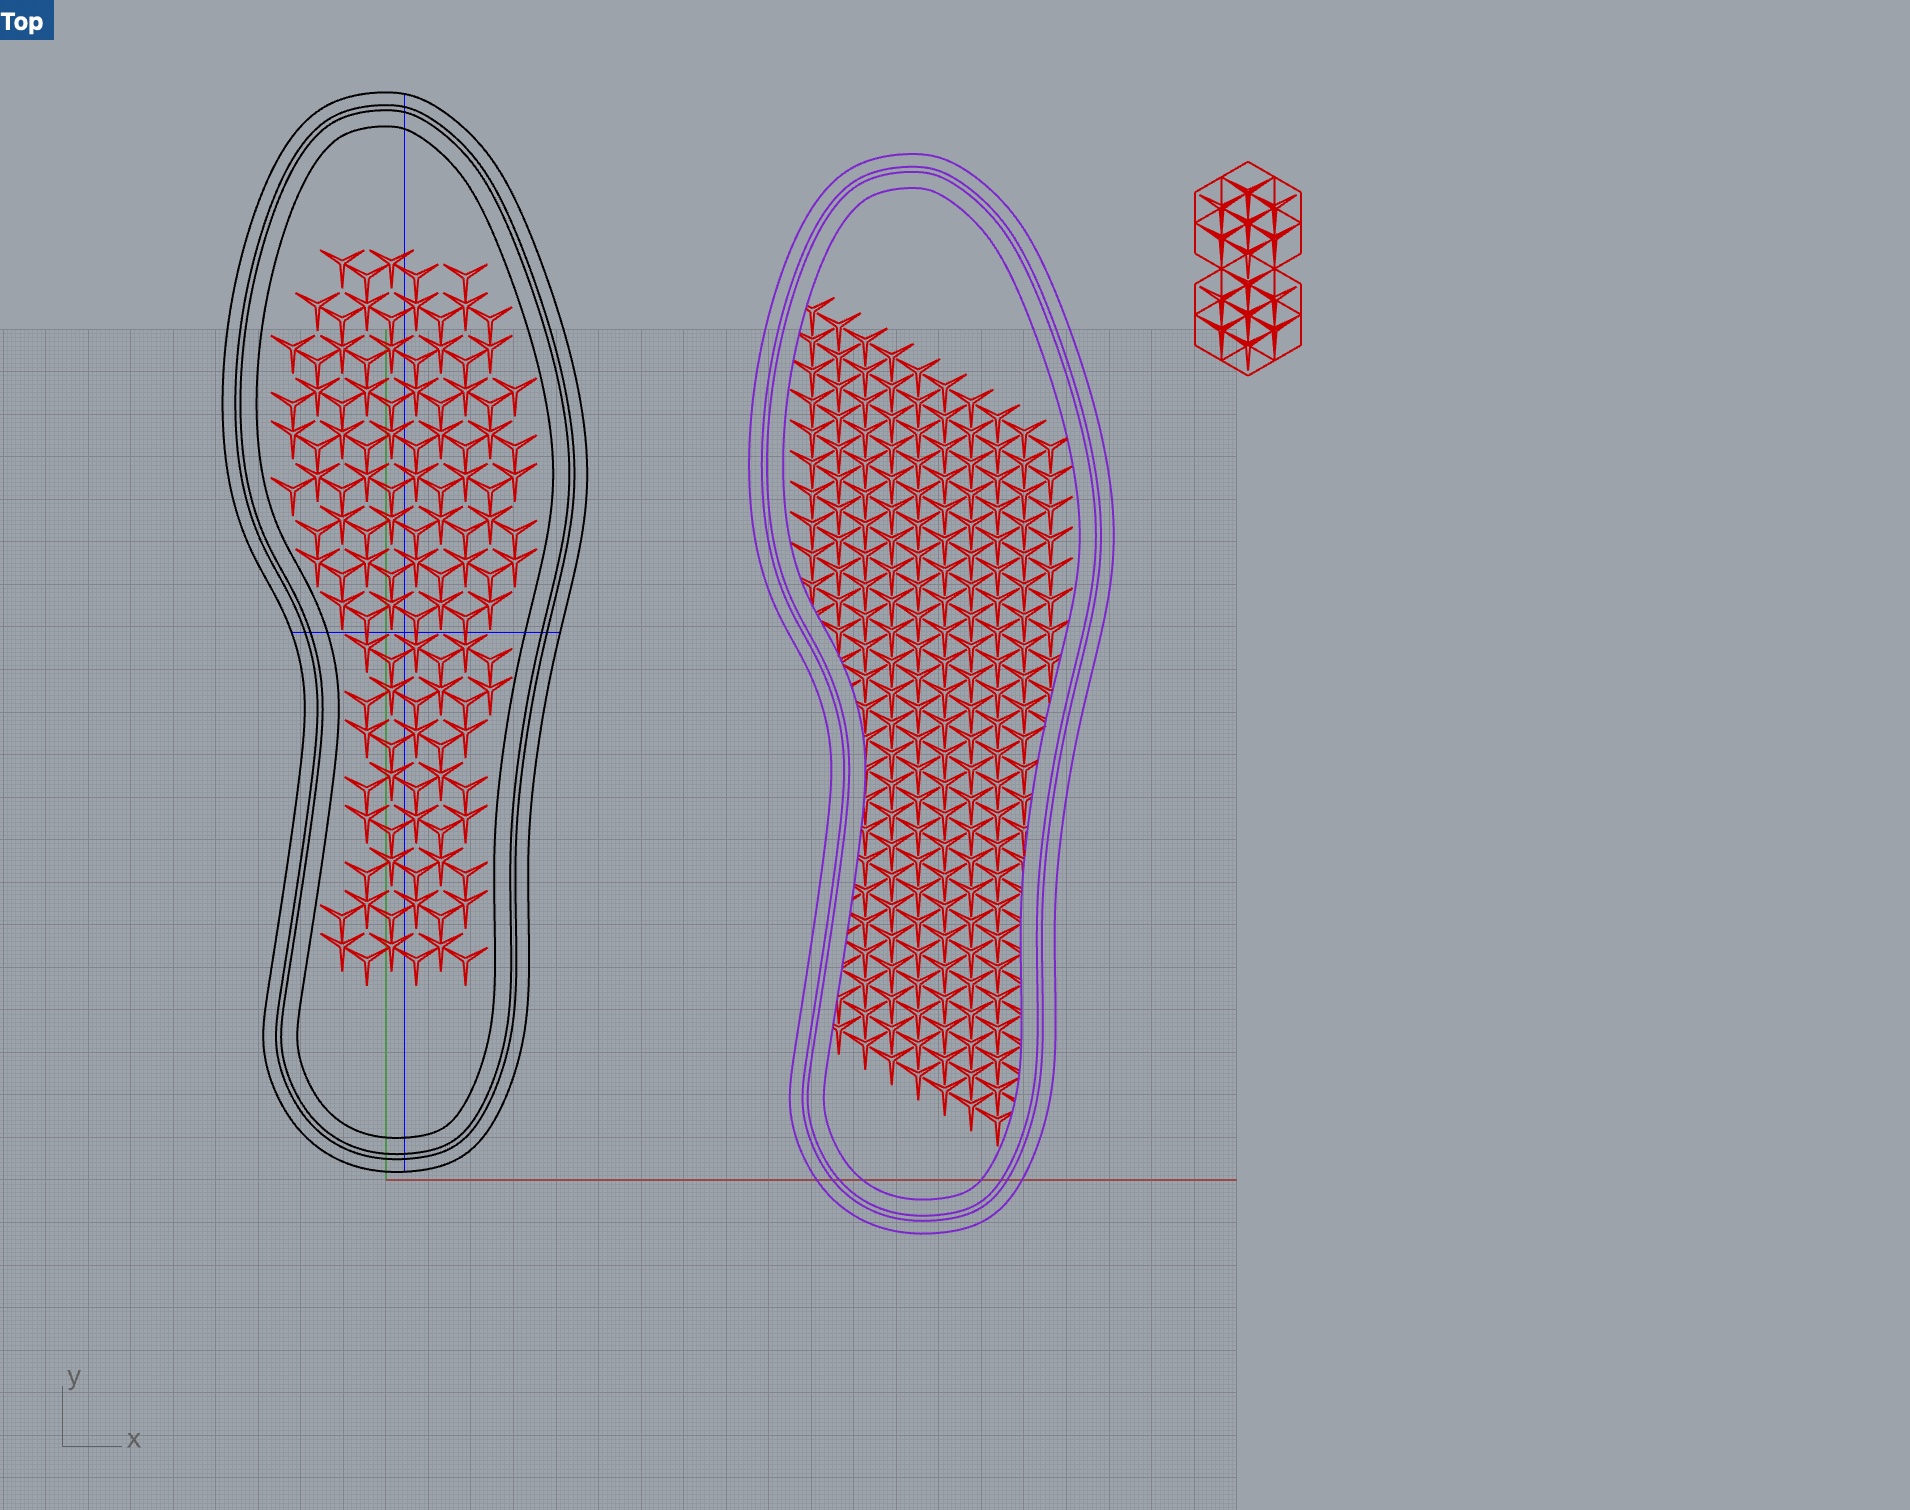
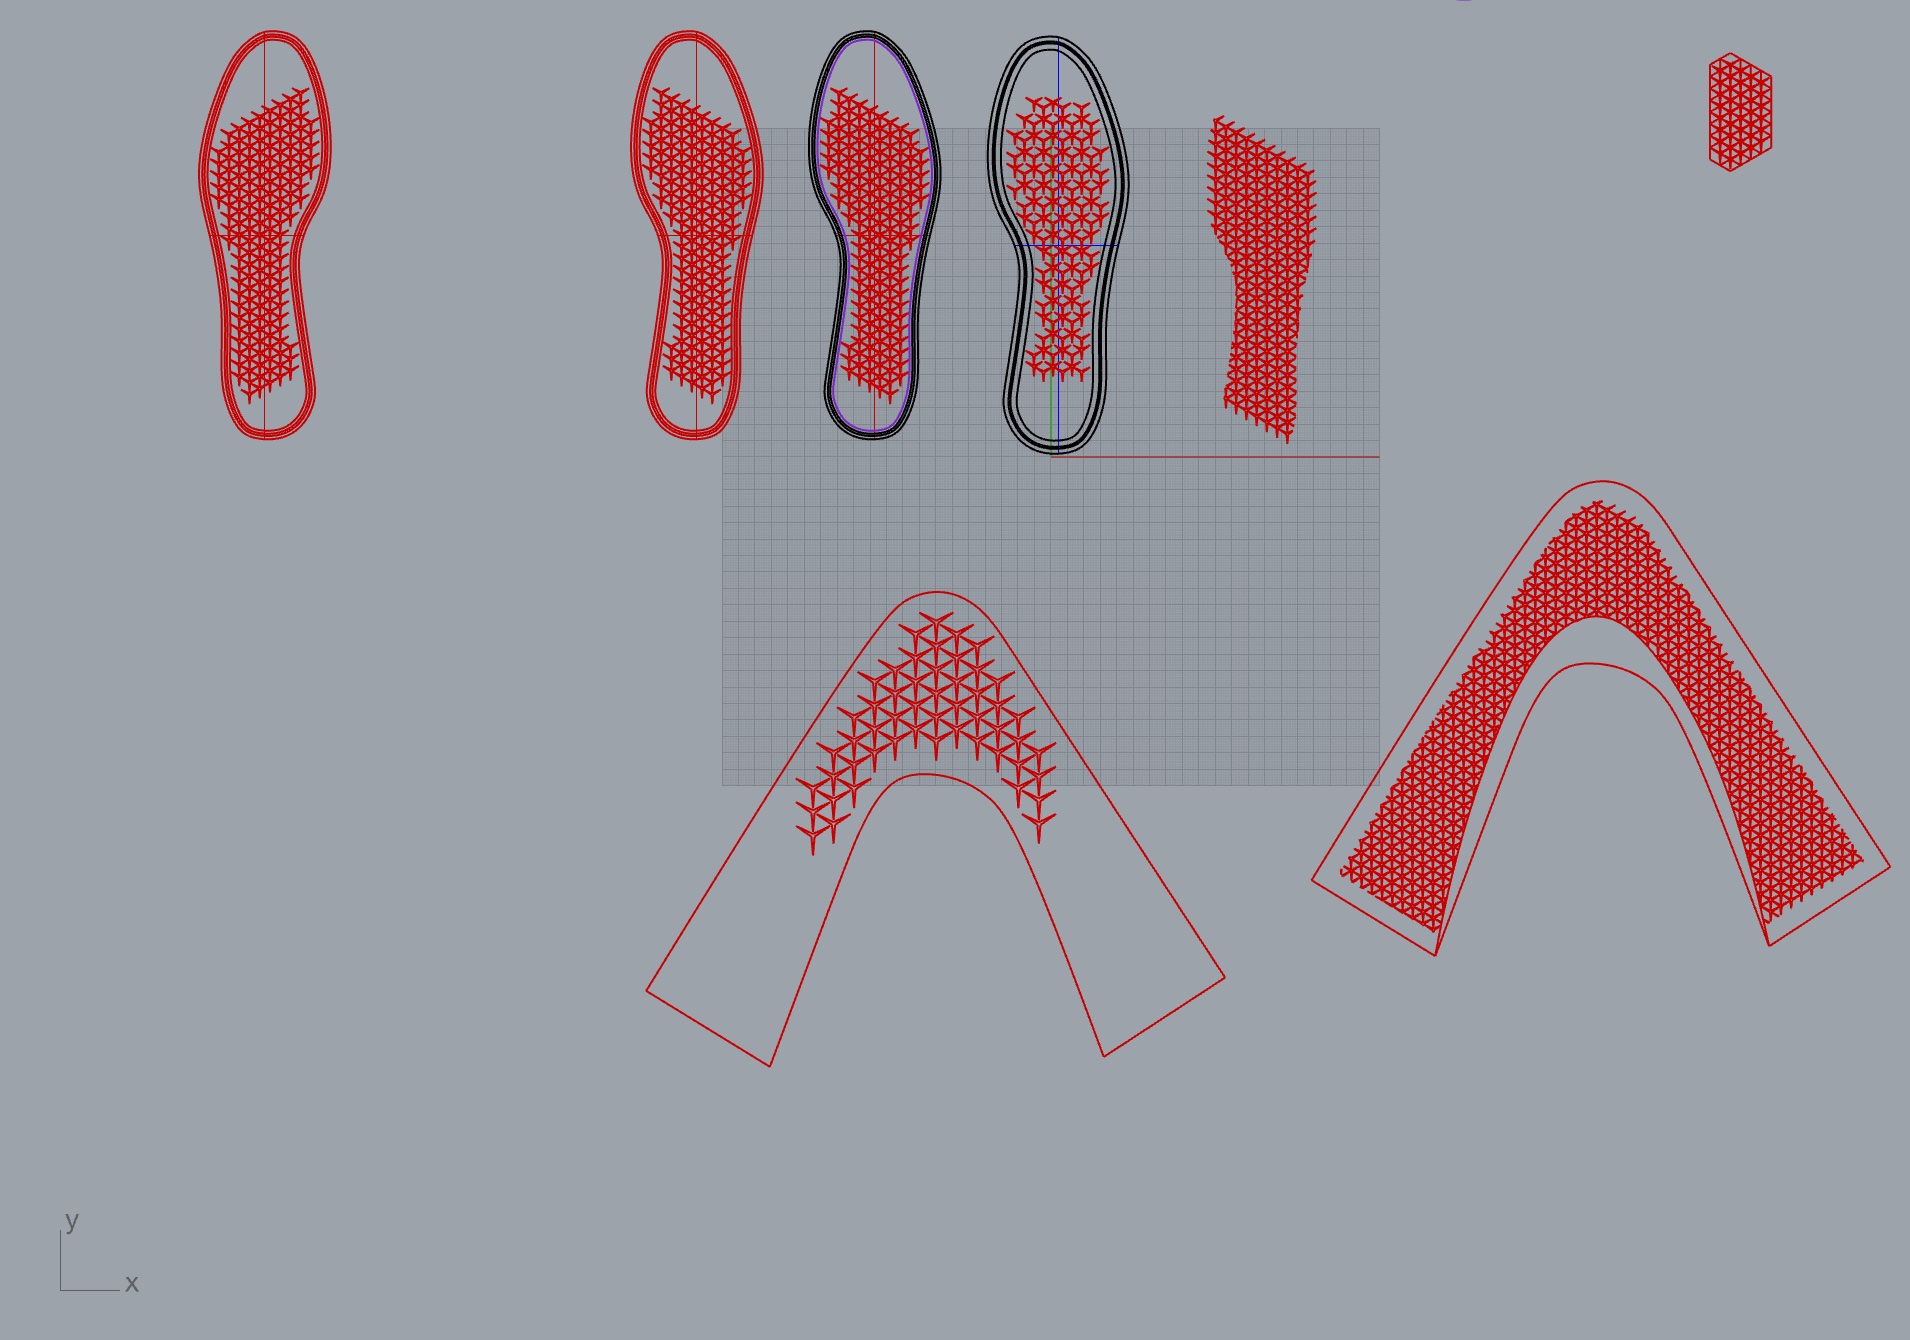
A lot of learning experience I earned was by replicating the state-of-the-art first. I traced the outline of the sole in this view using Rhinoceros. Then, the triangular auxetic pattern was arrayed over the area that I determined to be the most prone to deformation during daily exercise and wearing on the sole. I used a sophisticated sensor array which was layered inside my carefully cushioned trainers and ran on a treadmill for three 10-minute periods to record a bunch of pressure maps which were later analyzed by some sort of machine learning algorithm… No this didn’t happen. I bent my Chuck for a while and massage my foot for a minute to realize that both ends on the sole do not deform that much. As a result, I overlaid the pattern over the middle portion of the sole. I modeled two different patterns, yet I didn’t compare how different they are.
Inspired by the tutorial video above, the outline of the upper in a form of a flattened 2D sheet was organically developed. The only criterion in the design is that the outer circumference of the upper matched the circumference of the sole. The upper will be laser-cut from a piece of cloth and the lower will be 3D printed with PLA. The figure below shows two different version as laser cutting is so rapid that it allows one iteration (although it eventually took a whole chunk of my time adapting to using the specific laser cutter).
Making
Once the 2D pattern for the upper and the 2.5D model for the sole (it was actually not completely flat which later on is proven useless) are ready, the making process is straightforward. I will skip the details in this part, albeit the impact it has on the final product, which is downgraded a few times.
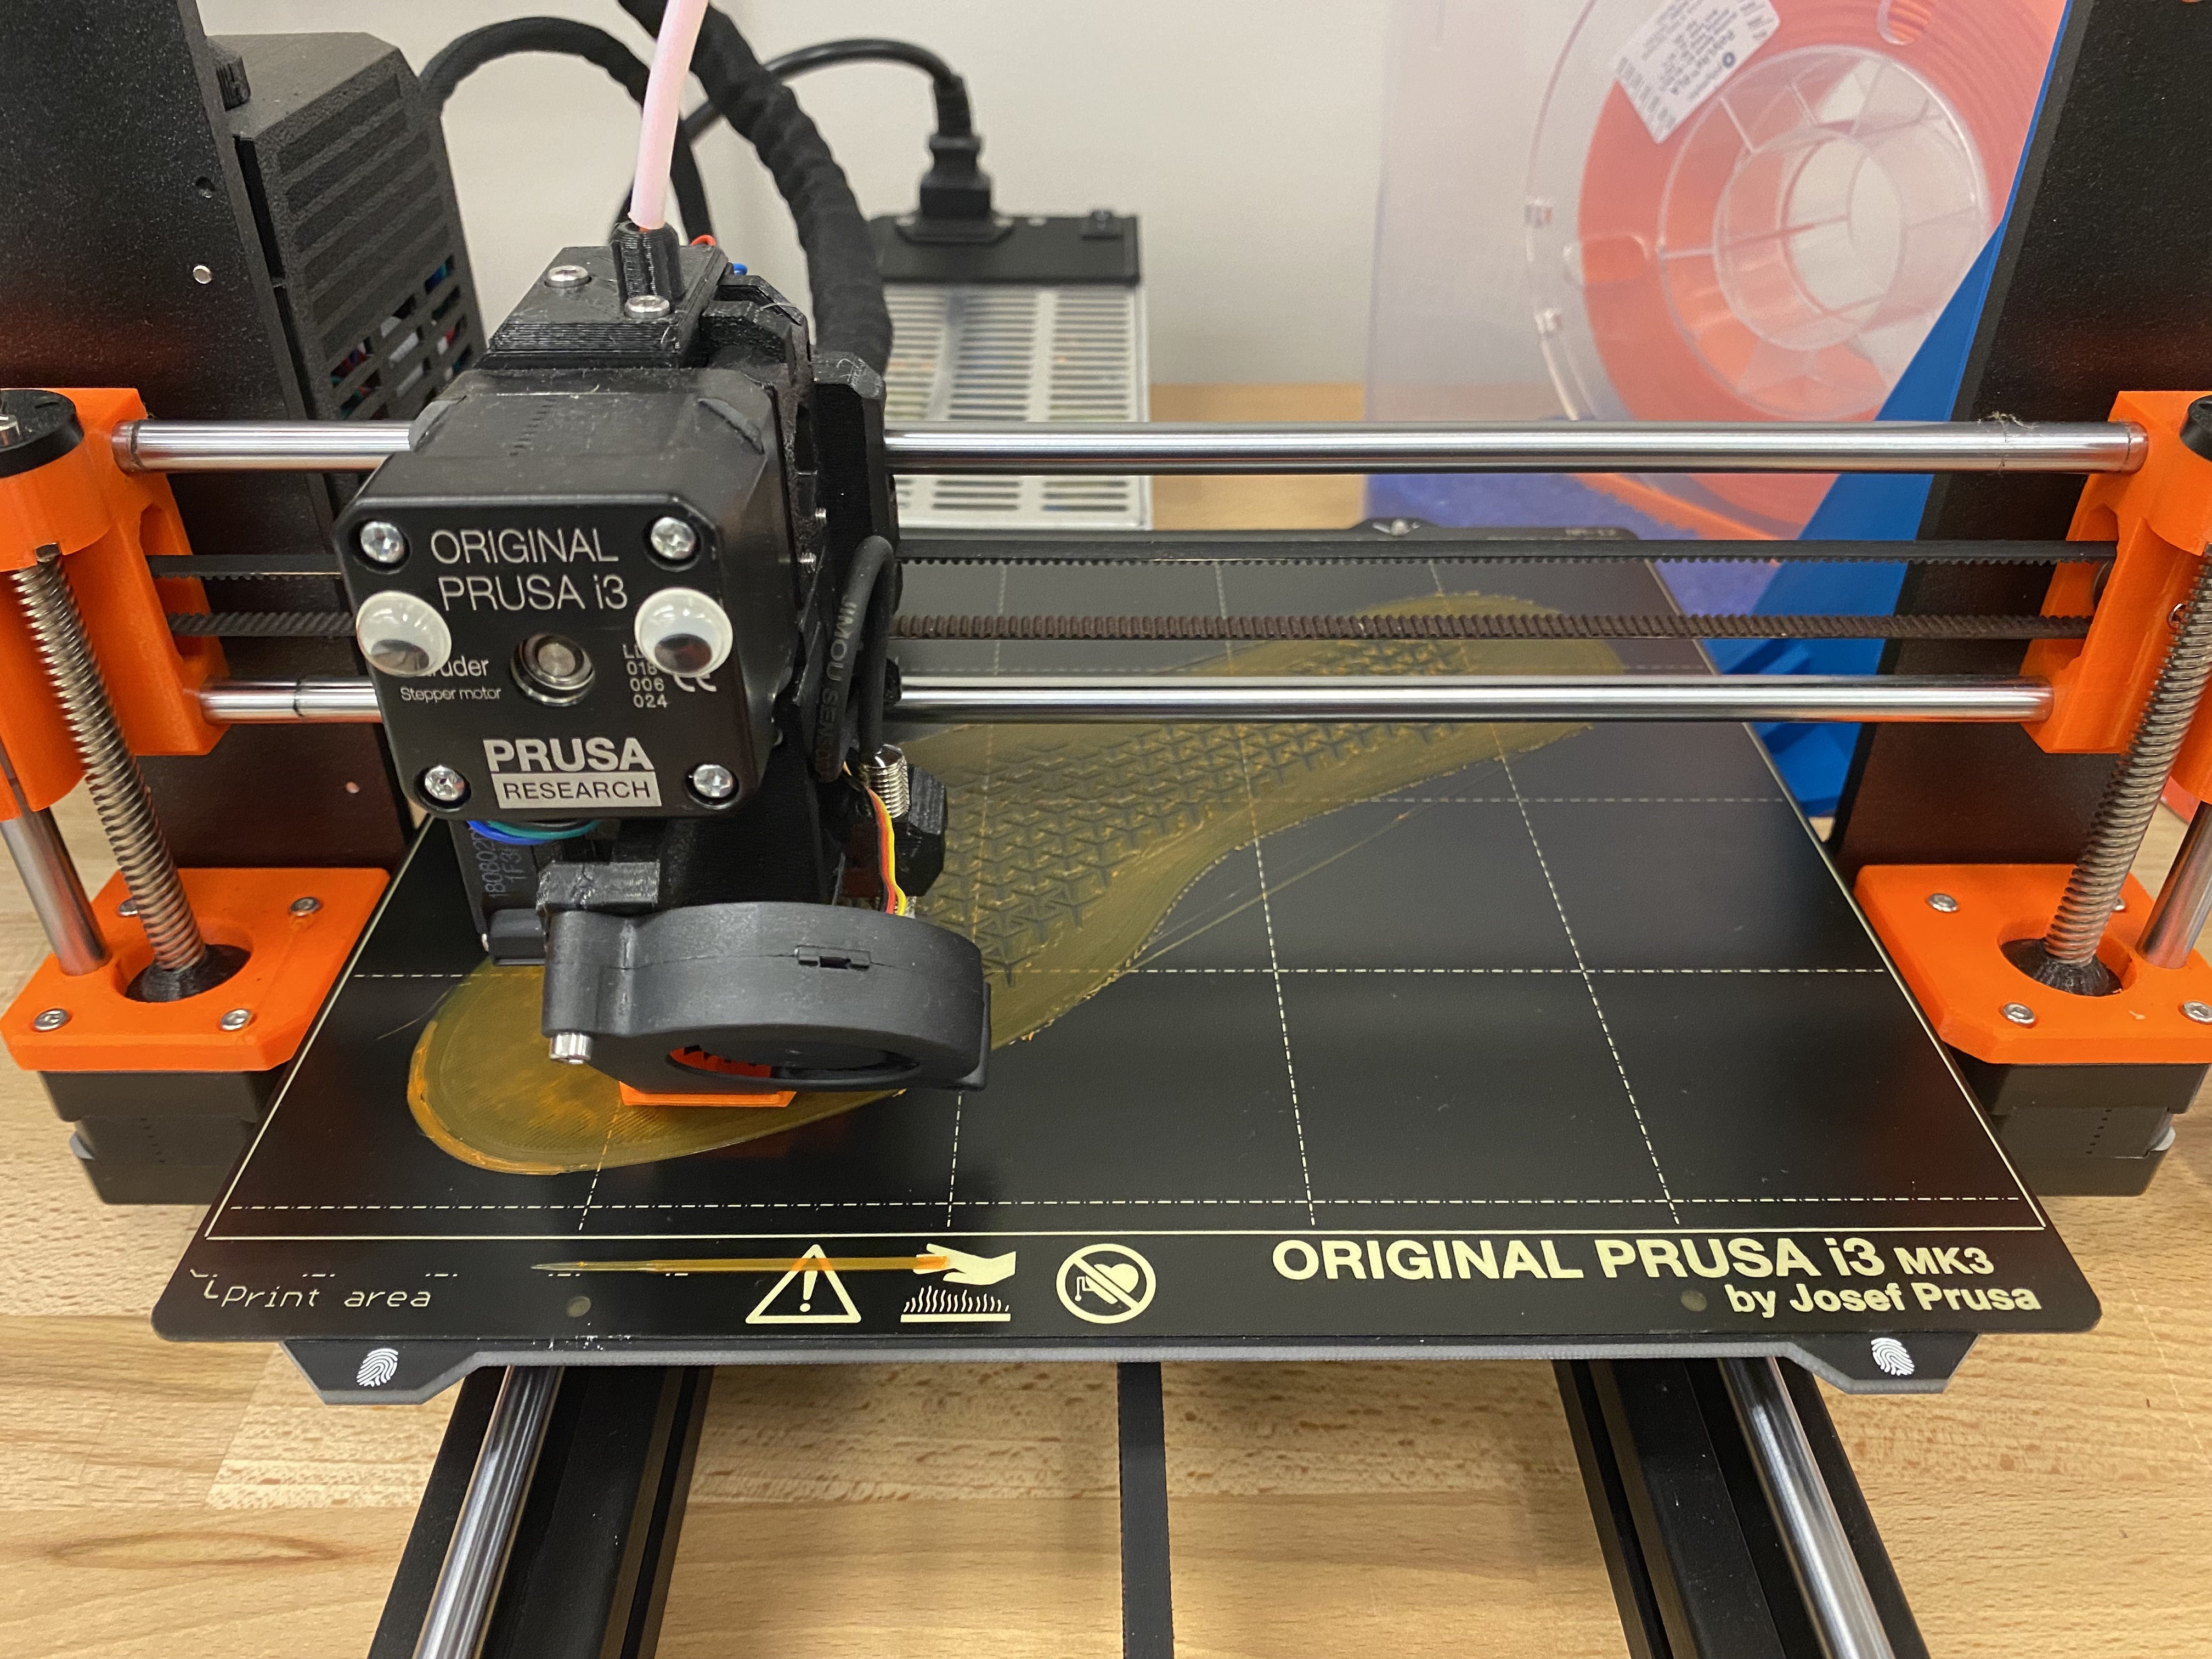
A (goggly eyed) Prusa i3 MK3 is used for printing the sole.
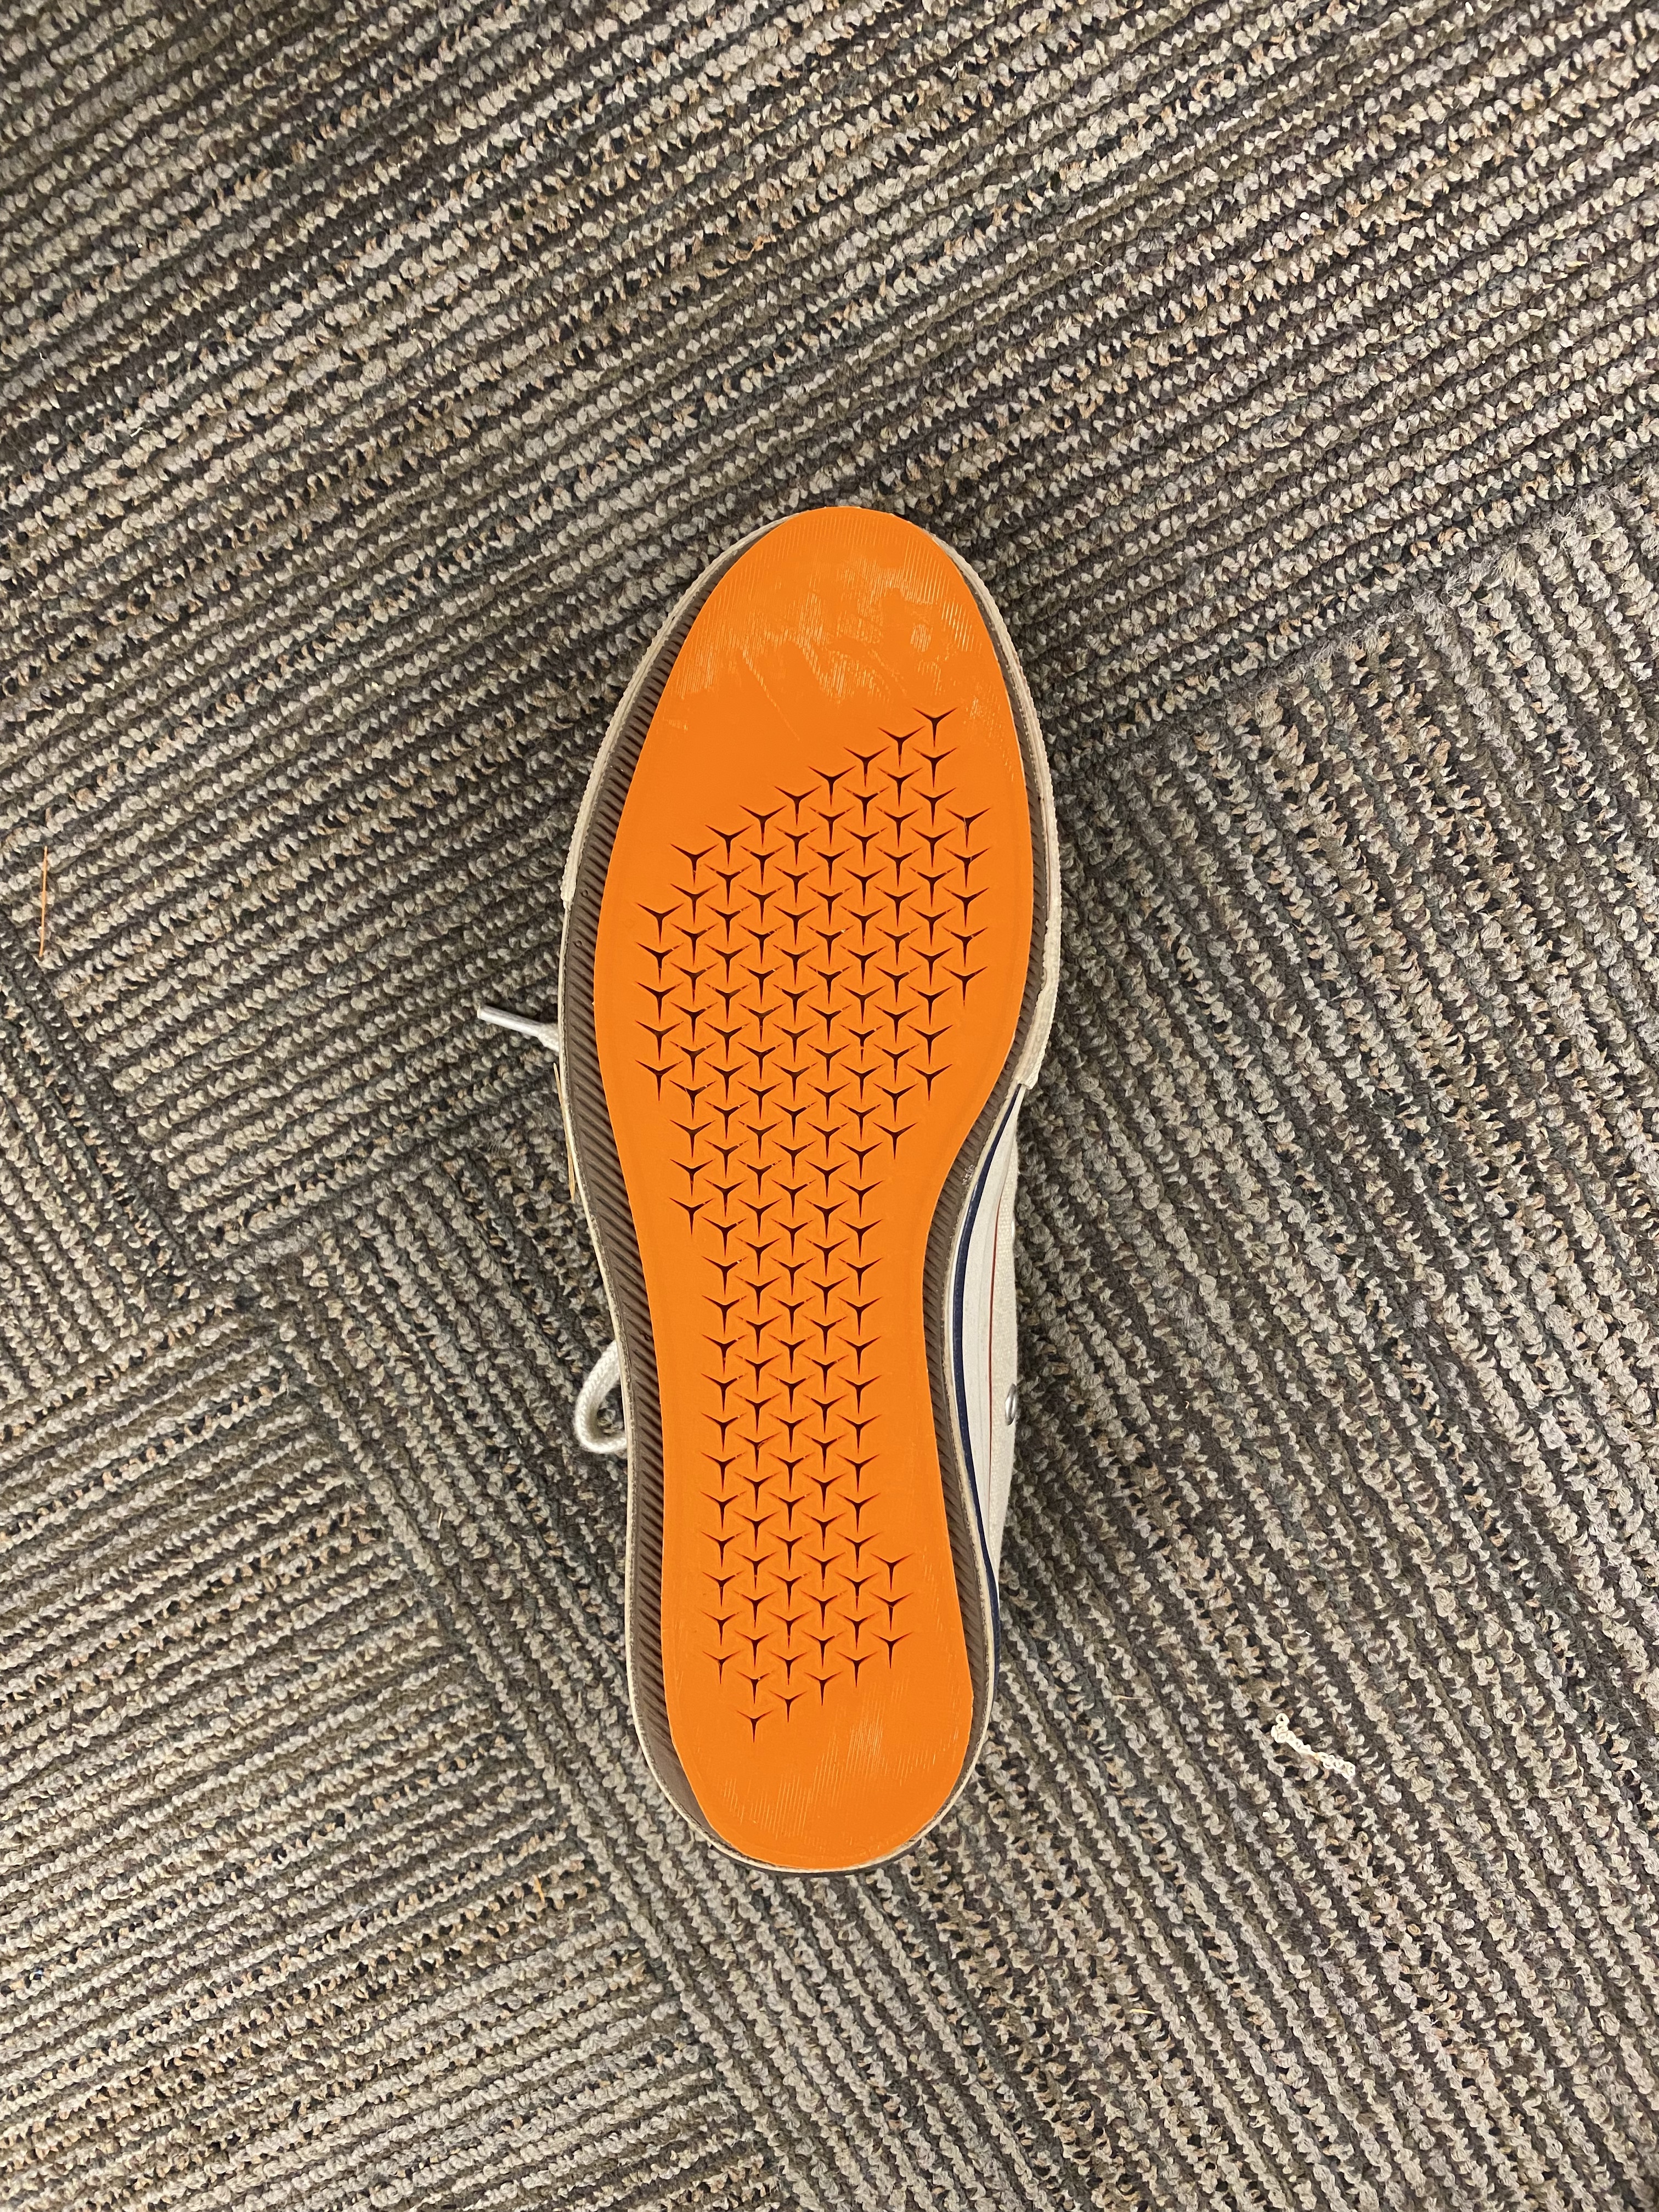
Although the making of the sole was successful and requires little attention, the product is not flexible enough. Reasons might be: 1. thickness is not optimized to pair with the material properties; 2. the auxetic pattern (size, density, shape) is not optimized; 3. as soles are usually made of rubbery material, PLA is too stiff. Unfortunately, this sole does not satisfy the degree of flexibility I hoped for, yet there is no time for another iteration.
Three iterations were done on the upper as it takes less time to make one, two major problems arose with the outcomes. First, the density of the pattern is not that forgiving on cloth. When the cuts are densely packed, the gap between adjascent cuts is not wide nor strong enough to resist even a tiny bit of stretching (the fabric has no elasticity). Decreasing the density would sacrifice the deformability. Second, the pattern supports expansion quite well but does not compensate for contraction. As the foot and ankle are a surface with + and - curvature changes, this pattern is not a good fit.
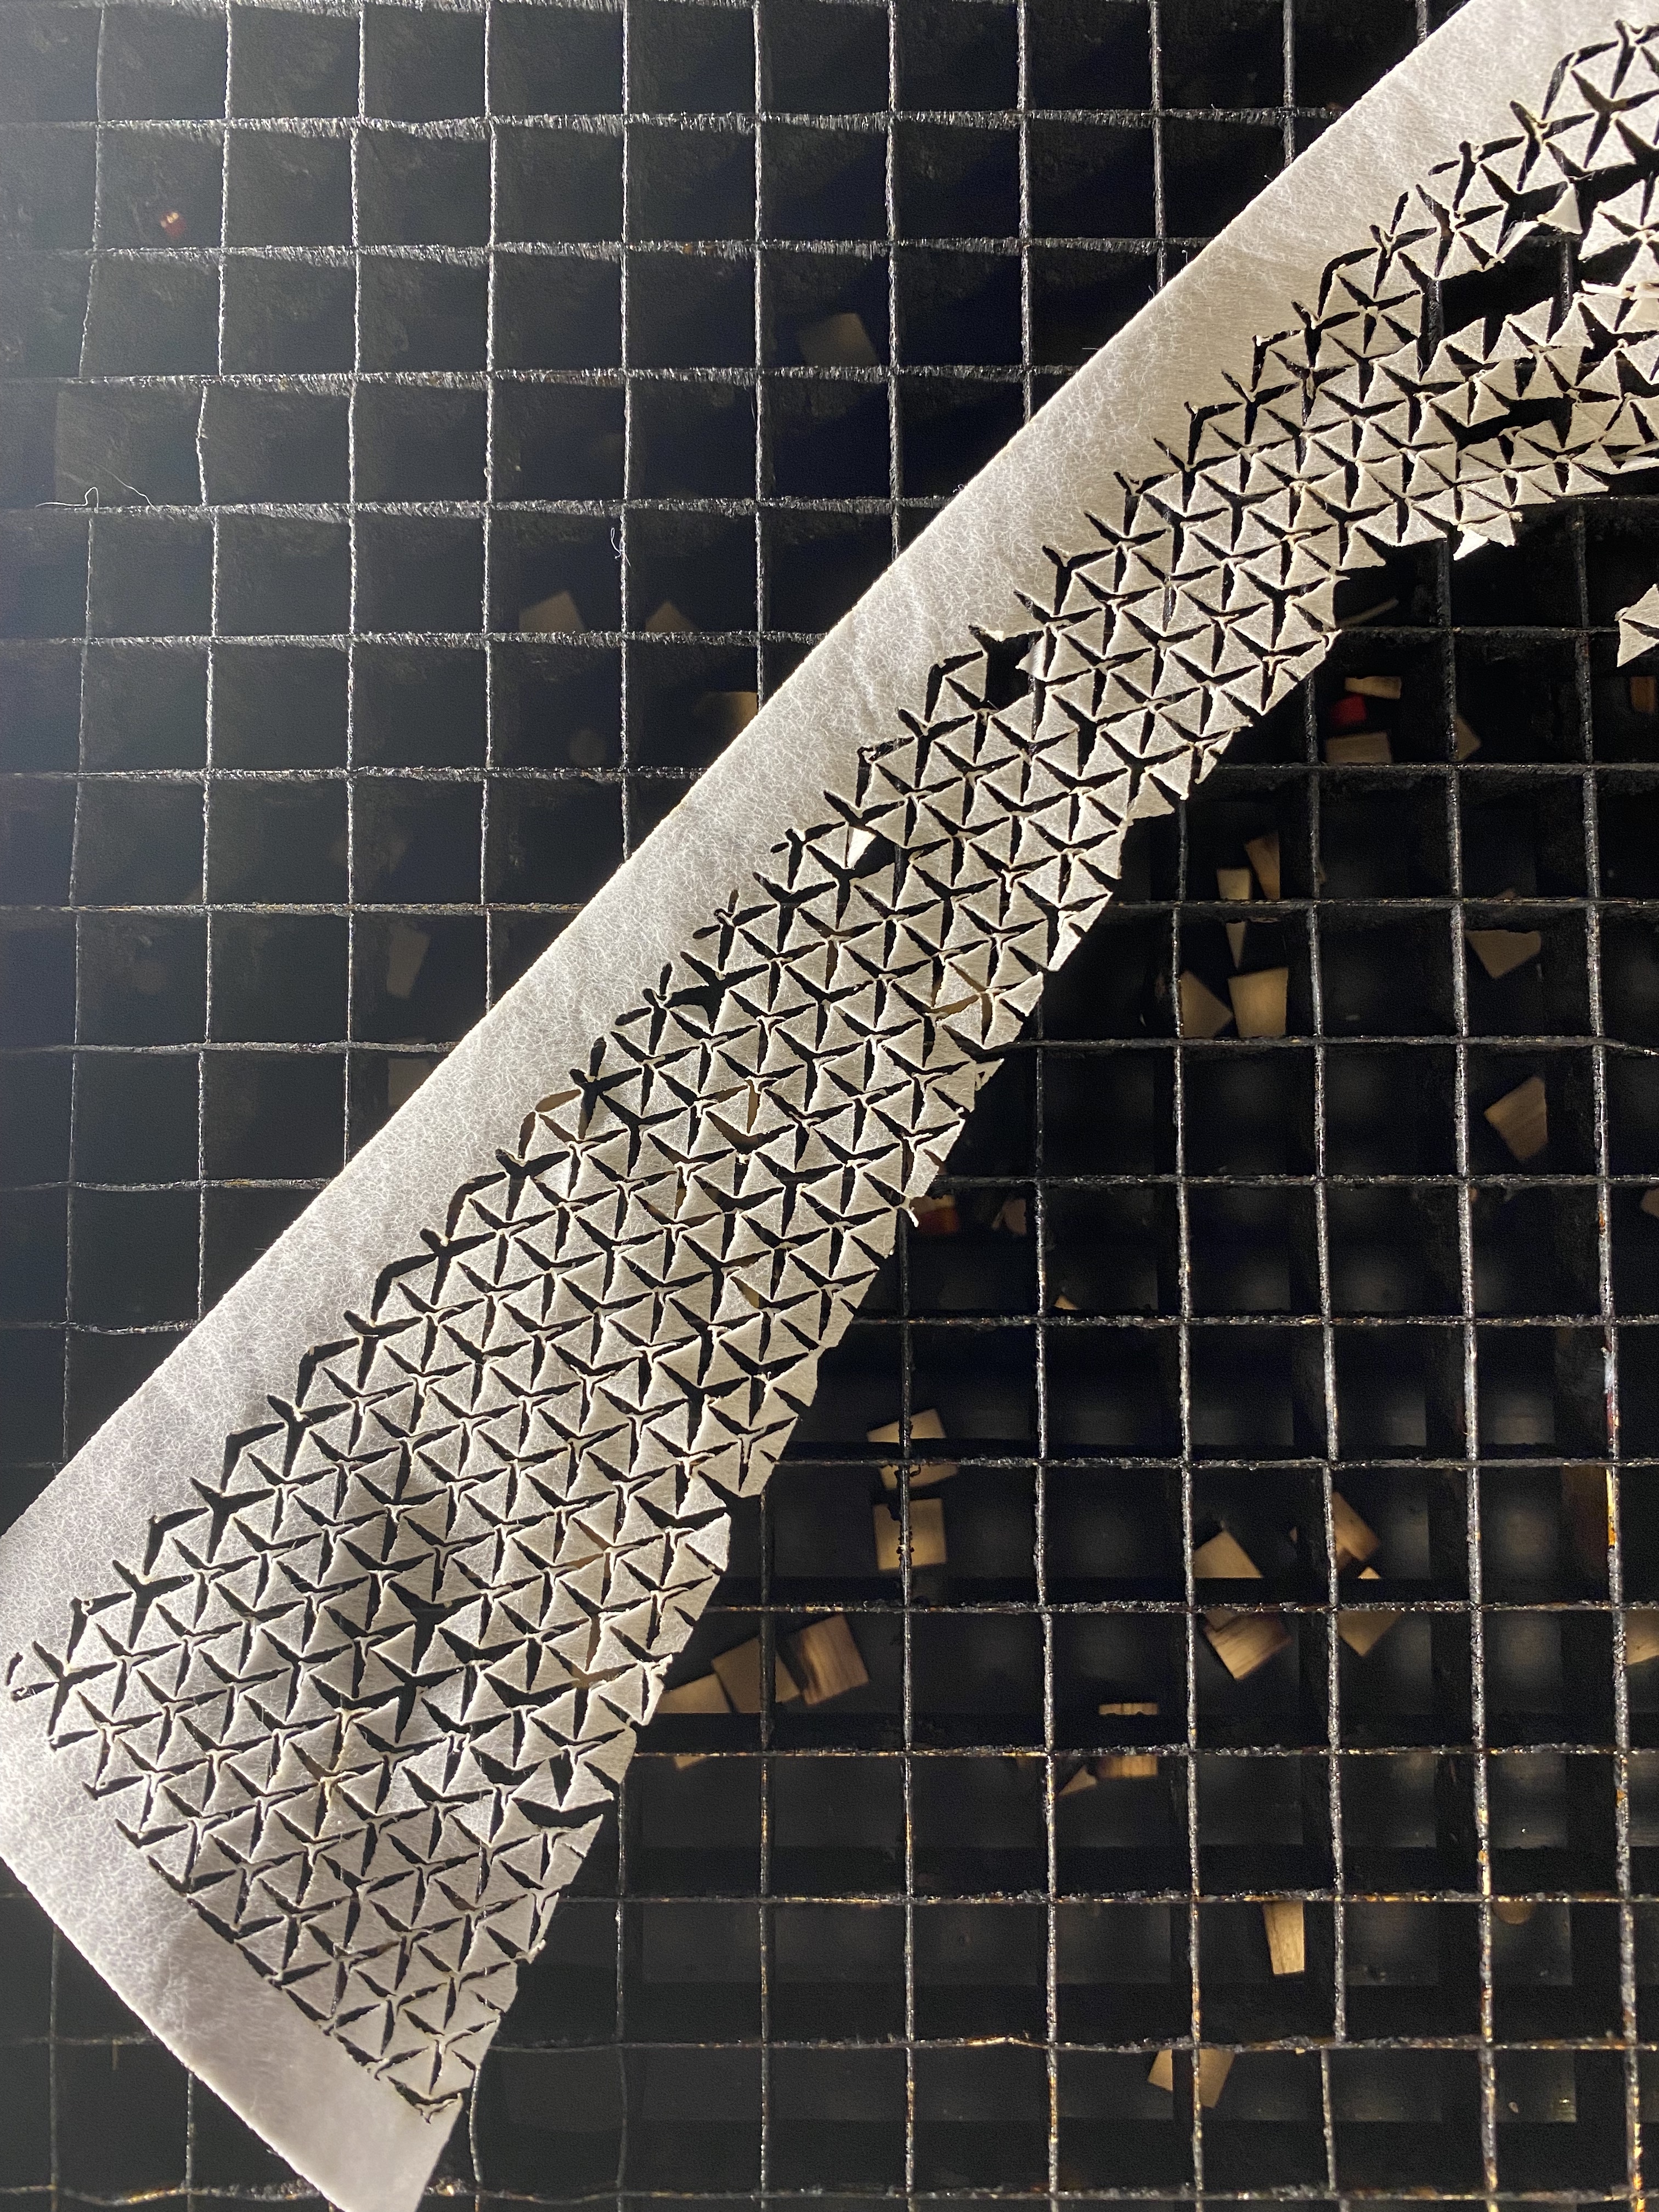
In addition to the design mistakes, the cloth I picked from my fabrics collection is a piece of cloth that would look great on a garment. The lack of stiffness messes up with the flexibility that is the advantage of the pattern.
Assembly
With all the mishaps I encounter during fabrication, I still wish to finish this project with a real shoe. While I played with the fabric I laser-cut, it thinnered down as it lost pieces of little triangles </3. Then it hits me - sandals. Sandals are my last hope to approach a pair of shoes.
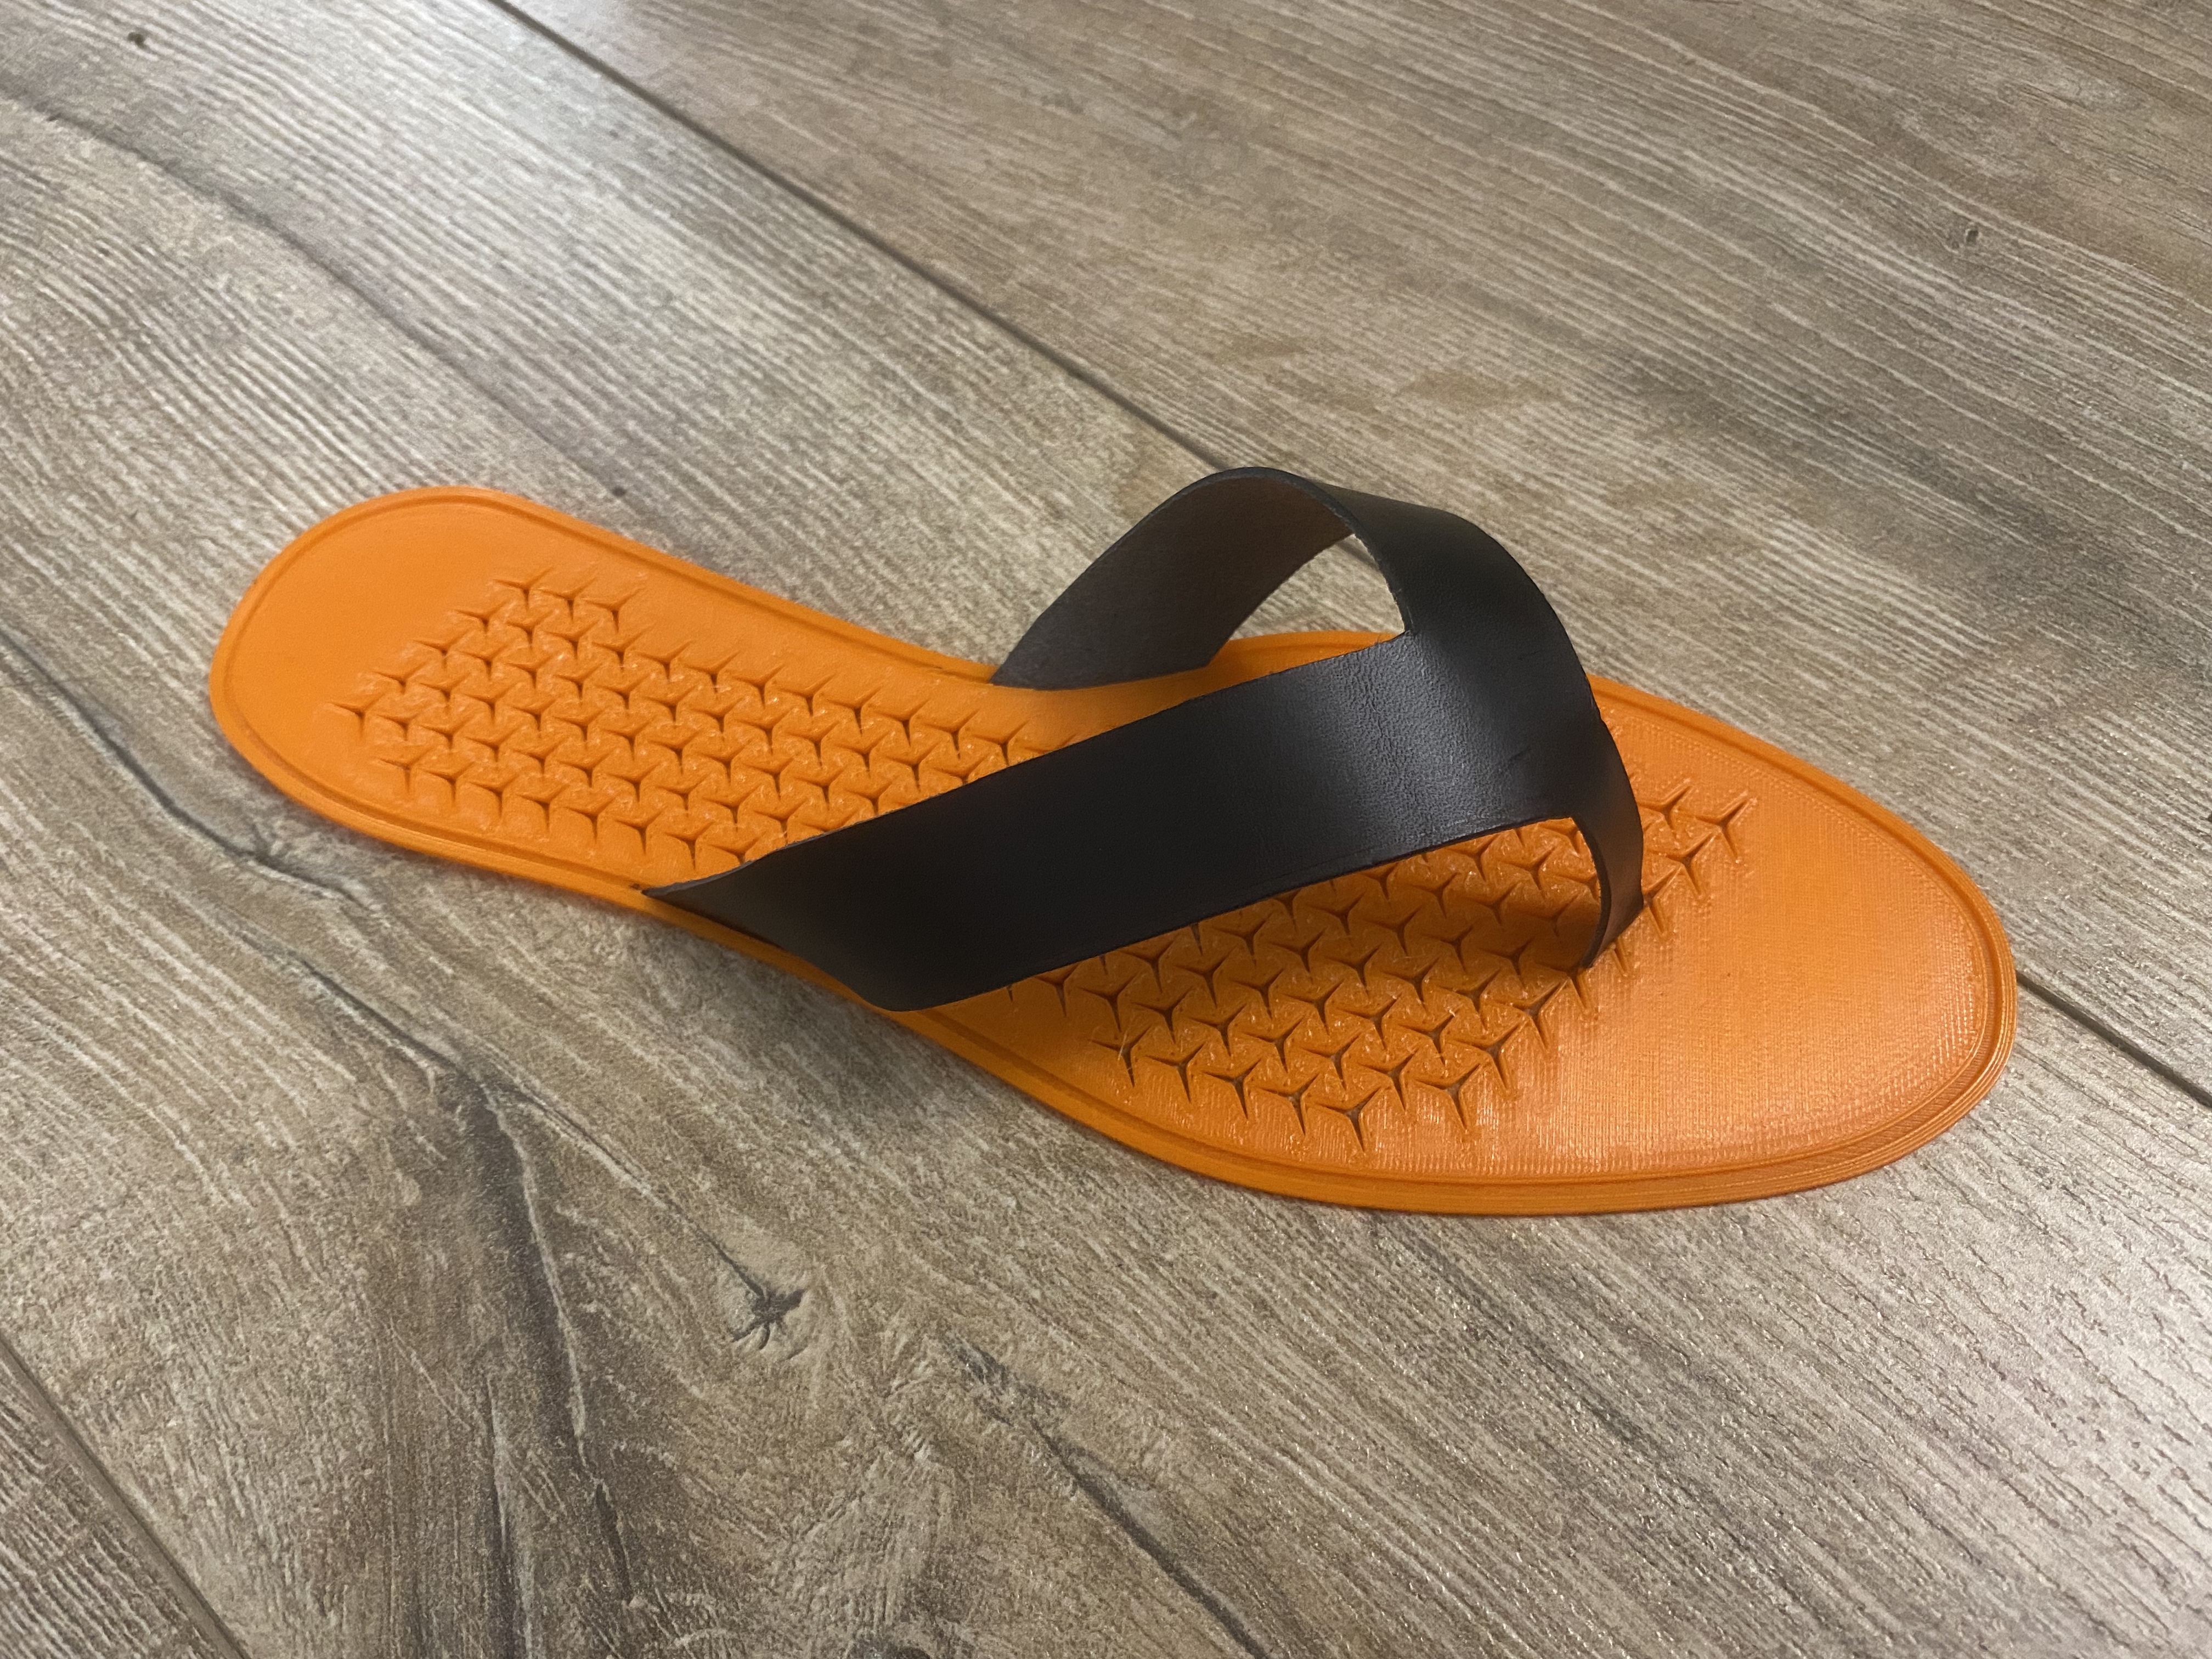
As the upper is completely useless, I decided to cut out the thongs on flip-flops from a piece of leather I hoarded. I punctured slots on the side to insert the leather. While the auxetic pattern fails to flex, it appears to be a versatile board for inserting various add-ons - which when I think it out loud sounds like a very bad idea when I walk on the street.
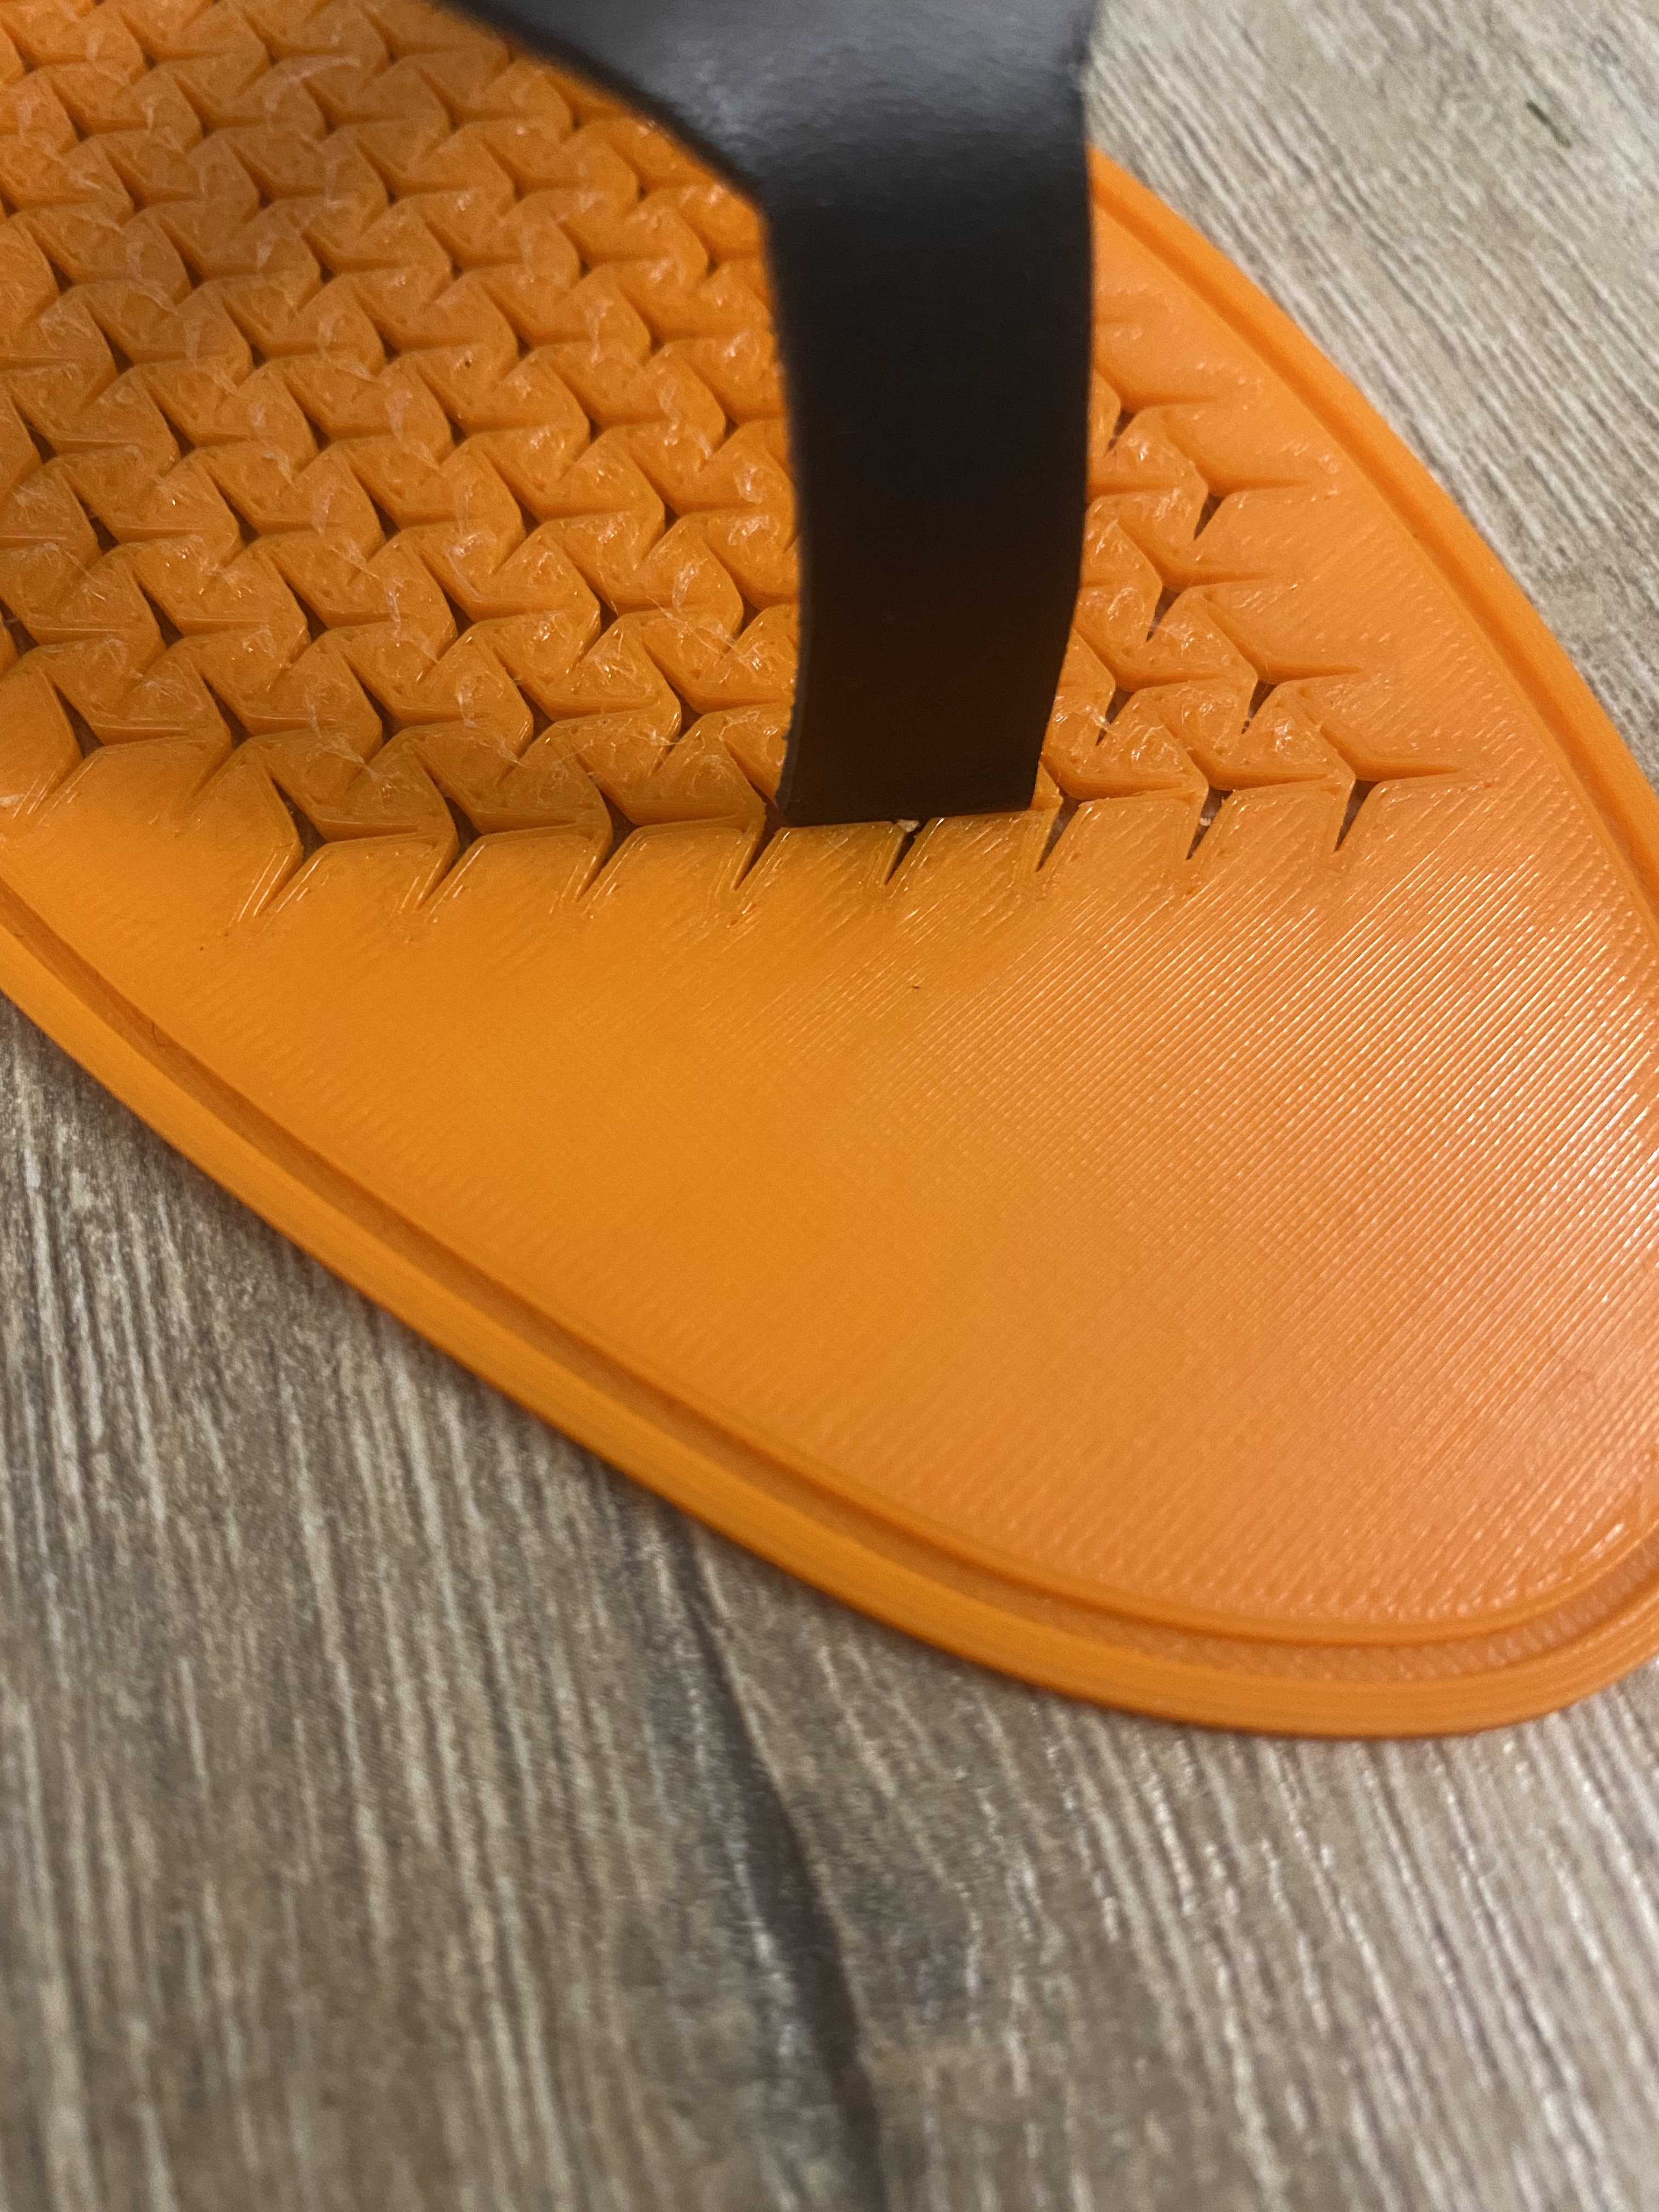
There we have it, leather flip-flops with good drainage and complete loss of traction on the ground.
Reflection
For a fabrication process whose performance relies on the precision of production, I now remember: 3D printing oozes out, laser cut eats in.