Today we are 3D printing!
Benchmark
I printed all my models on a 3D printer subjected to regular maintainance, so I skipped checking screws and nuts and all the assembly related tasks.
For bed leveling, I always use the paper trick.

Printing simple primitive geometries such as cube and cylinder help us understand the working principles of 3D printer, balance between printing parameters, precision settings, tradeoffs, limitations, digital-to-physical manifestation, and so on.
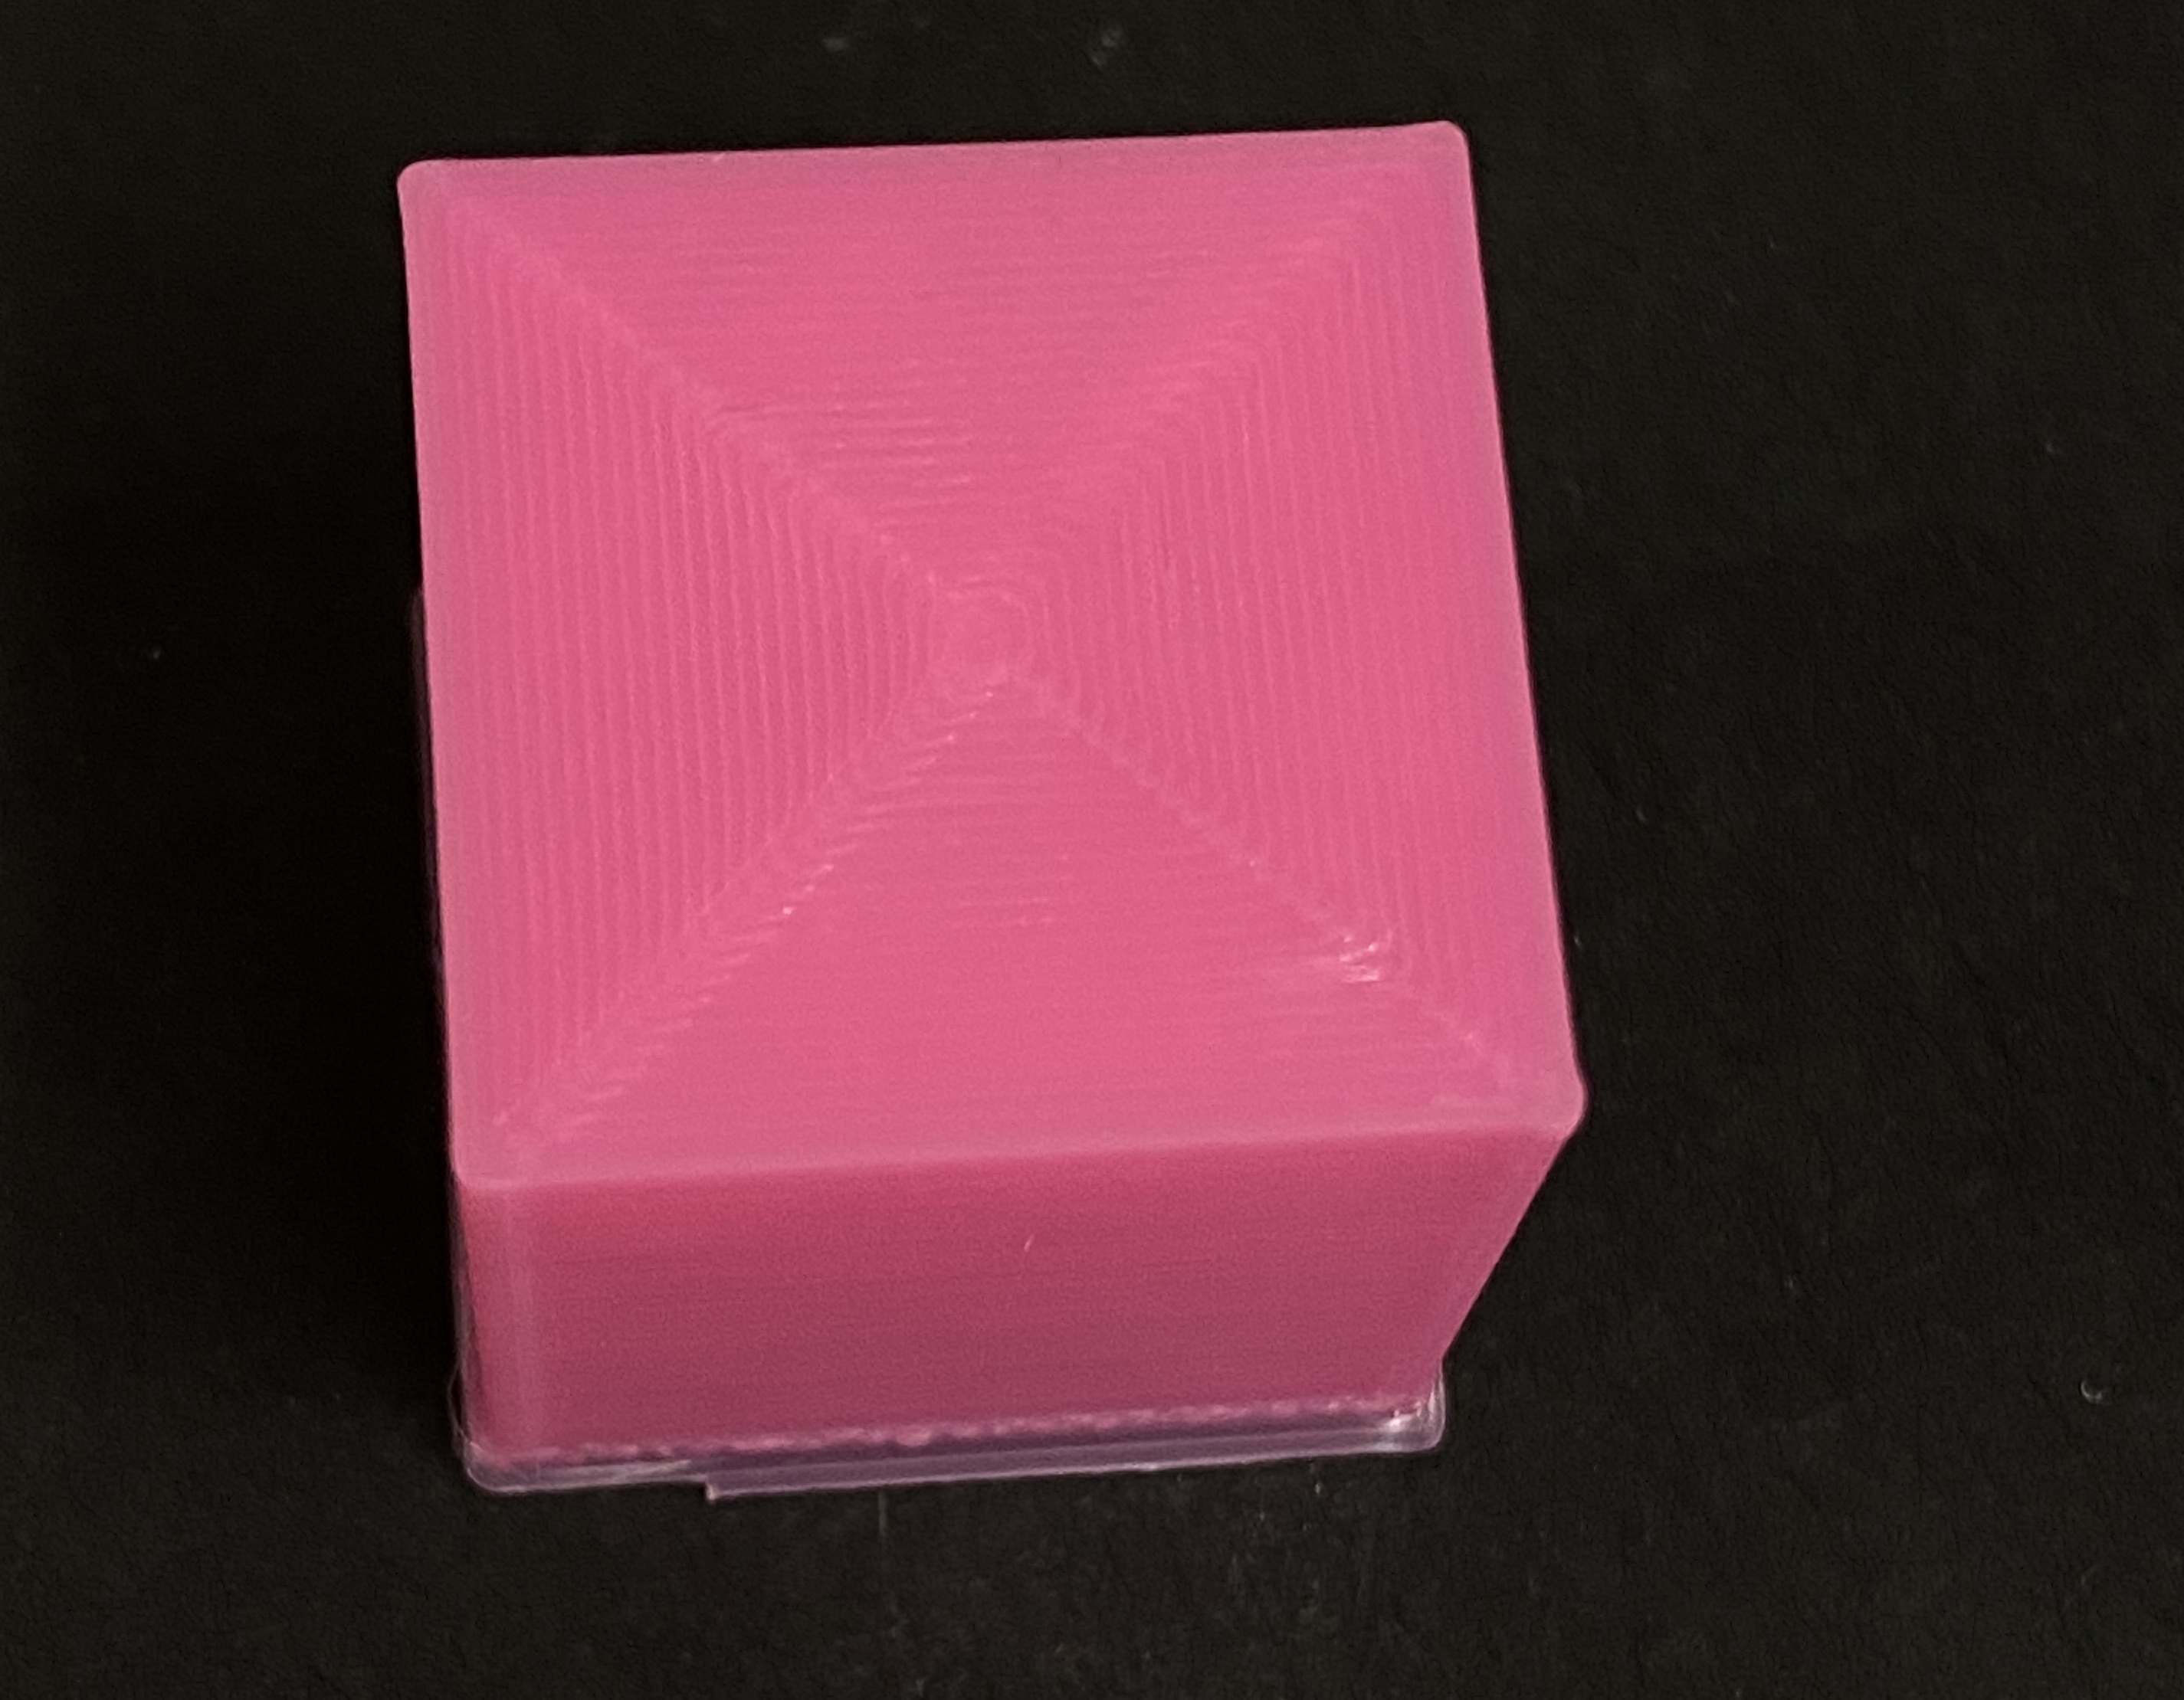
Printing cubes benchmarks printing quality. I summarized time and physical dimensions in the table below.
| print setup | time | dimensions (xyz) |
|---|---|---|
| low quality cube | 21 min | 20.12 x 20.14 x 19.99 |
| std quality cube | 26 min | 20.04 x 20.08 x 20.01 |
| super quality cube | 49 min | 20.01 x 20.02 x 19.91 |
My super quality cube actually warpped but other than its height the other dimensions are the closest to those of the digital model. But it takes almost twice as long as standard and low quality cubes. I’ve devided that my favorite setting is the standard setting because it balances precision and time. I printed another cube with concentric top and bottom pattern.
Next we’re printing tubes and cylinders. The idea is that we now get to play with other parameters in the slicing software.
I don’t know exactly when, but since sometime in the past Cura implemented this feature that allows me to assign different settings to multiple models on one plate. This drastically decrease the time for preparing the printer for a new print and cleaning up after one print. BUT the tradeoff is that if something failed in the middle of printing, the whole batch might be wasted. For users who are less sure of the performance of their printer, it is not recommended to increase productivity in this way. Luckily I have a very intimate relationship with my printer, I trusted it with this task.
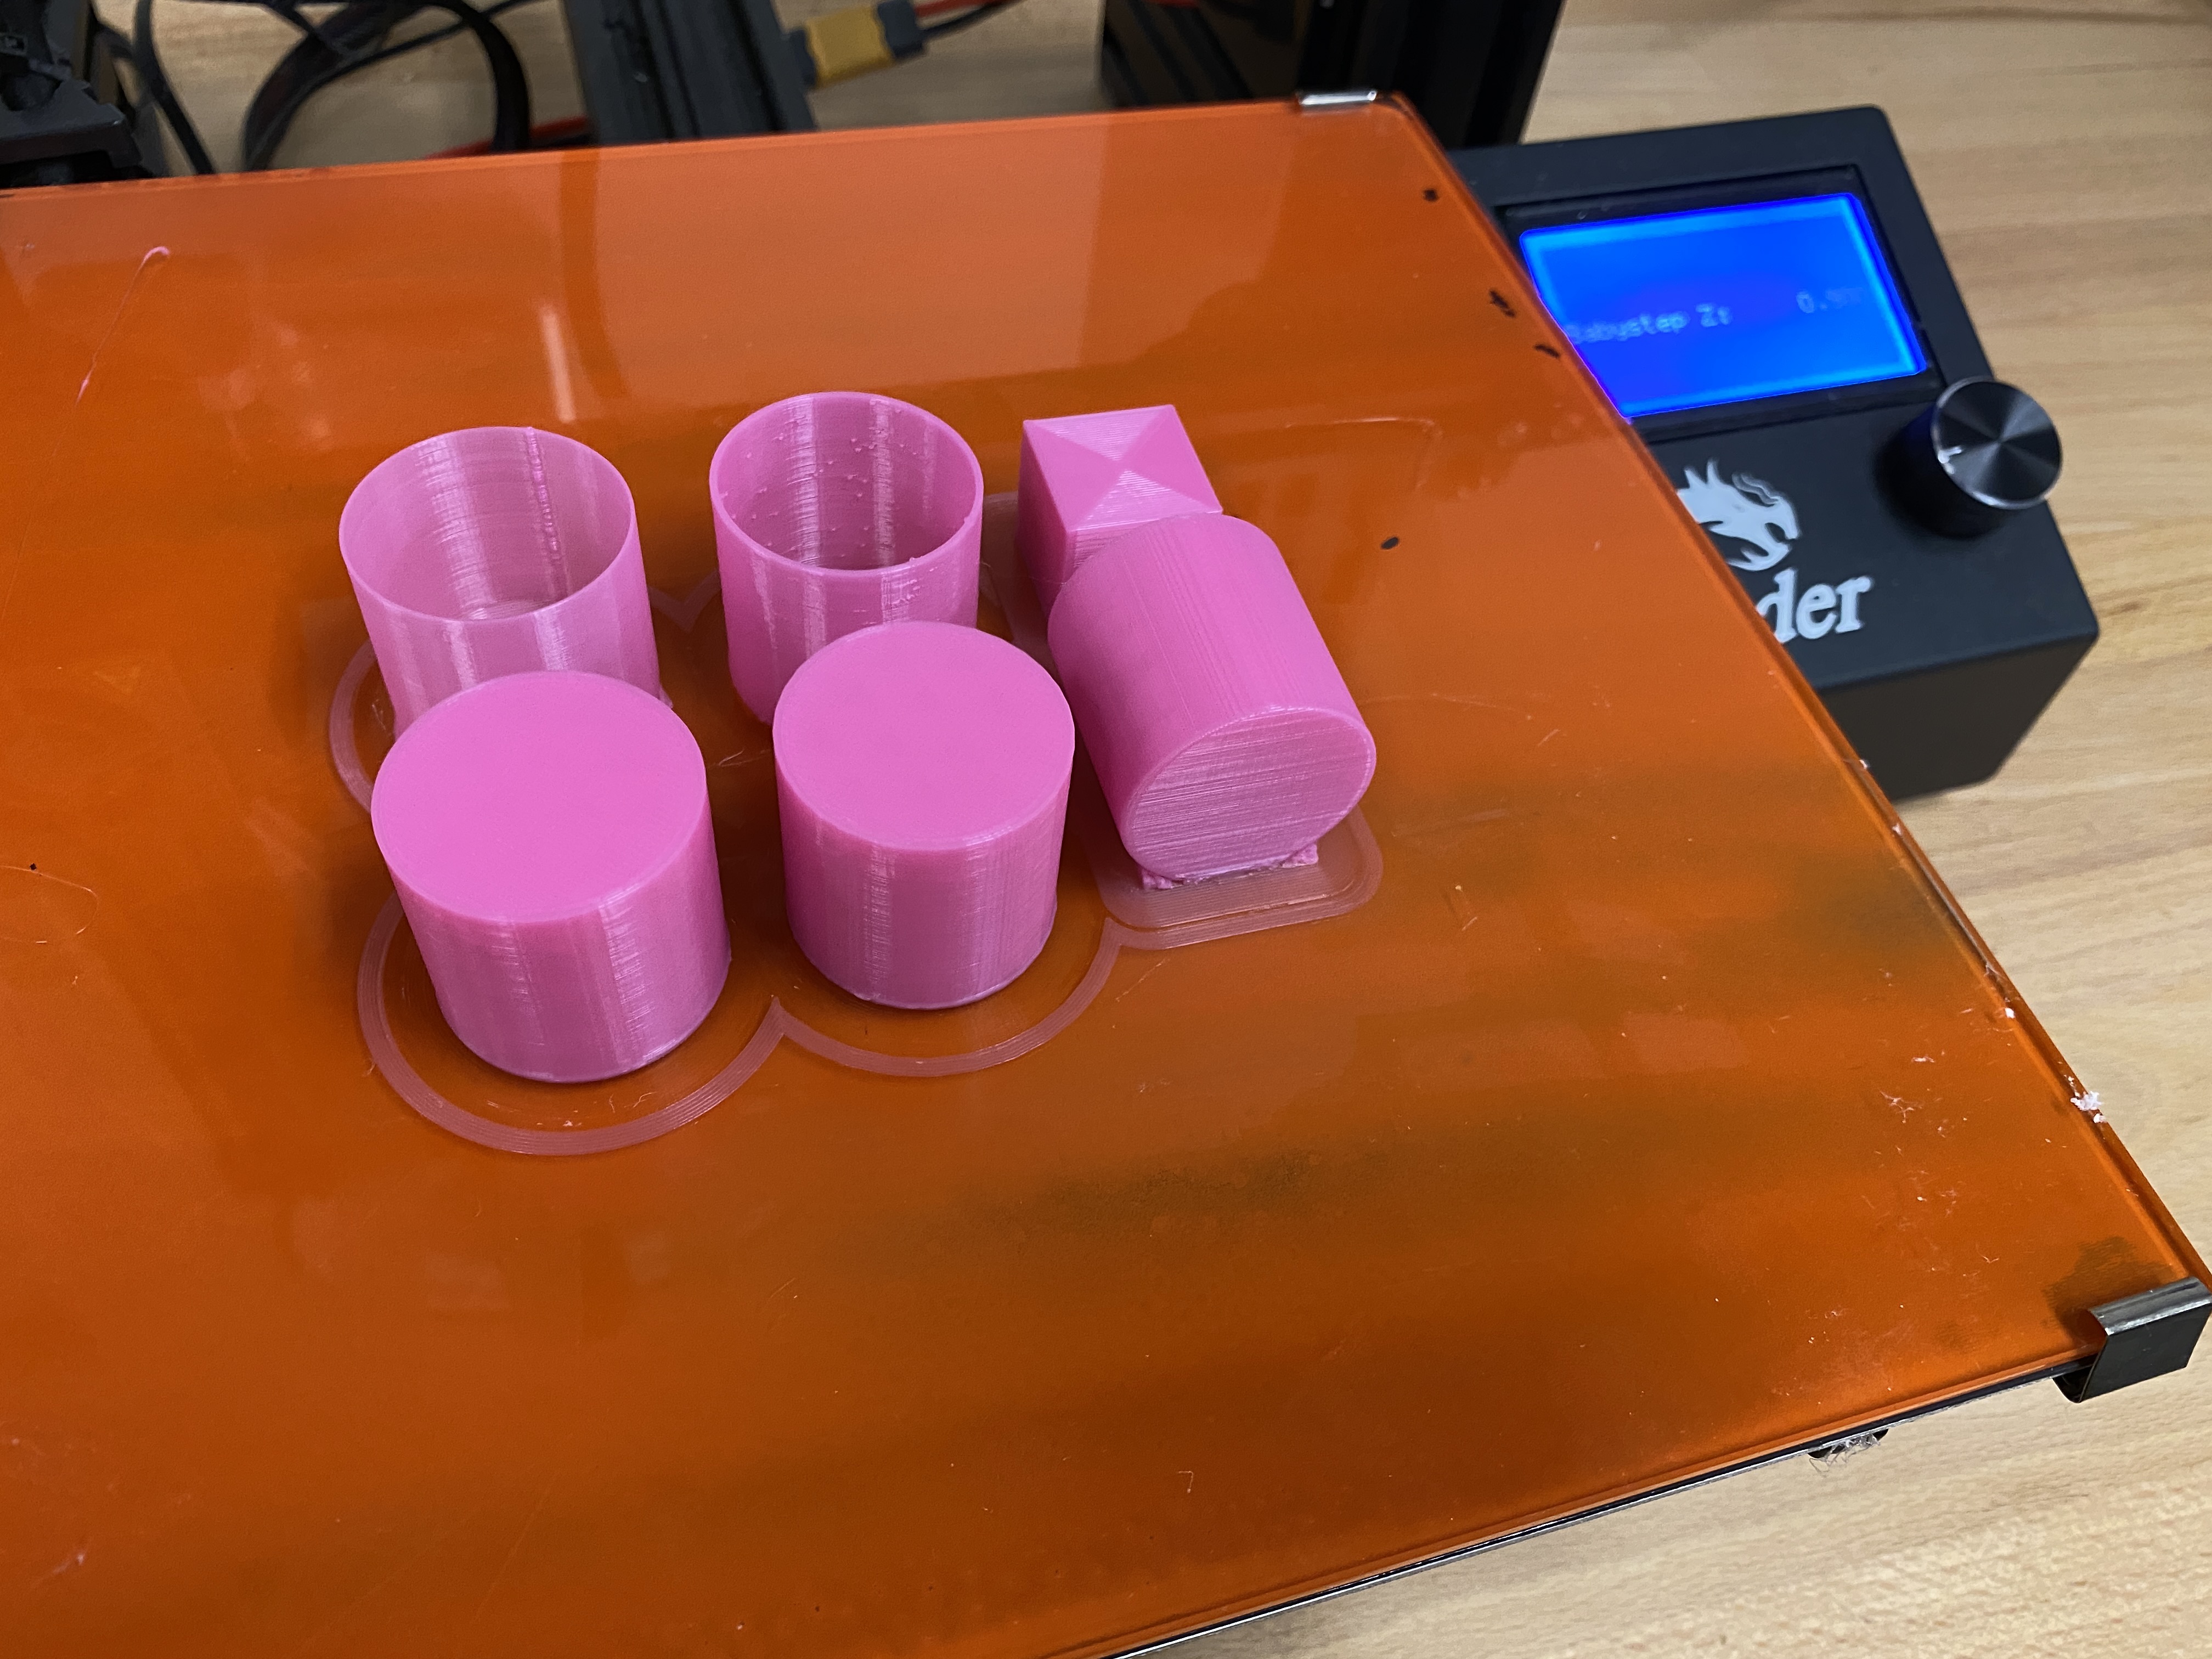
There are a few different ways of making single-walled and double-walled tube. I chose to play with the settings in the slicing software. I changed the ‘wall line count’ to 1 and 2 for the two tubes, changed the infill to 0%, and set top and bottom layer numbers to 0.
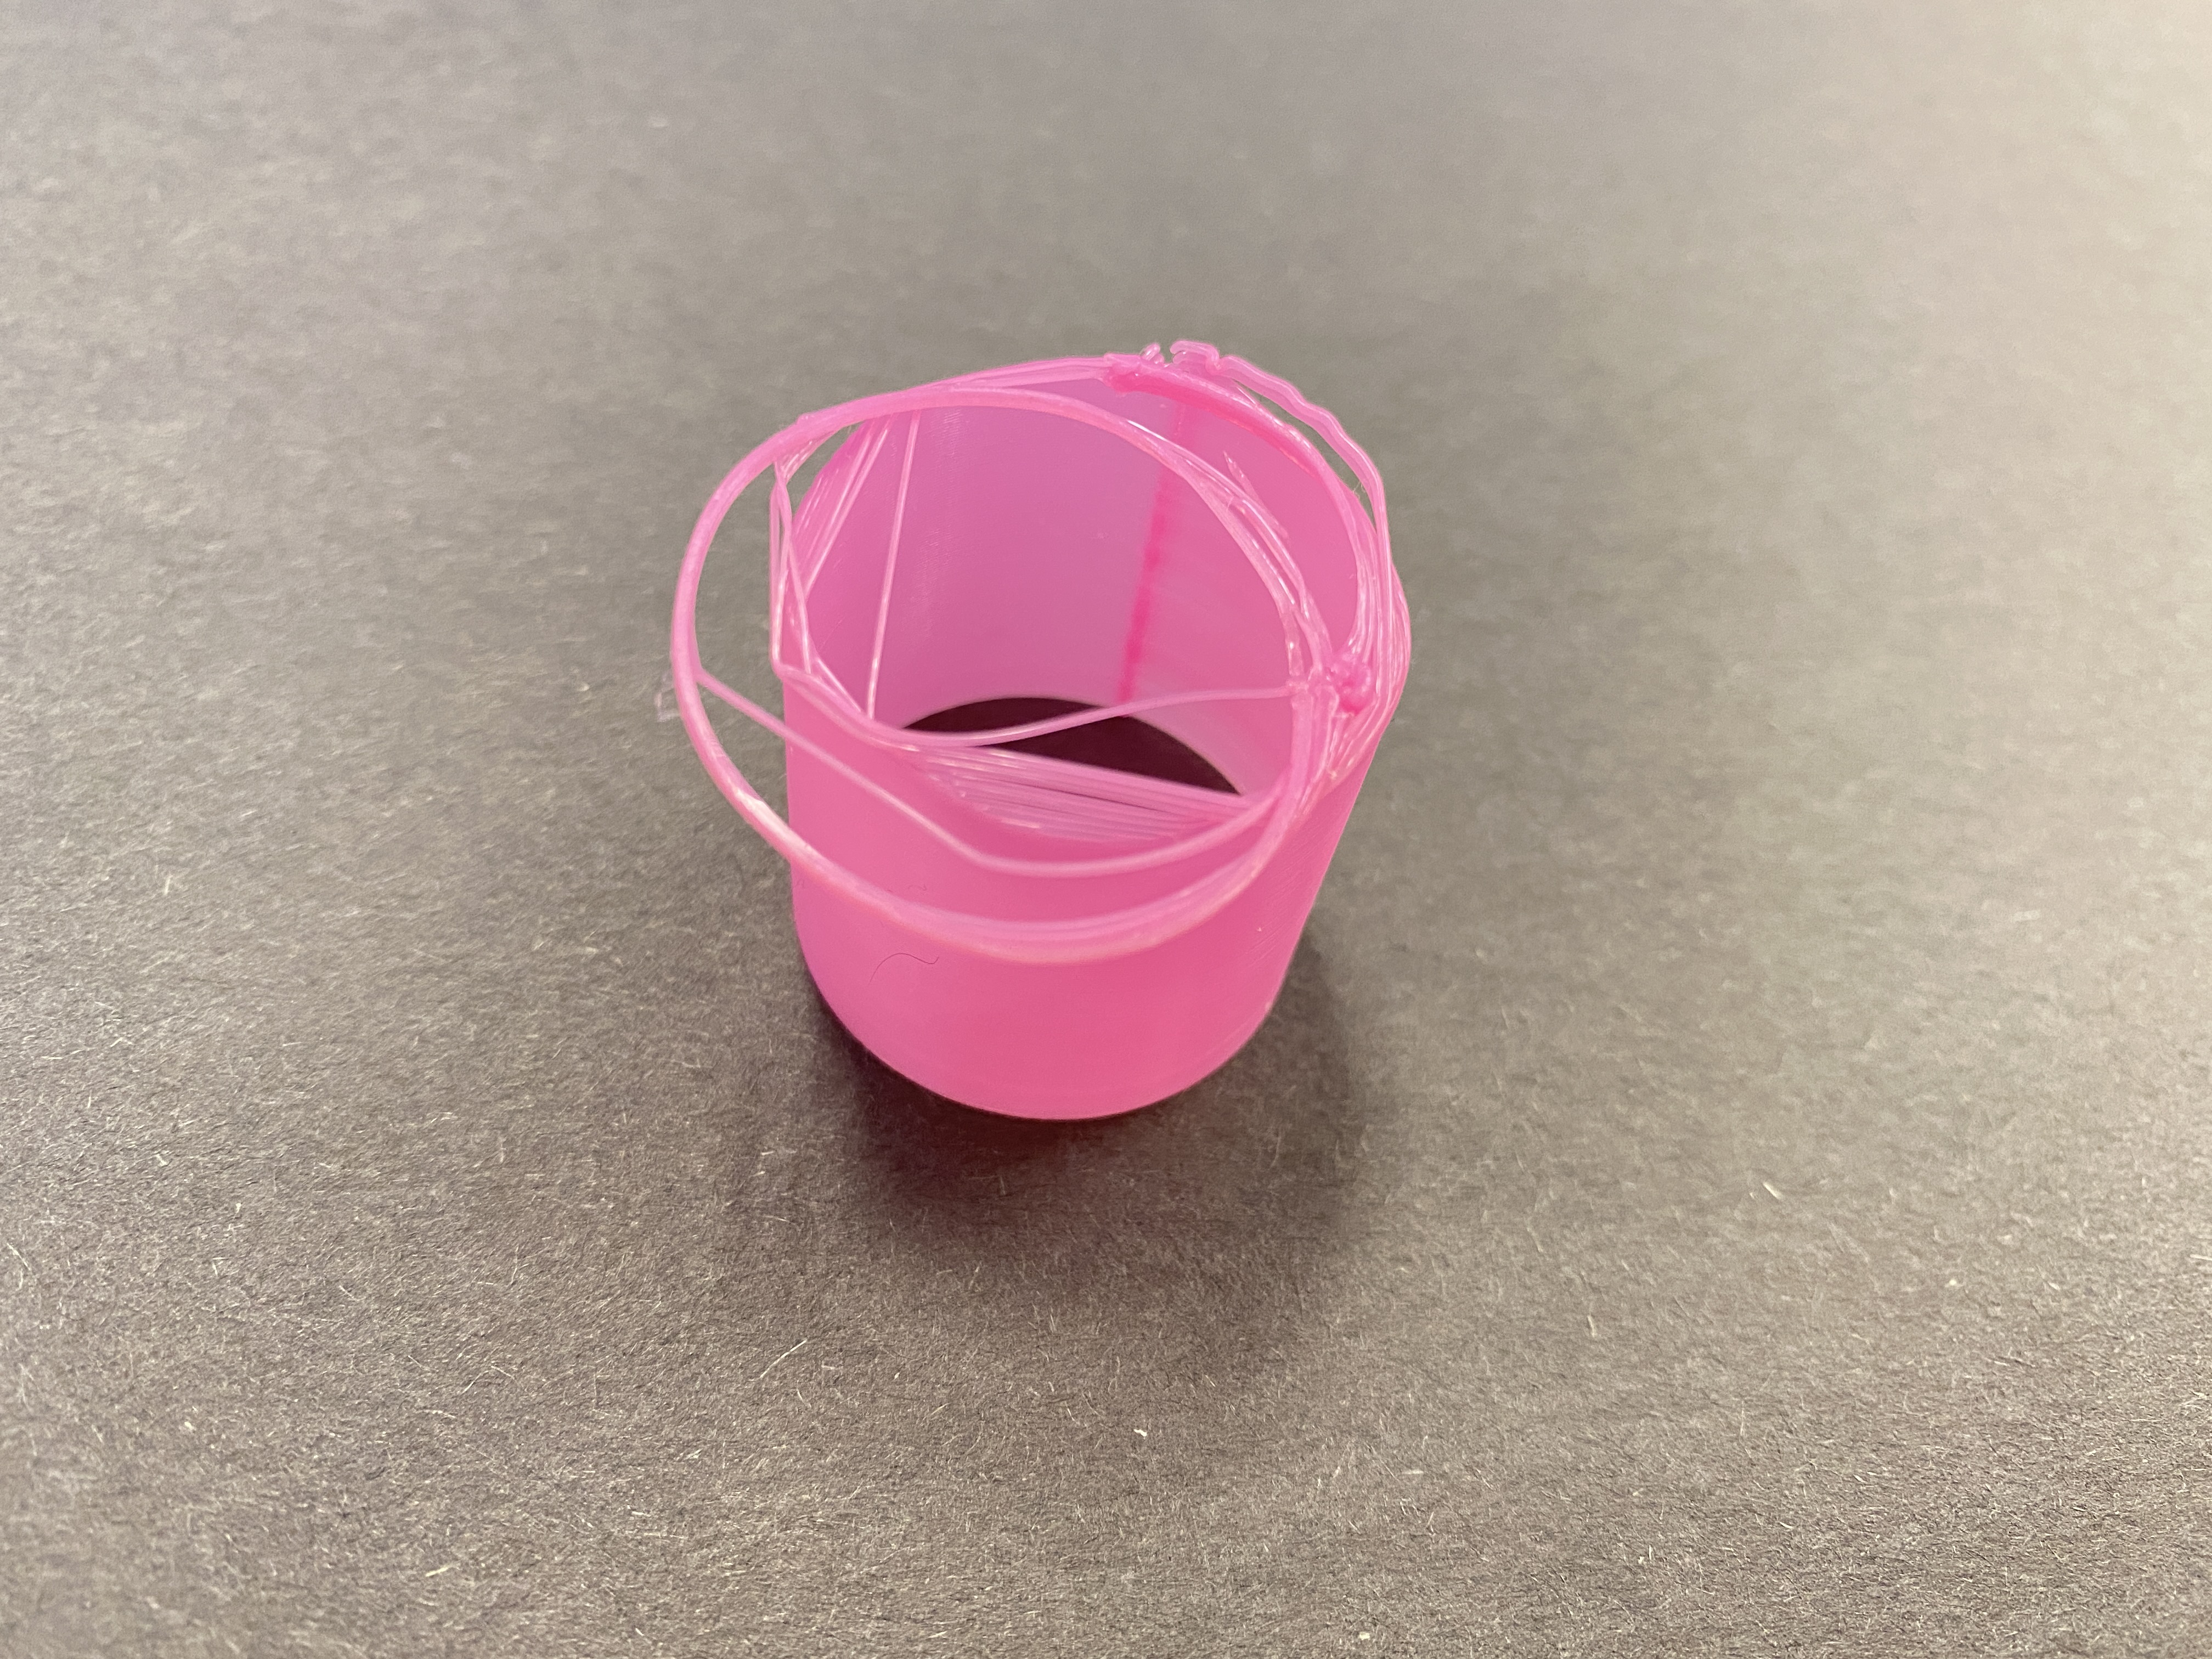
It was not a 100% success, I will admit. But that is because I have a wrong z-offset to begin with. The nozzle was firmly pressed against the bed and nothing was actually coming out of the nozzle. When the printer failed to push filament forward, it makes a clicky sound as the gear failed to bite on the filament. I noticed this noise and immediately babystepped z axis on the printer’s screen. Then material started coming out of the nozzle and printing proceeded. As shown in the photo, the brim is not connected to the model, so for the thin-walled tubes the adhesion was compromised. Nevertheless, the following layers got supported by randomly distributed filament and the print actually built up.
The stl that was exported with 0.001 mm tolerance yielded visibly better print than that with 0.1 mm tolerance. The model on the left has a polygonal cross-section while the model in the middle has a circular cross-section. The model on the right was printed on its side with support, but since it is not possible to have a contact area infinitely close to 0, it looks like it’s sliced off.
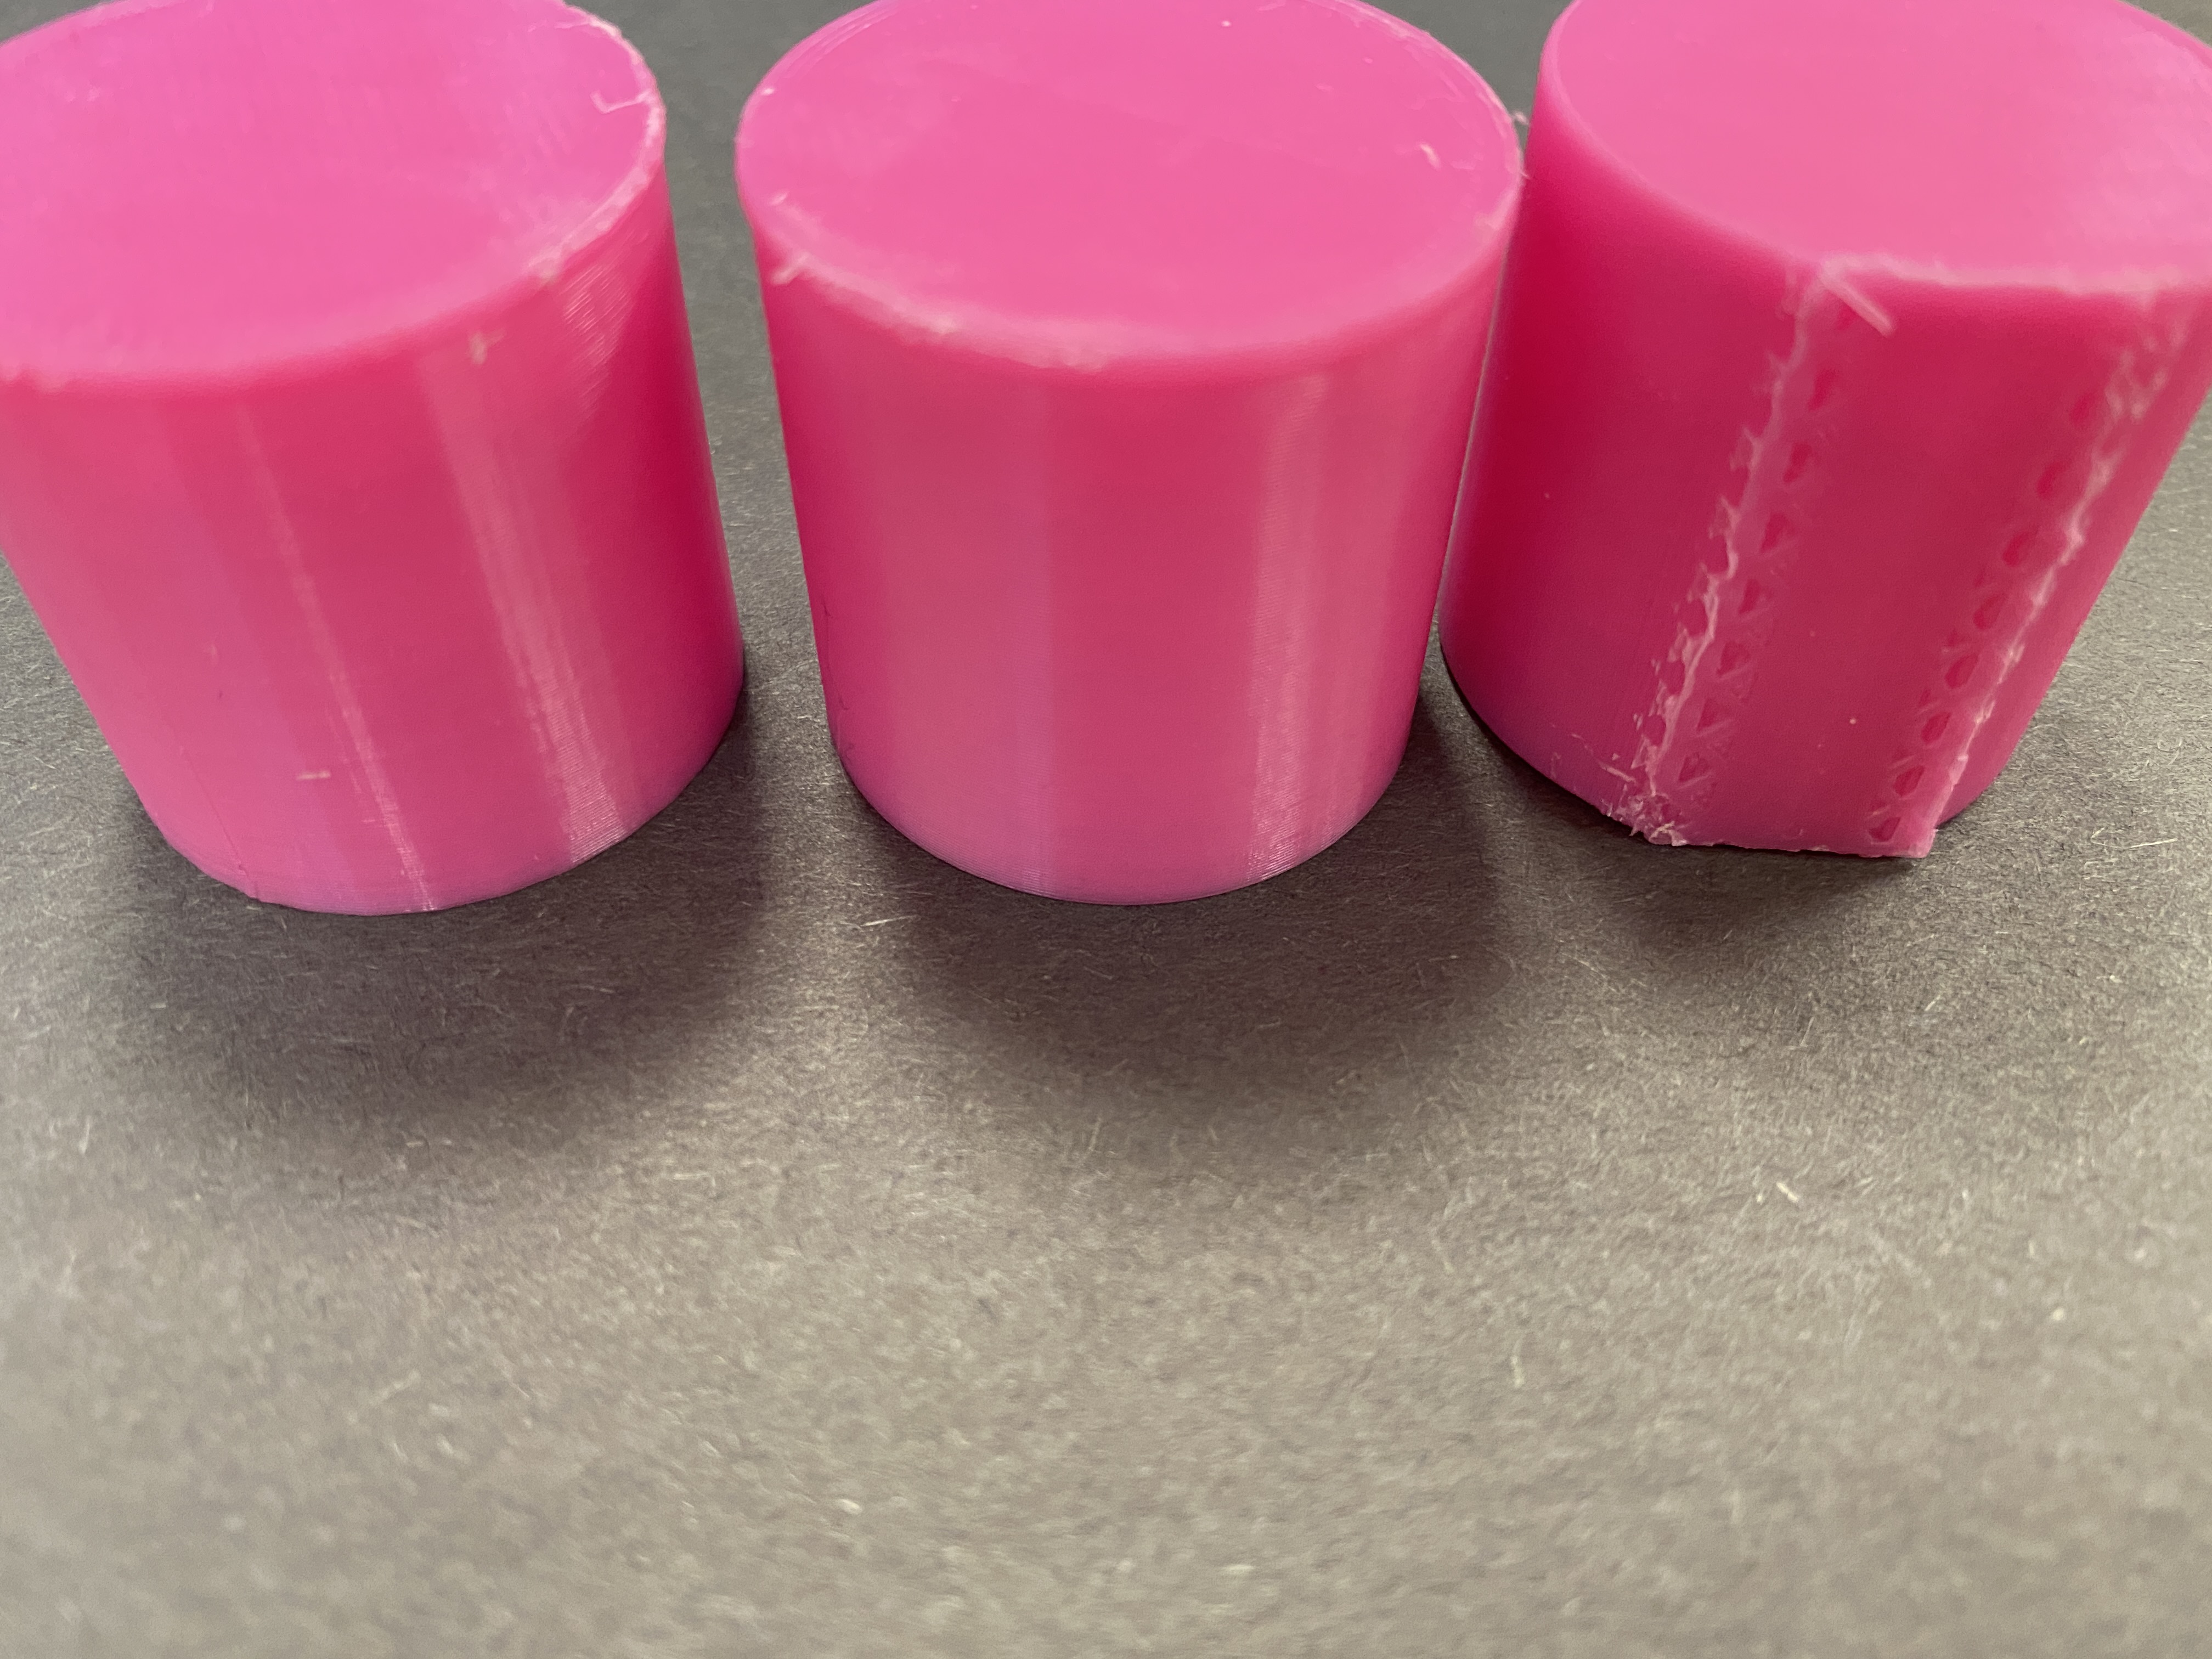
Random z-seam is something I tried for the first time. Although on a tube, the stringing effect makes the surface kind of bumpy. Oh maybe that could be some friction mechanism! Or acupuncture ring.

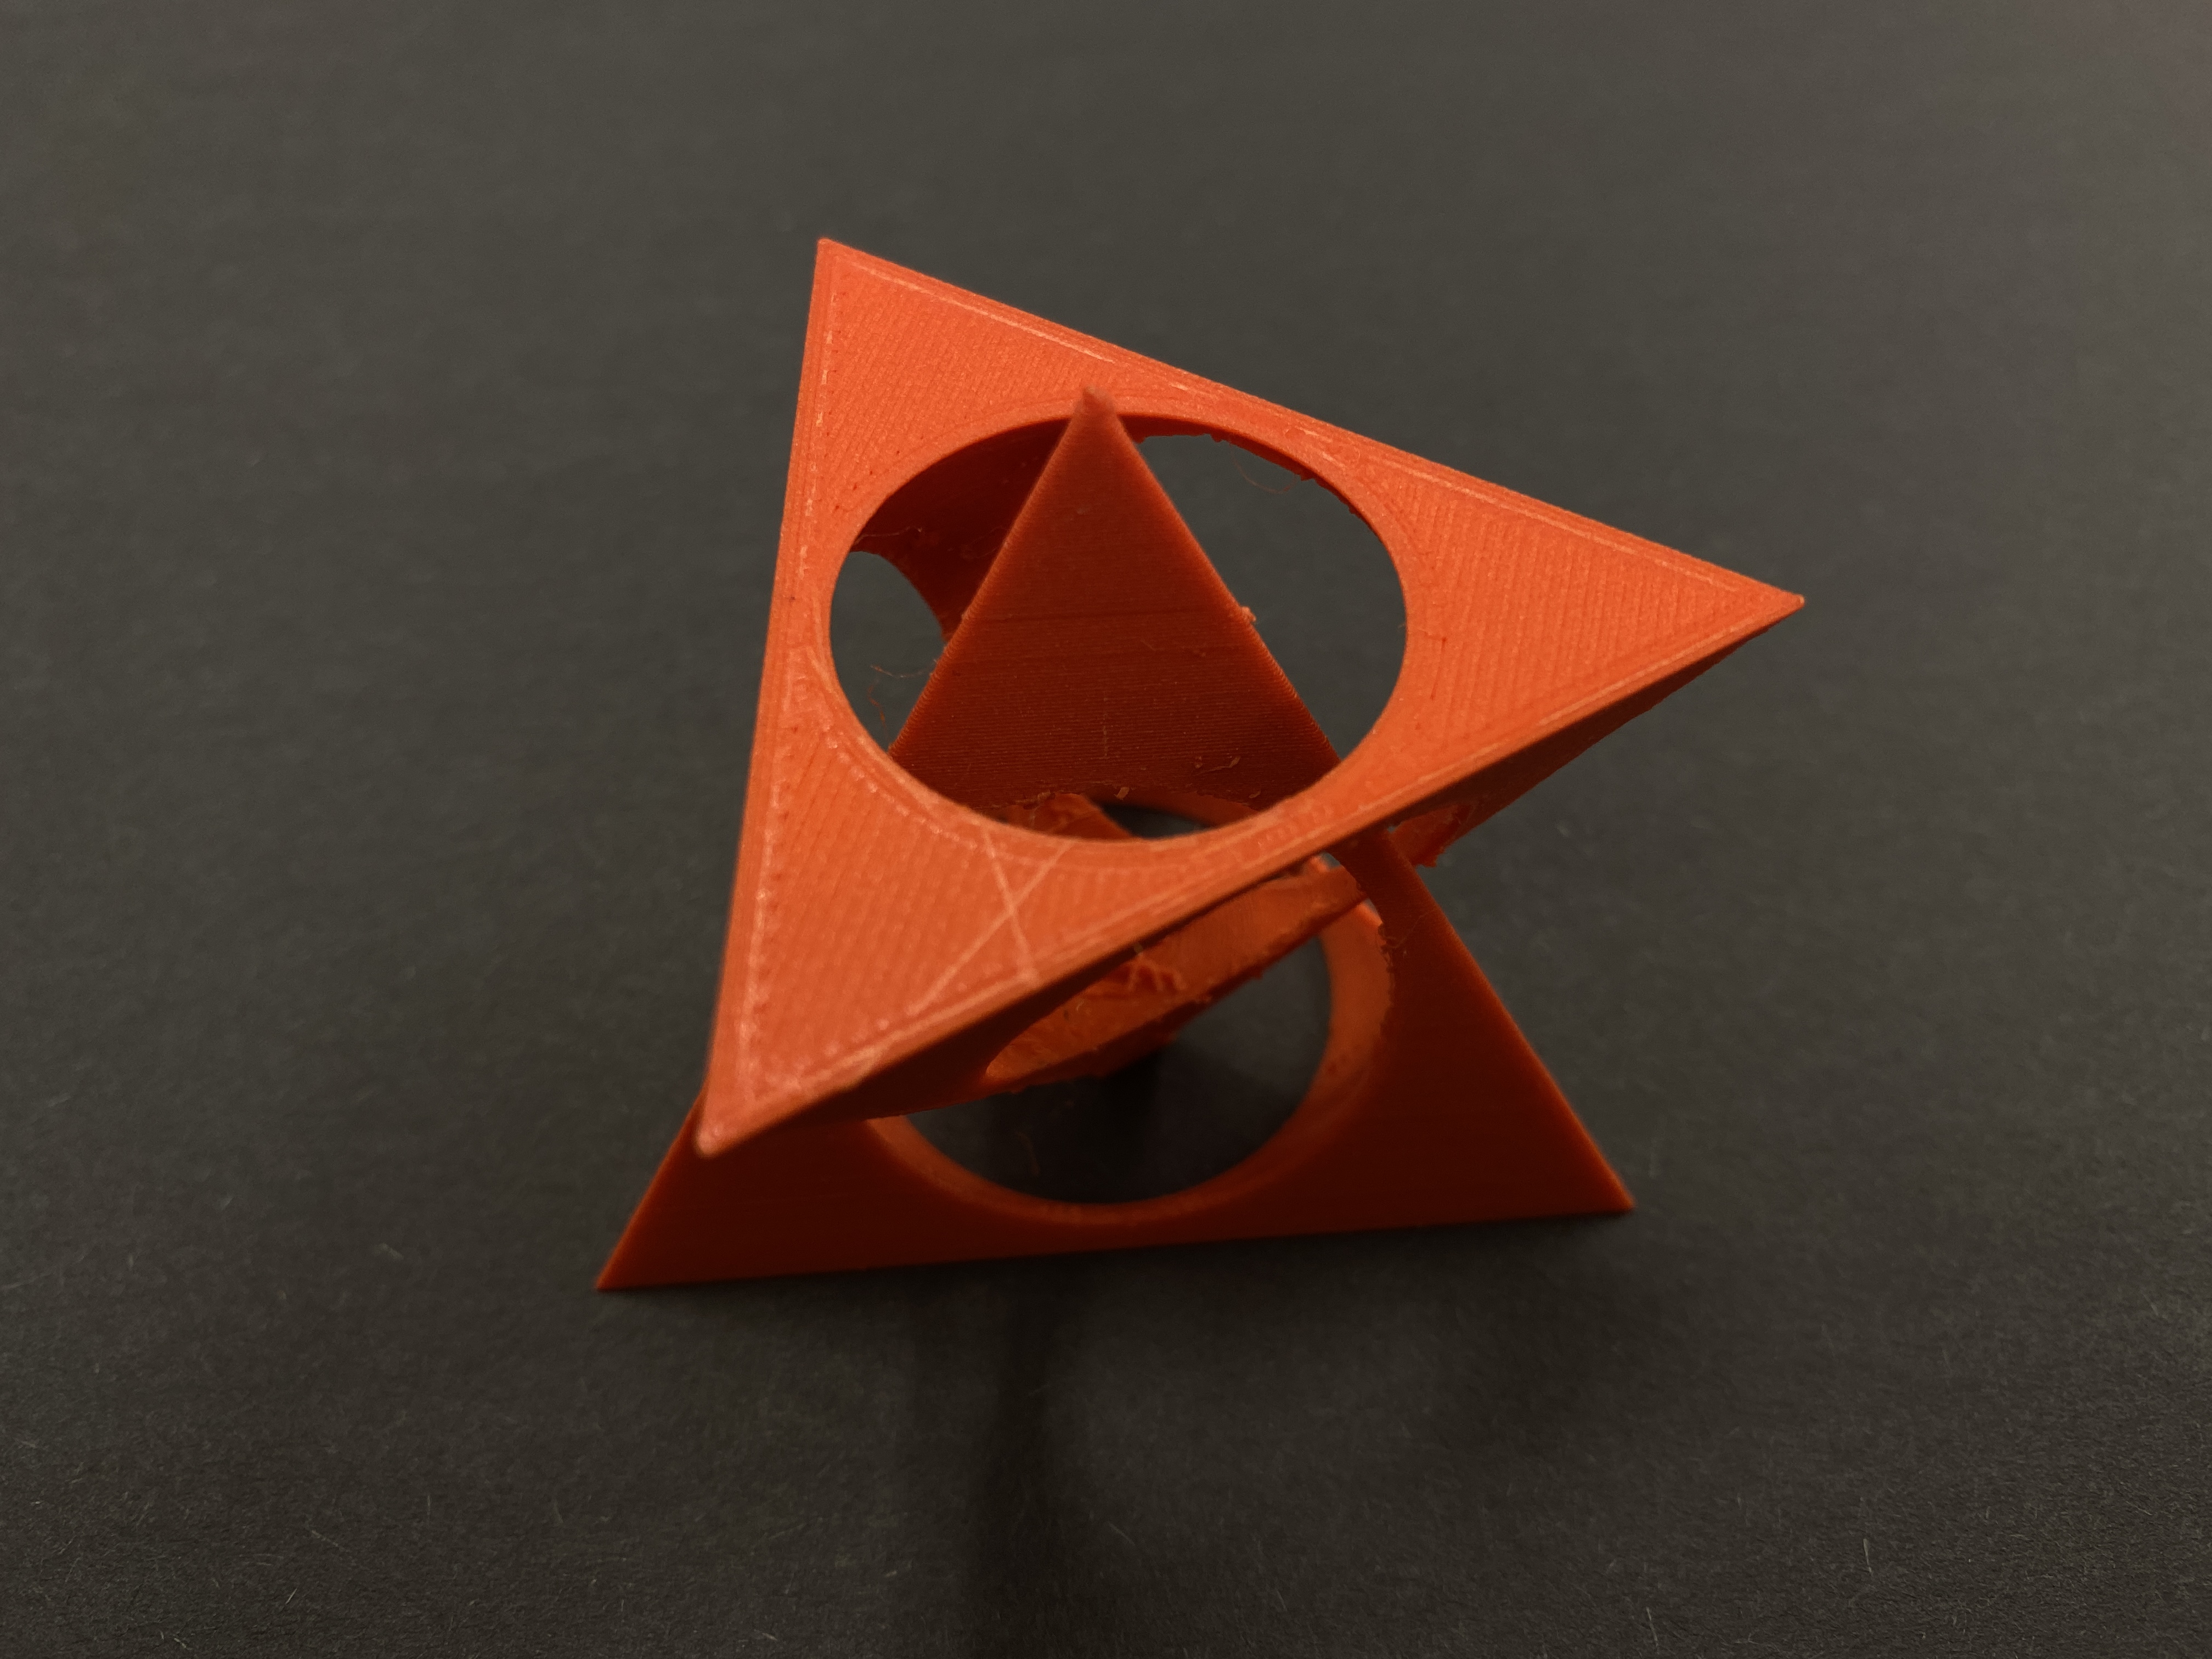
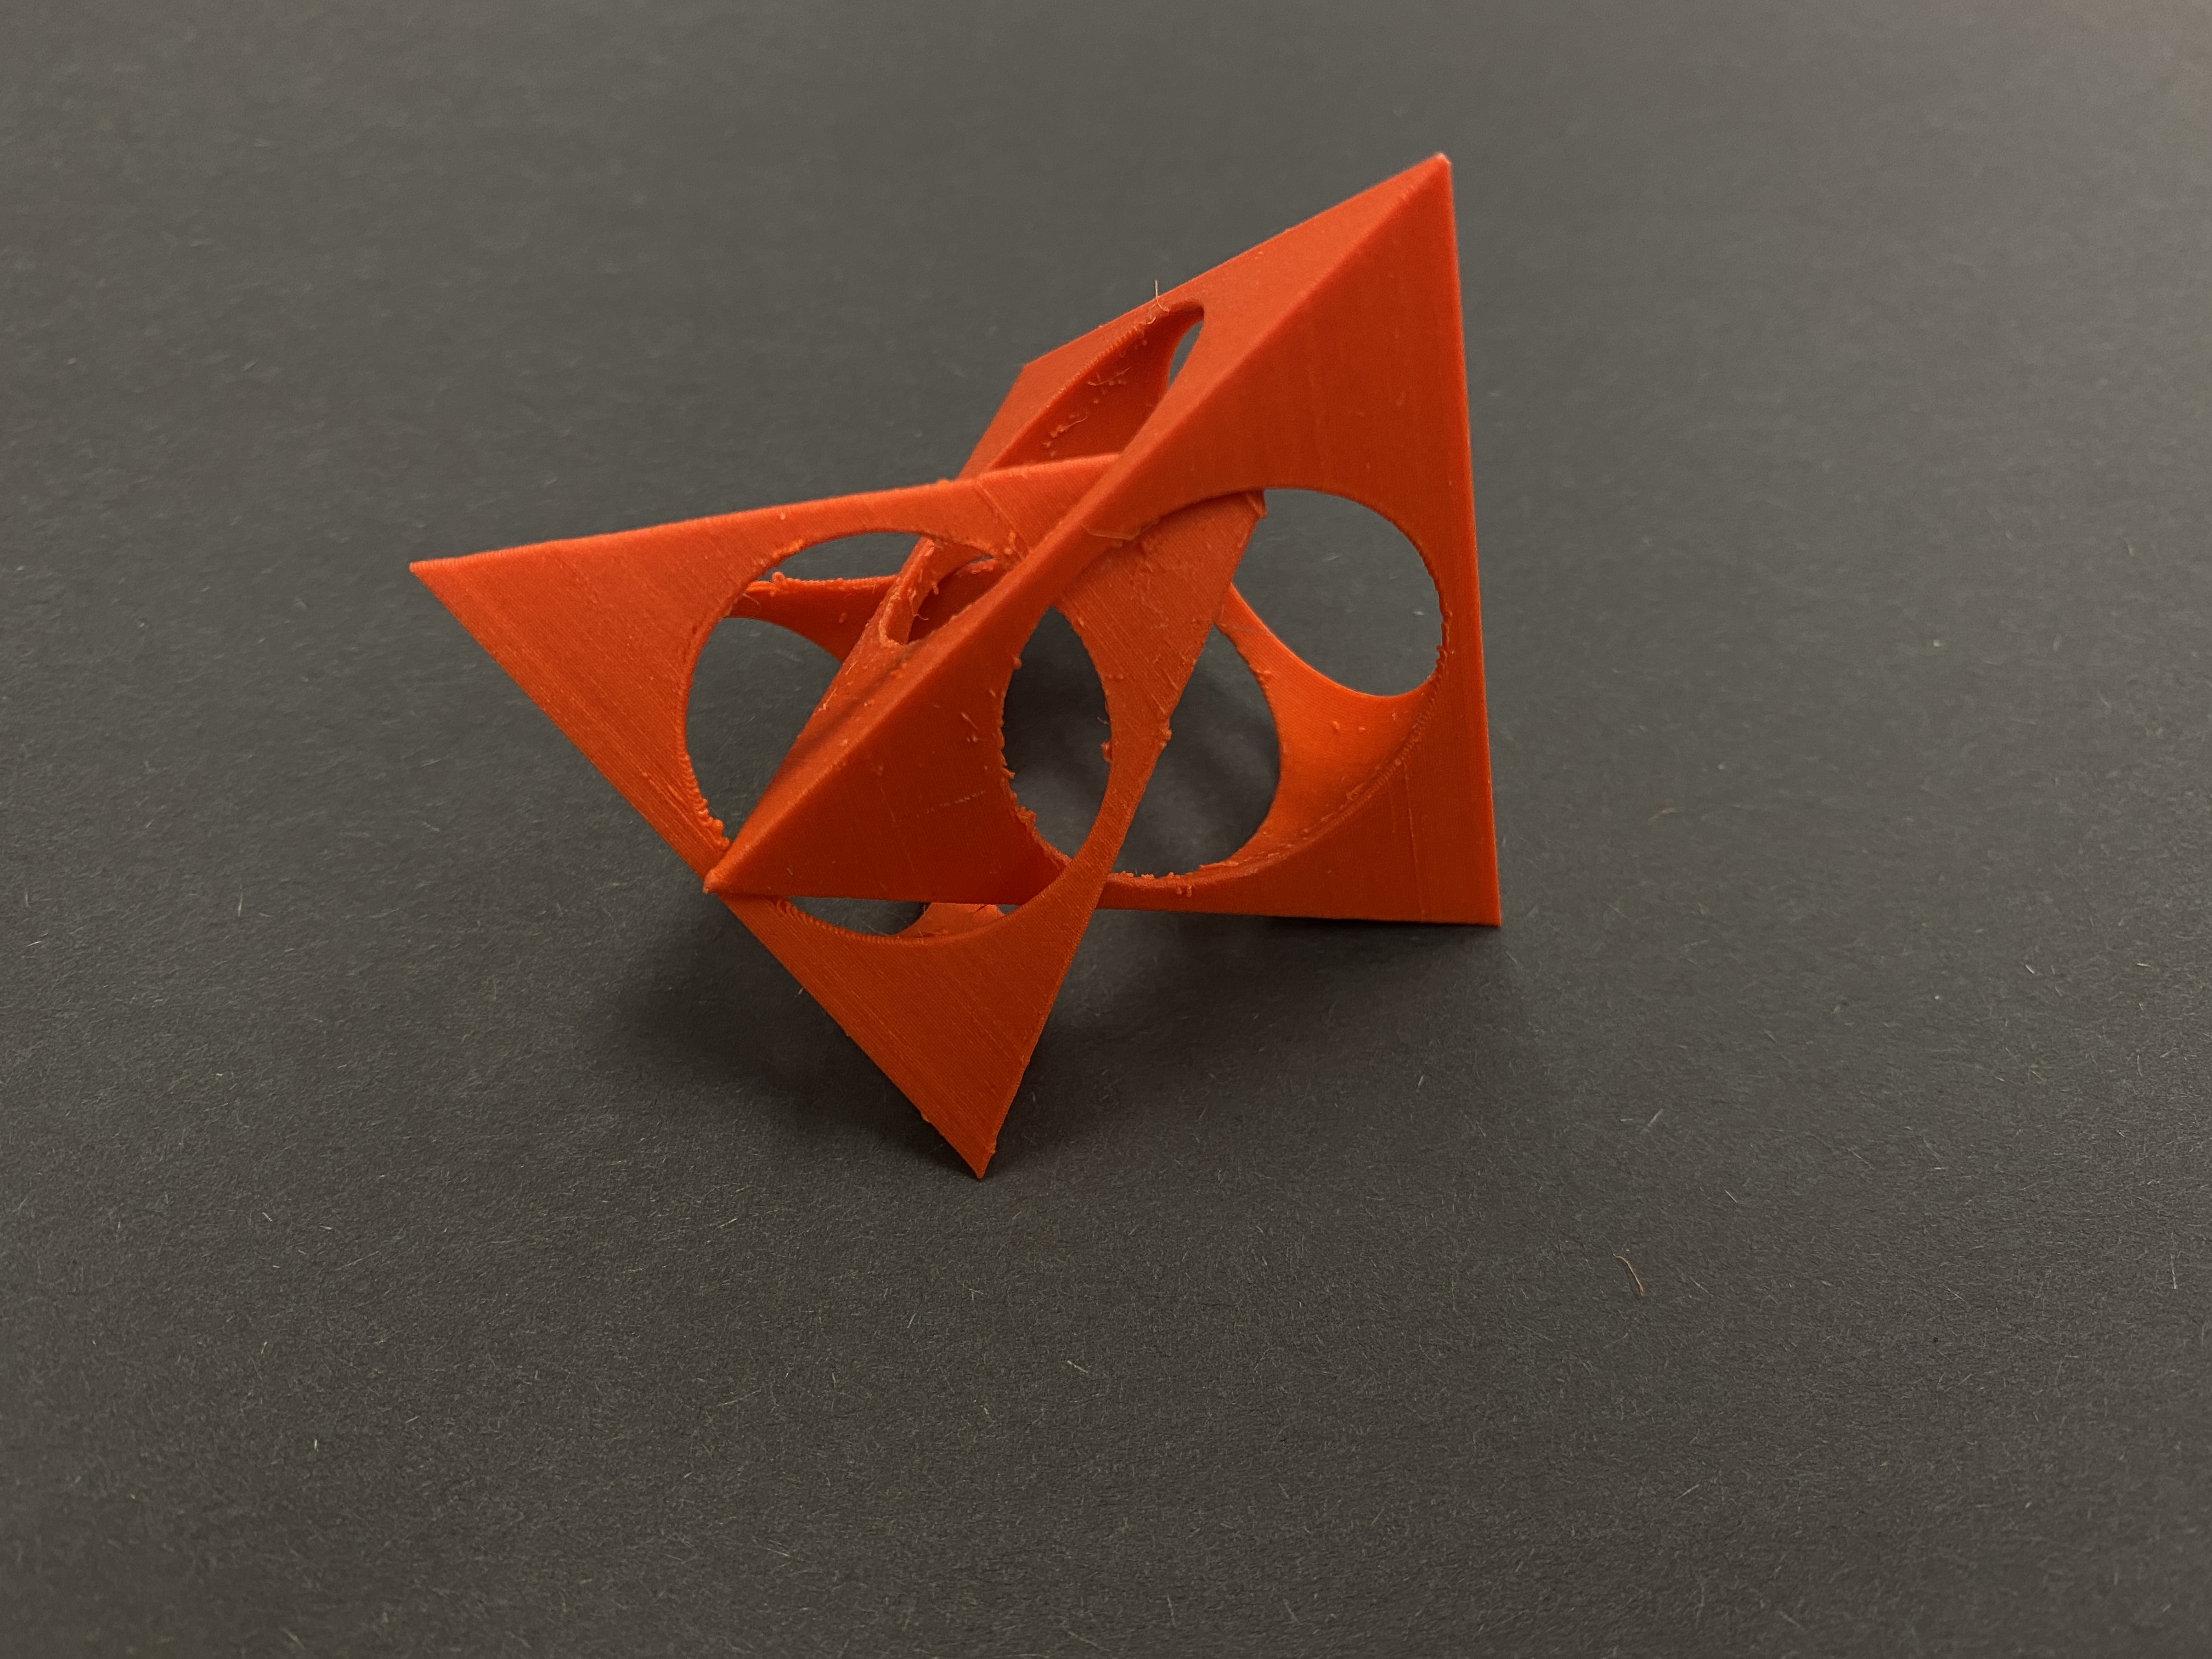
Nested object
I continued with the traits of making tetrahedron-based shapes.
I had to use support for the overhang. Printers can print overhangs support-free below certain angle. My impression is that if the new layer is touching the previous layer, there is a good chance it can hang in there. I checked the print preview of my model and the overhang structure is supposed to be printed in mid-air, so that’s not going to work.
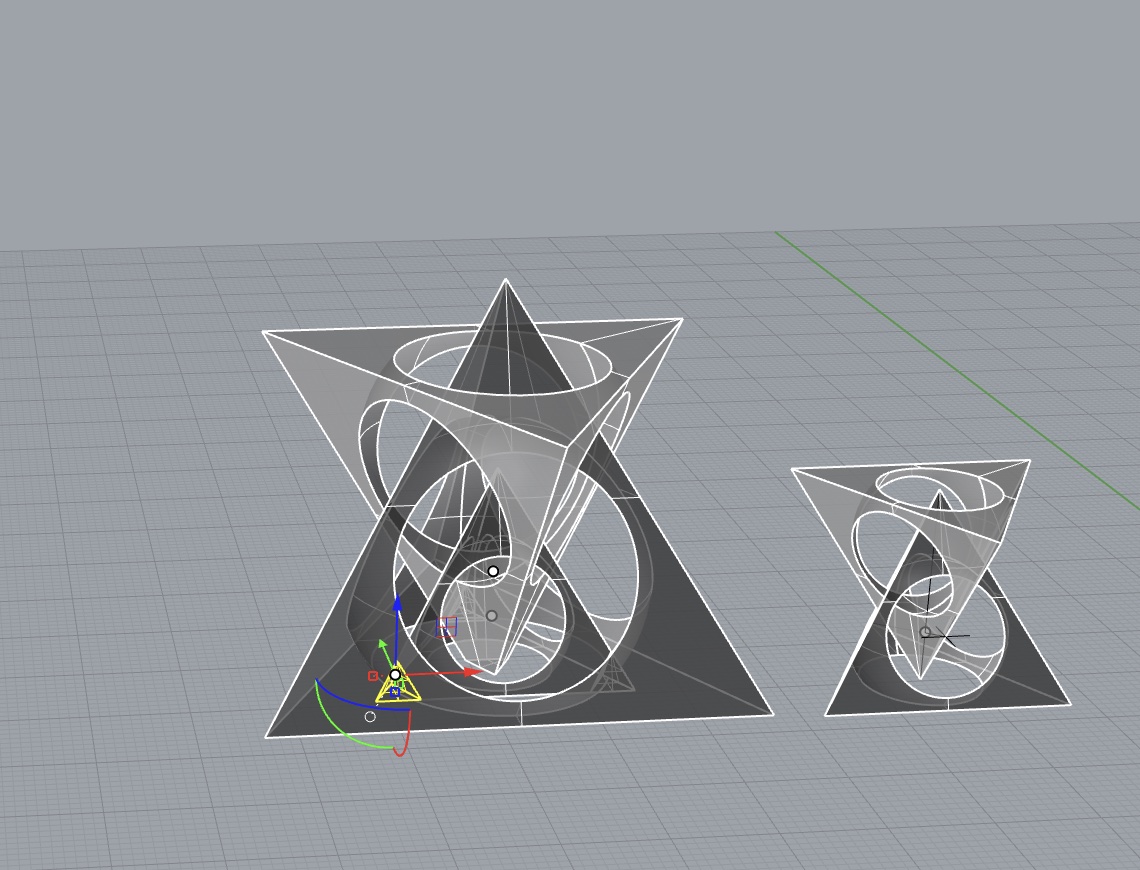
The two prints failed on different issue with the support. Removing the support destroys the small tetrahedron, so I got two nested tetrahedra. But anyway, here it is.
Rhino file: