I’m back with all my energy for fun stuff and I’m going to build a lamp.
I again used this tiki head from Thingiverse made by Julien_DaCosta.
test print
As I planned last week, I’m trying to make the tiki head eat a bulb. But this would put the lamp base on the outside of the statue, missing the whole point of designing around constraints and engineering measurements. So I decided that I’ll place the lamp inside the head. I’ll use the shoulder as the base of the lamp and use the face as the lamp shade.
I first tried to disassemble my lamp base to see if there is a smarter way of making a structure that fits. I figured that there is this ring structure that can be removed. I looked inside of the ring and found that there was one spiral inside of it that allows it to thread on. I decided to make a base for the lamp that would thread in the bulb base.
I measured the dimension of the ring and replicate to see if I have the correct tolerance. And I did! Yay! The original ring that I removed is in the background of this picture.
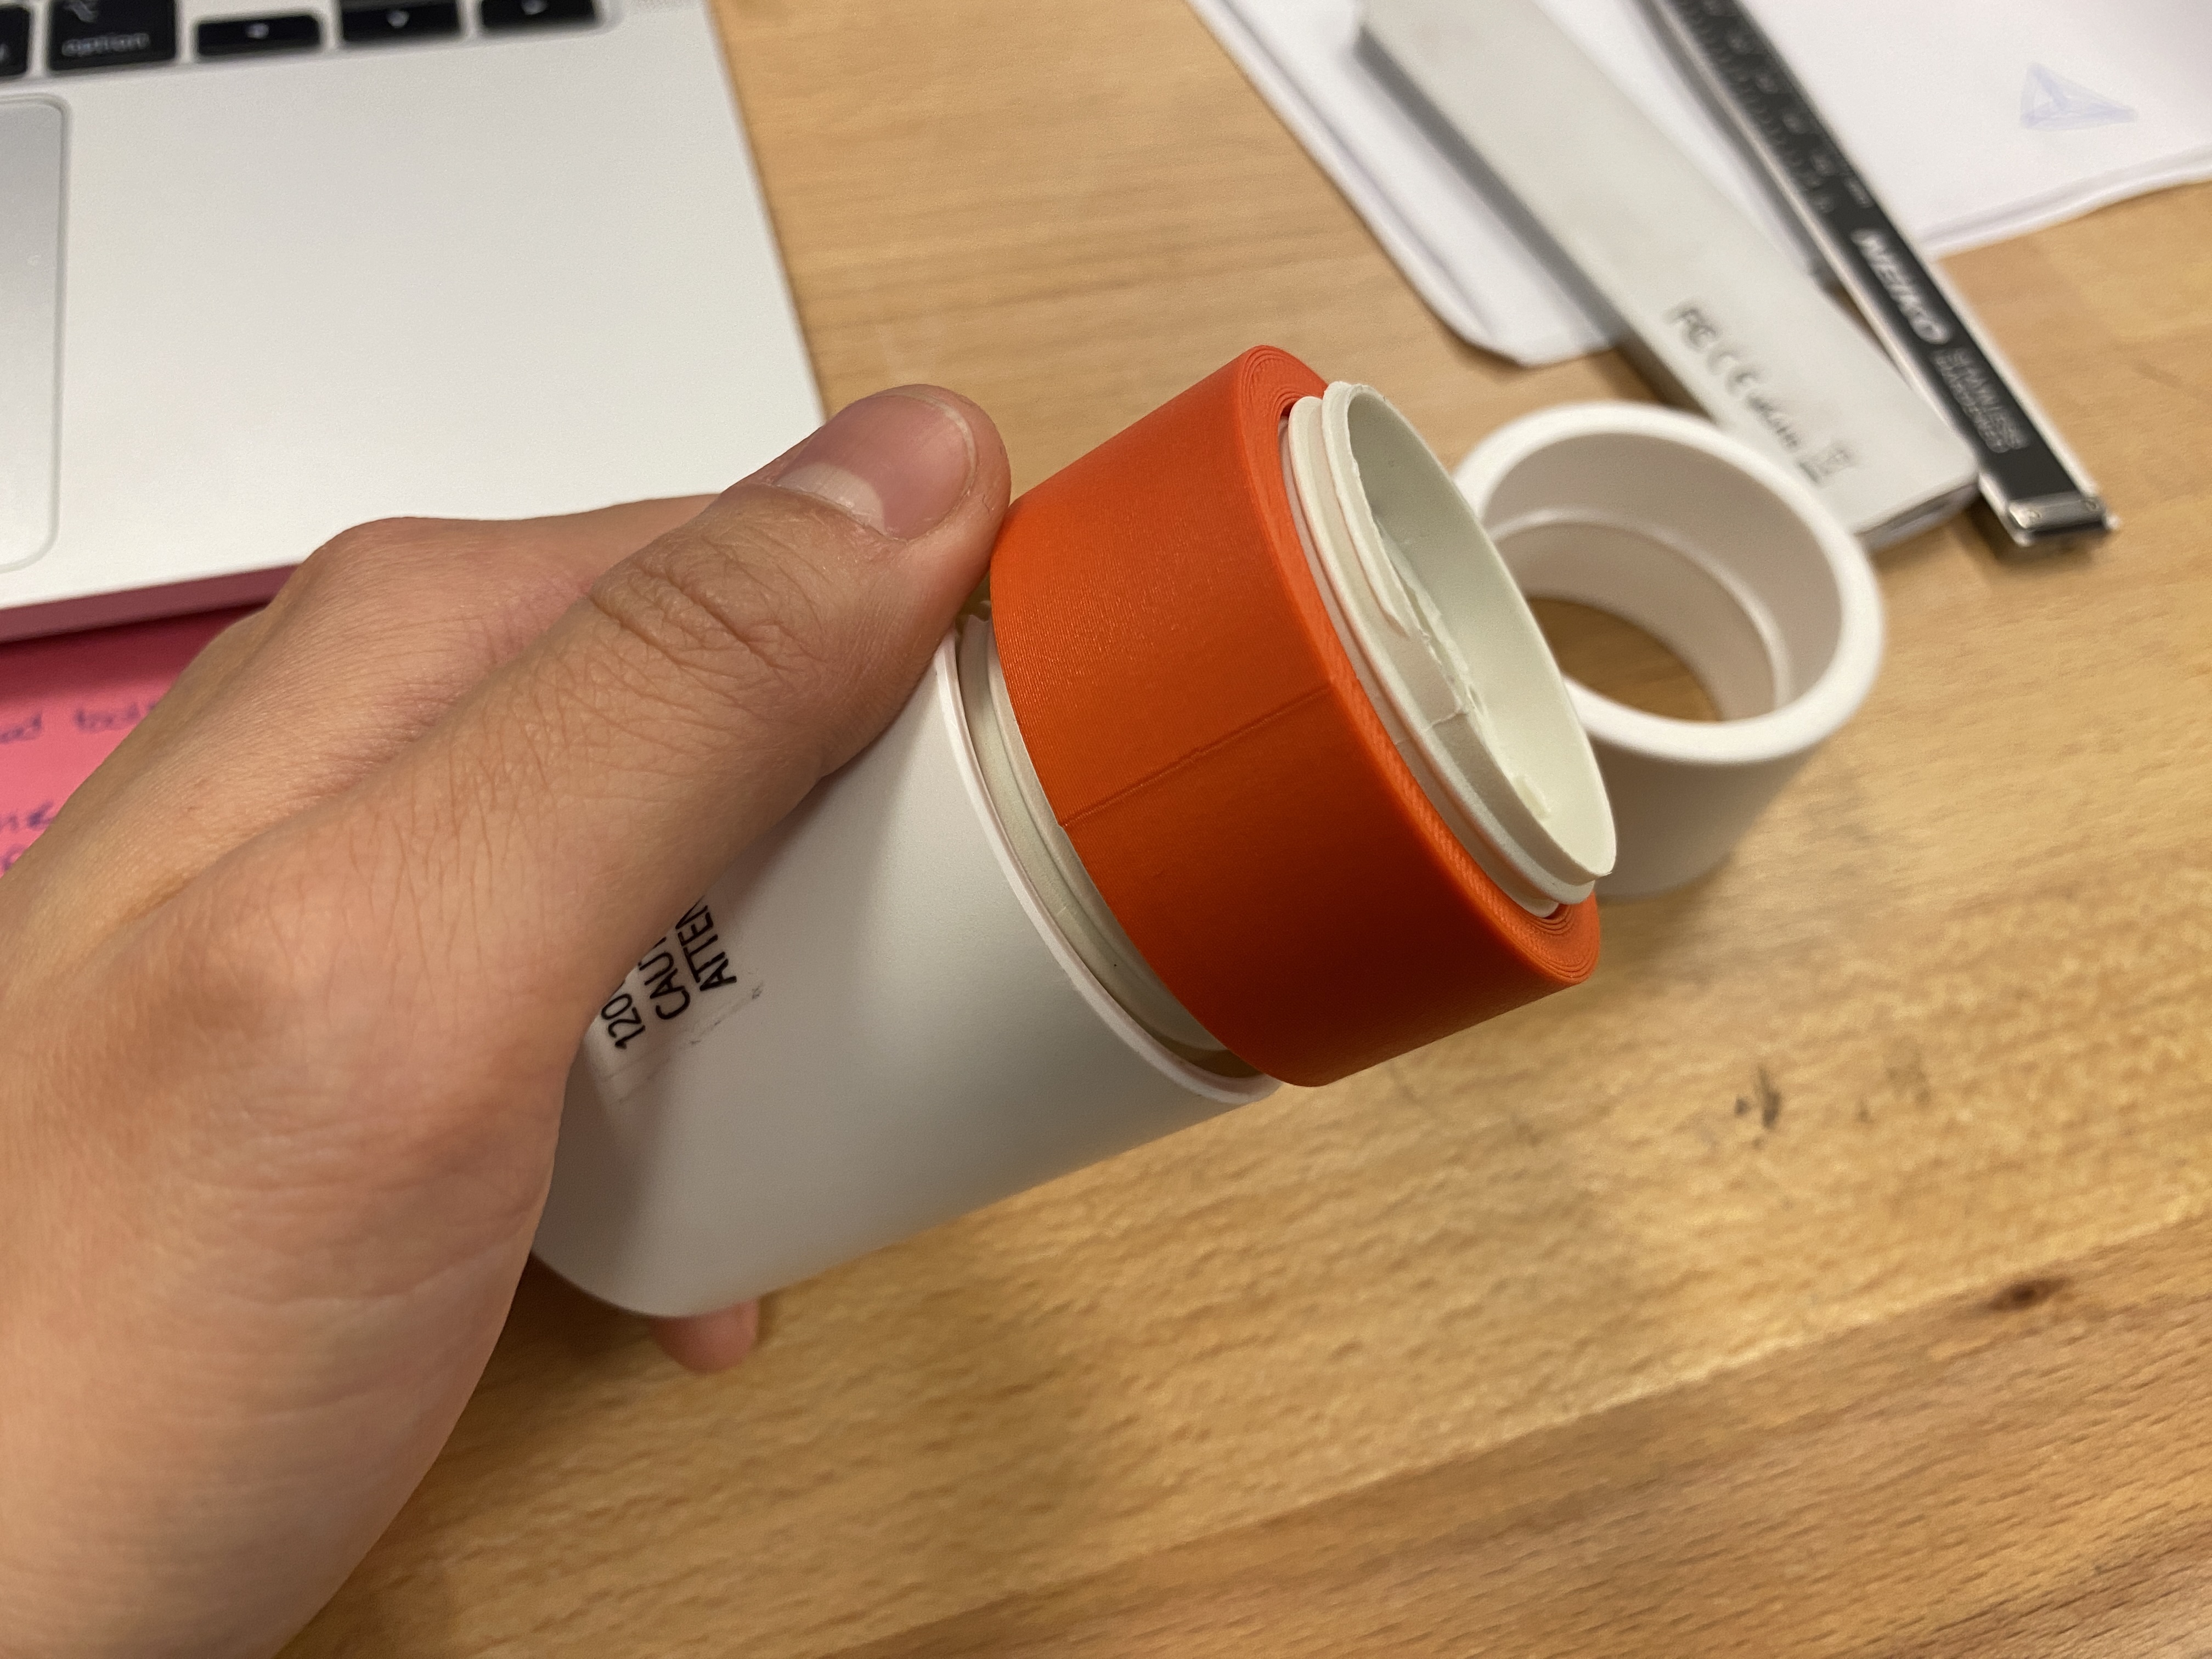
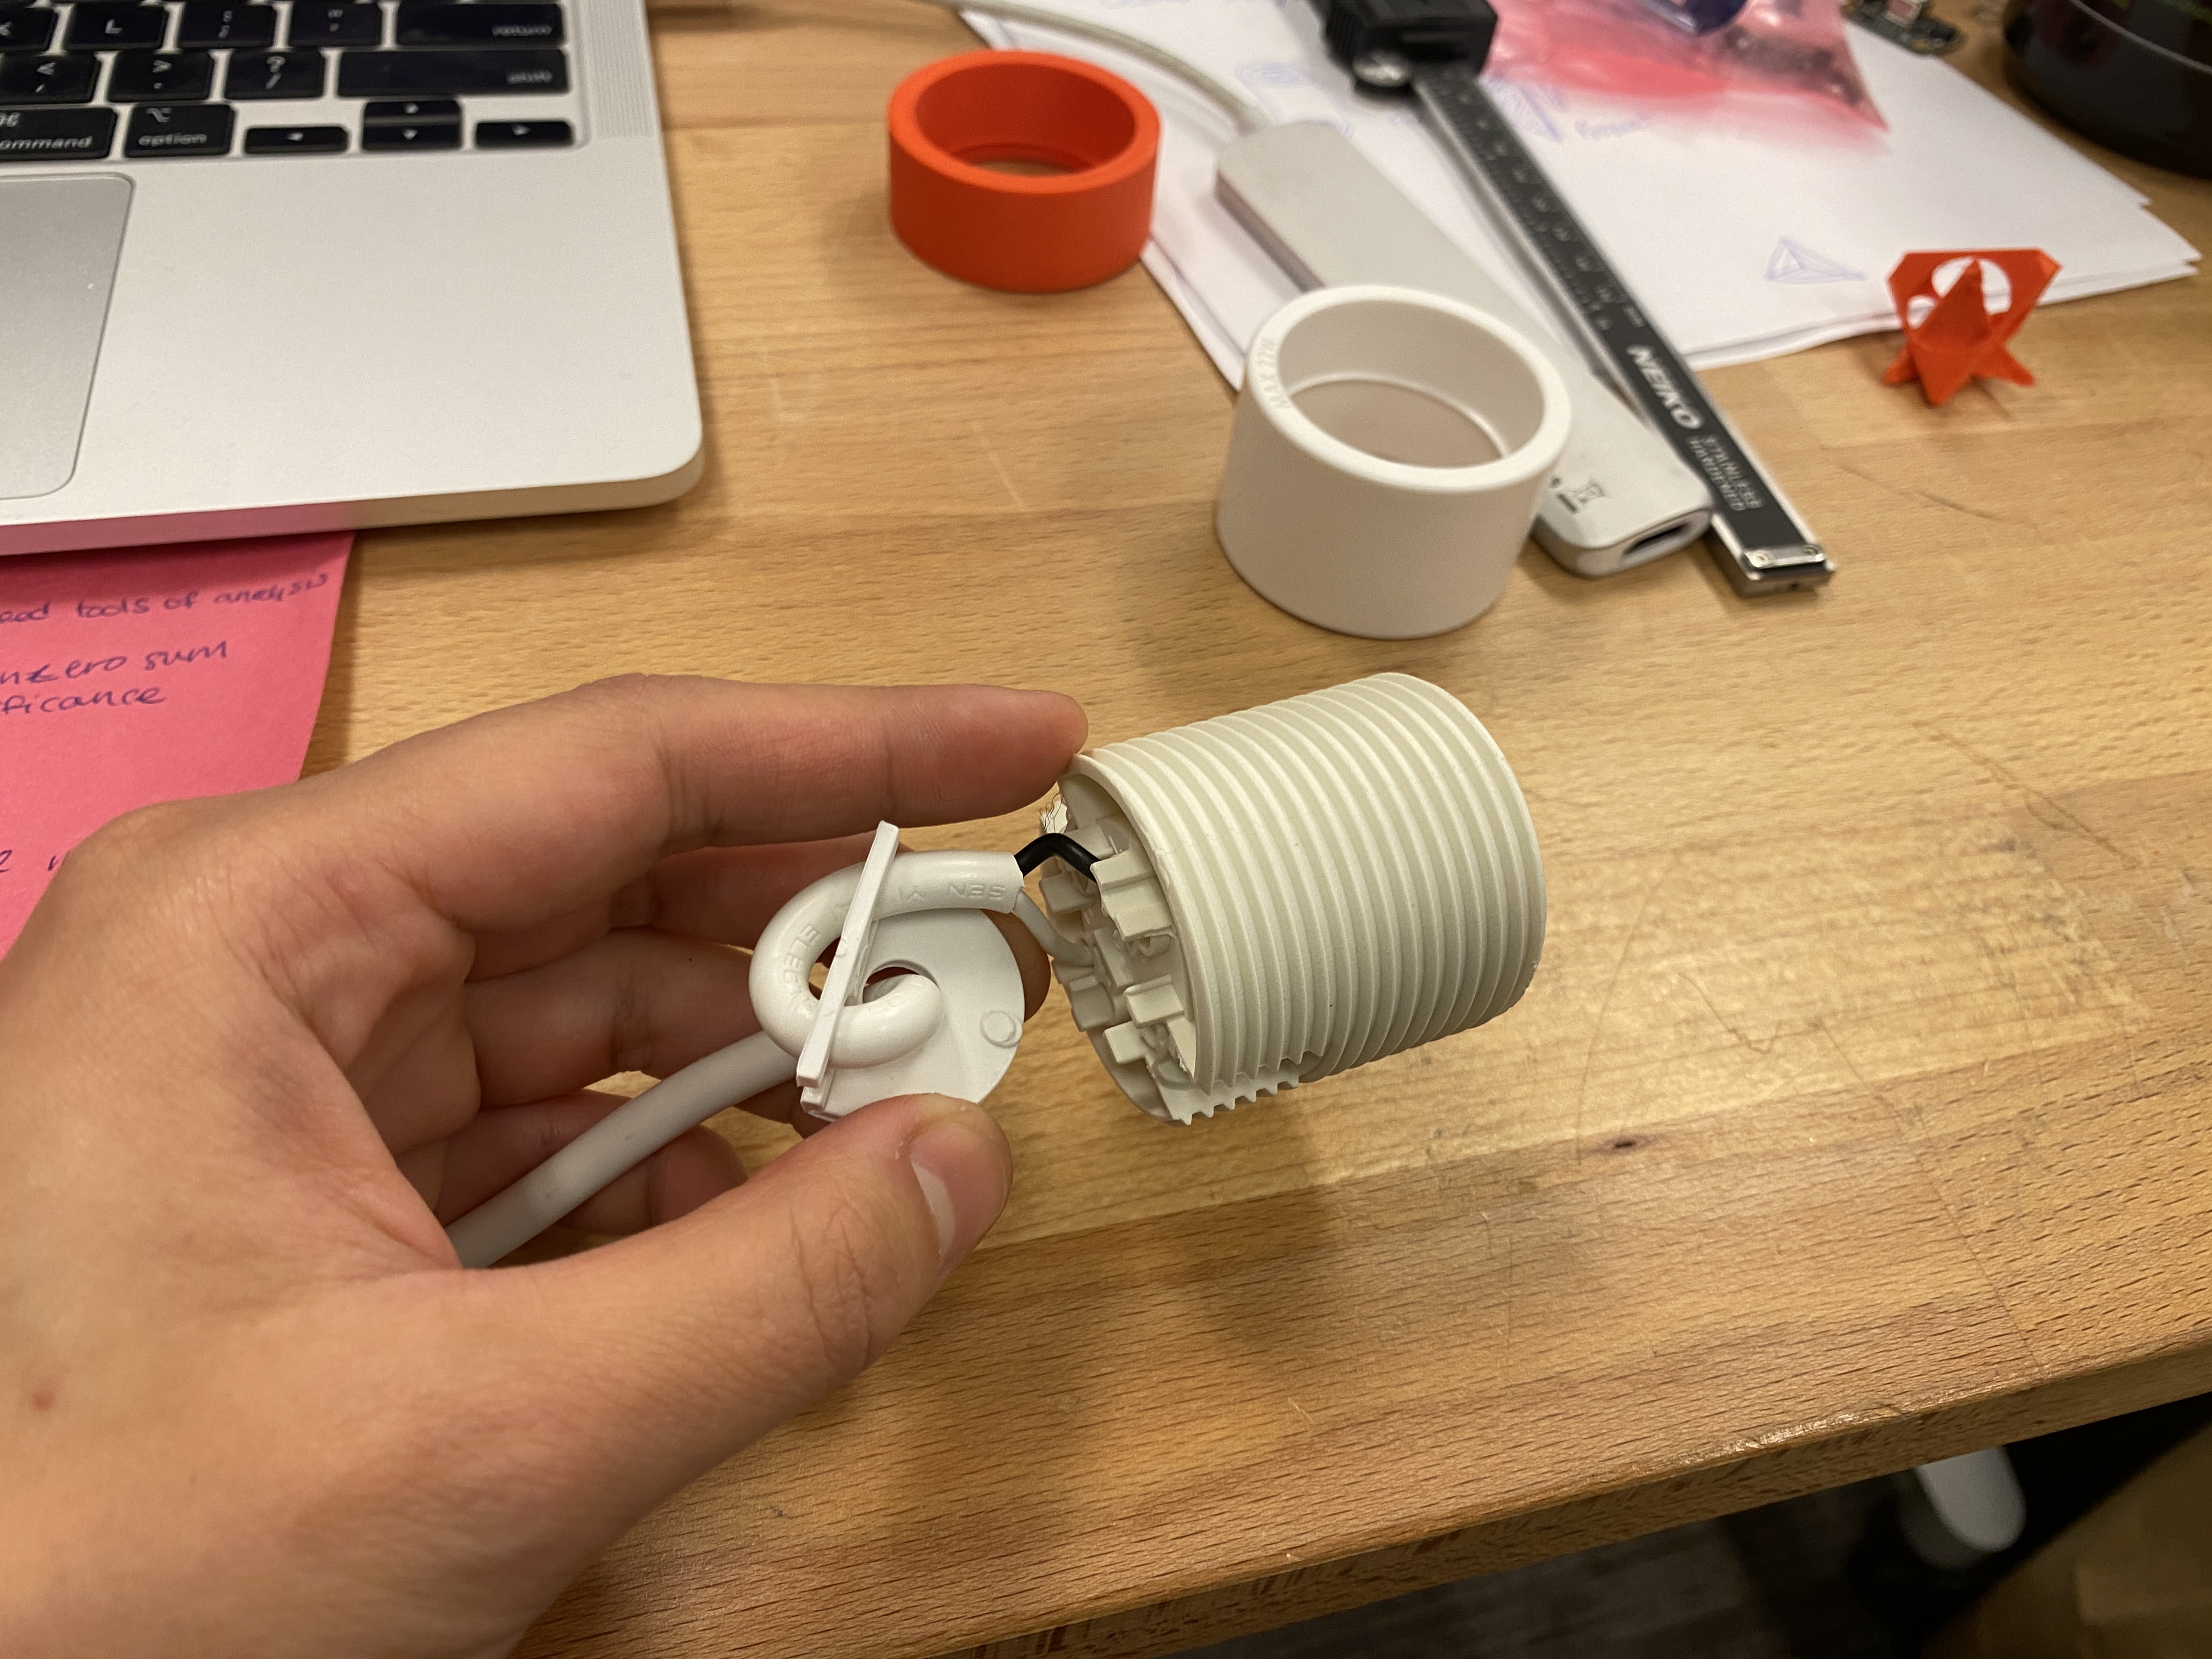
And I further disassembled the bulb base by unscrewing the bottom part. Now I can threat the whole bulb base into the lamp base I’m going to 3D-print.
modeling
Time for some modeling! I first modeled the space I’m saving for the bulb base and cord.
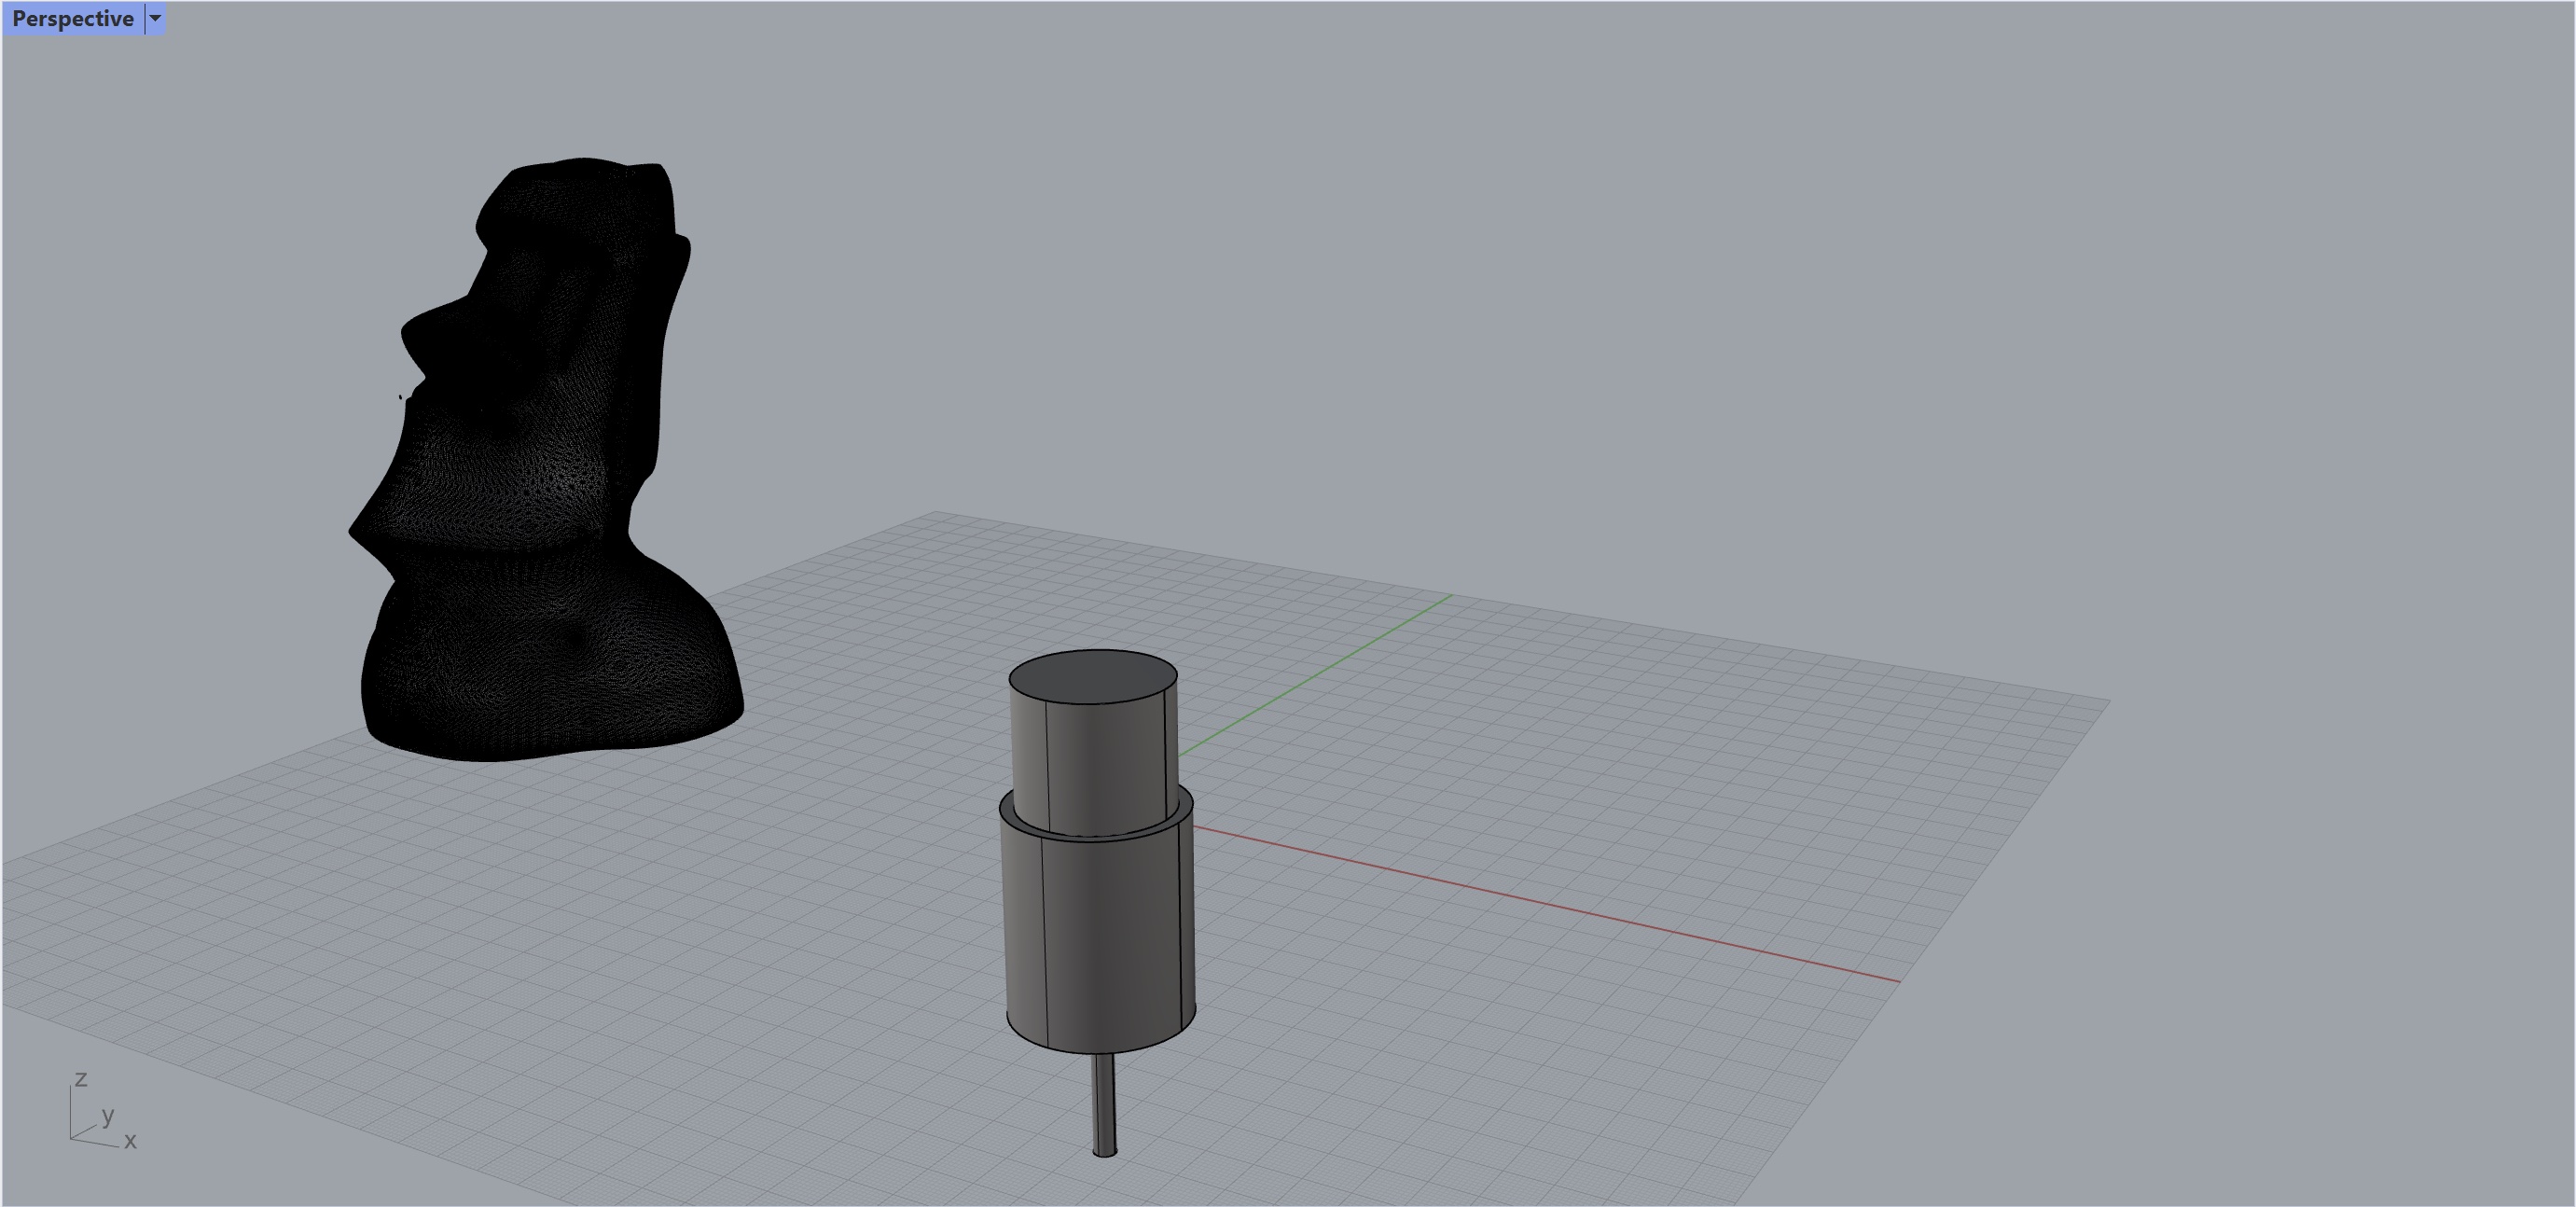
I’m going to split the tiki head from its jaw or neck. I also downloaded a 3D model of the bulb to see if it can be enclosed inside the head. Junchao a.k.a the best TA showed me how to use clipping plane to visualize nested models.
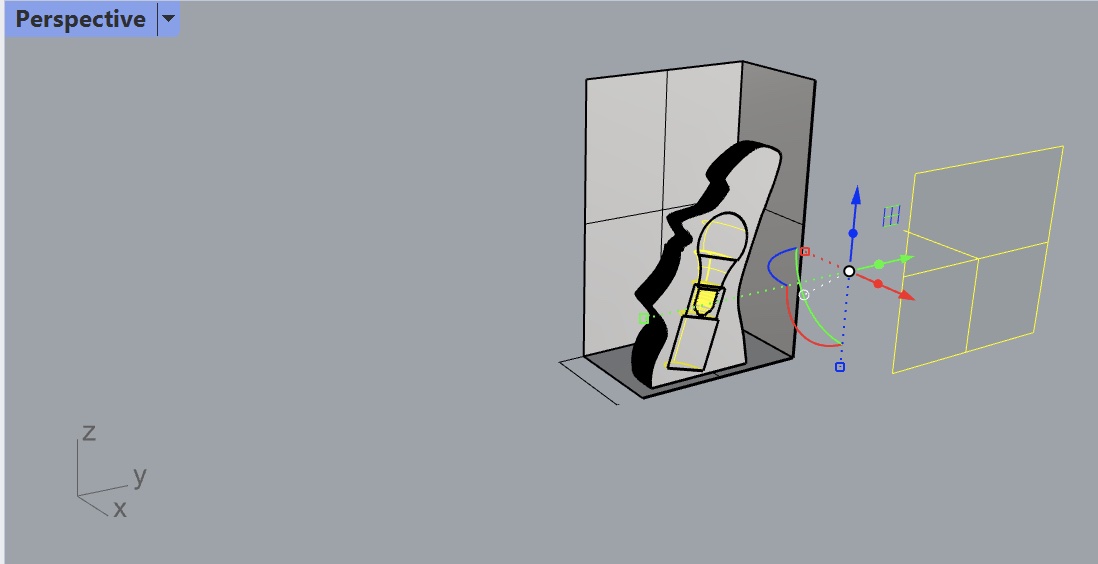
Junchao a.k.a the best TA also showed me how to use reduce mesh to get a less meshy model and use that to find a line that I can cut through. I then boolean-difference the channel for the bulb base and boolean-union the spiral inside the channel.
For the lamp shade part, I printed with no infill and three layers of wall. Since Julien_DaCosta modeled it to be overhang-free initially, I’m sure it will print fine.
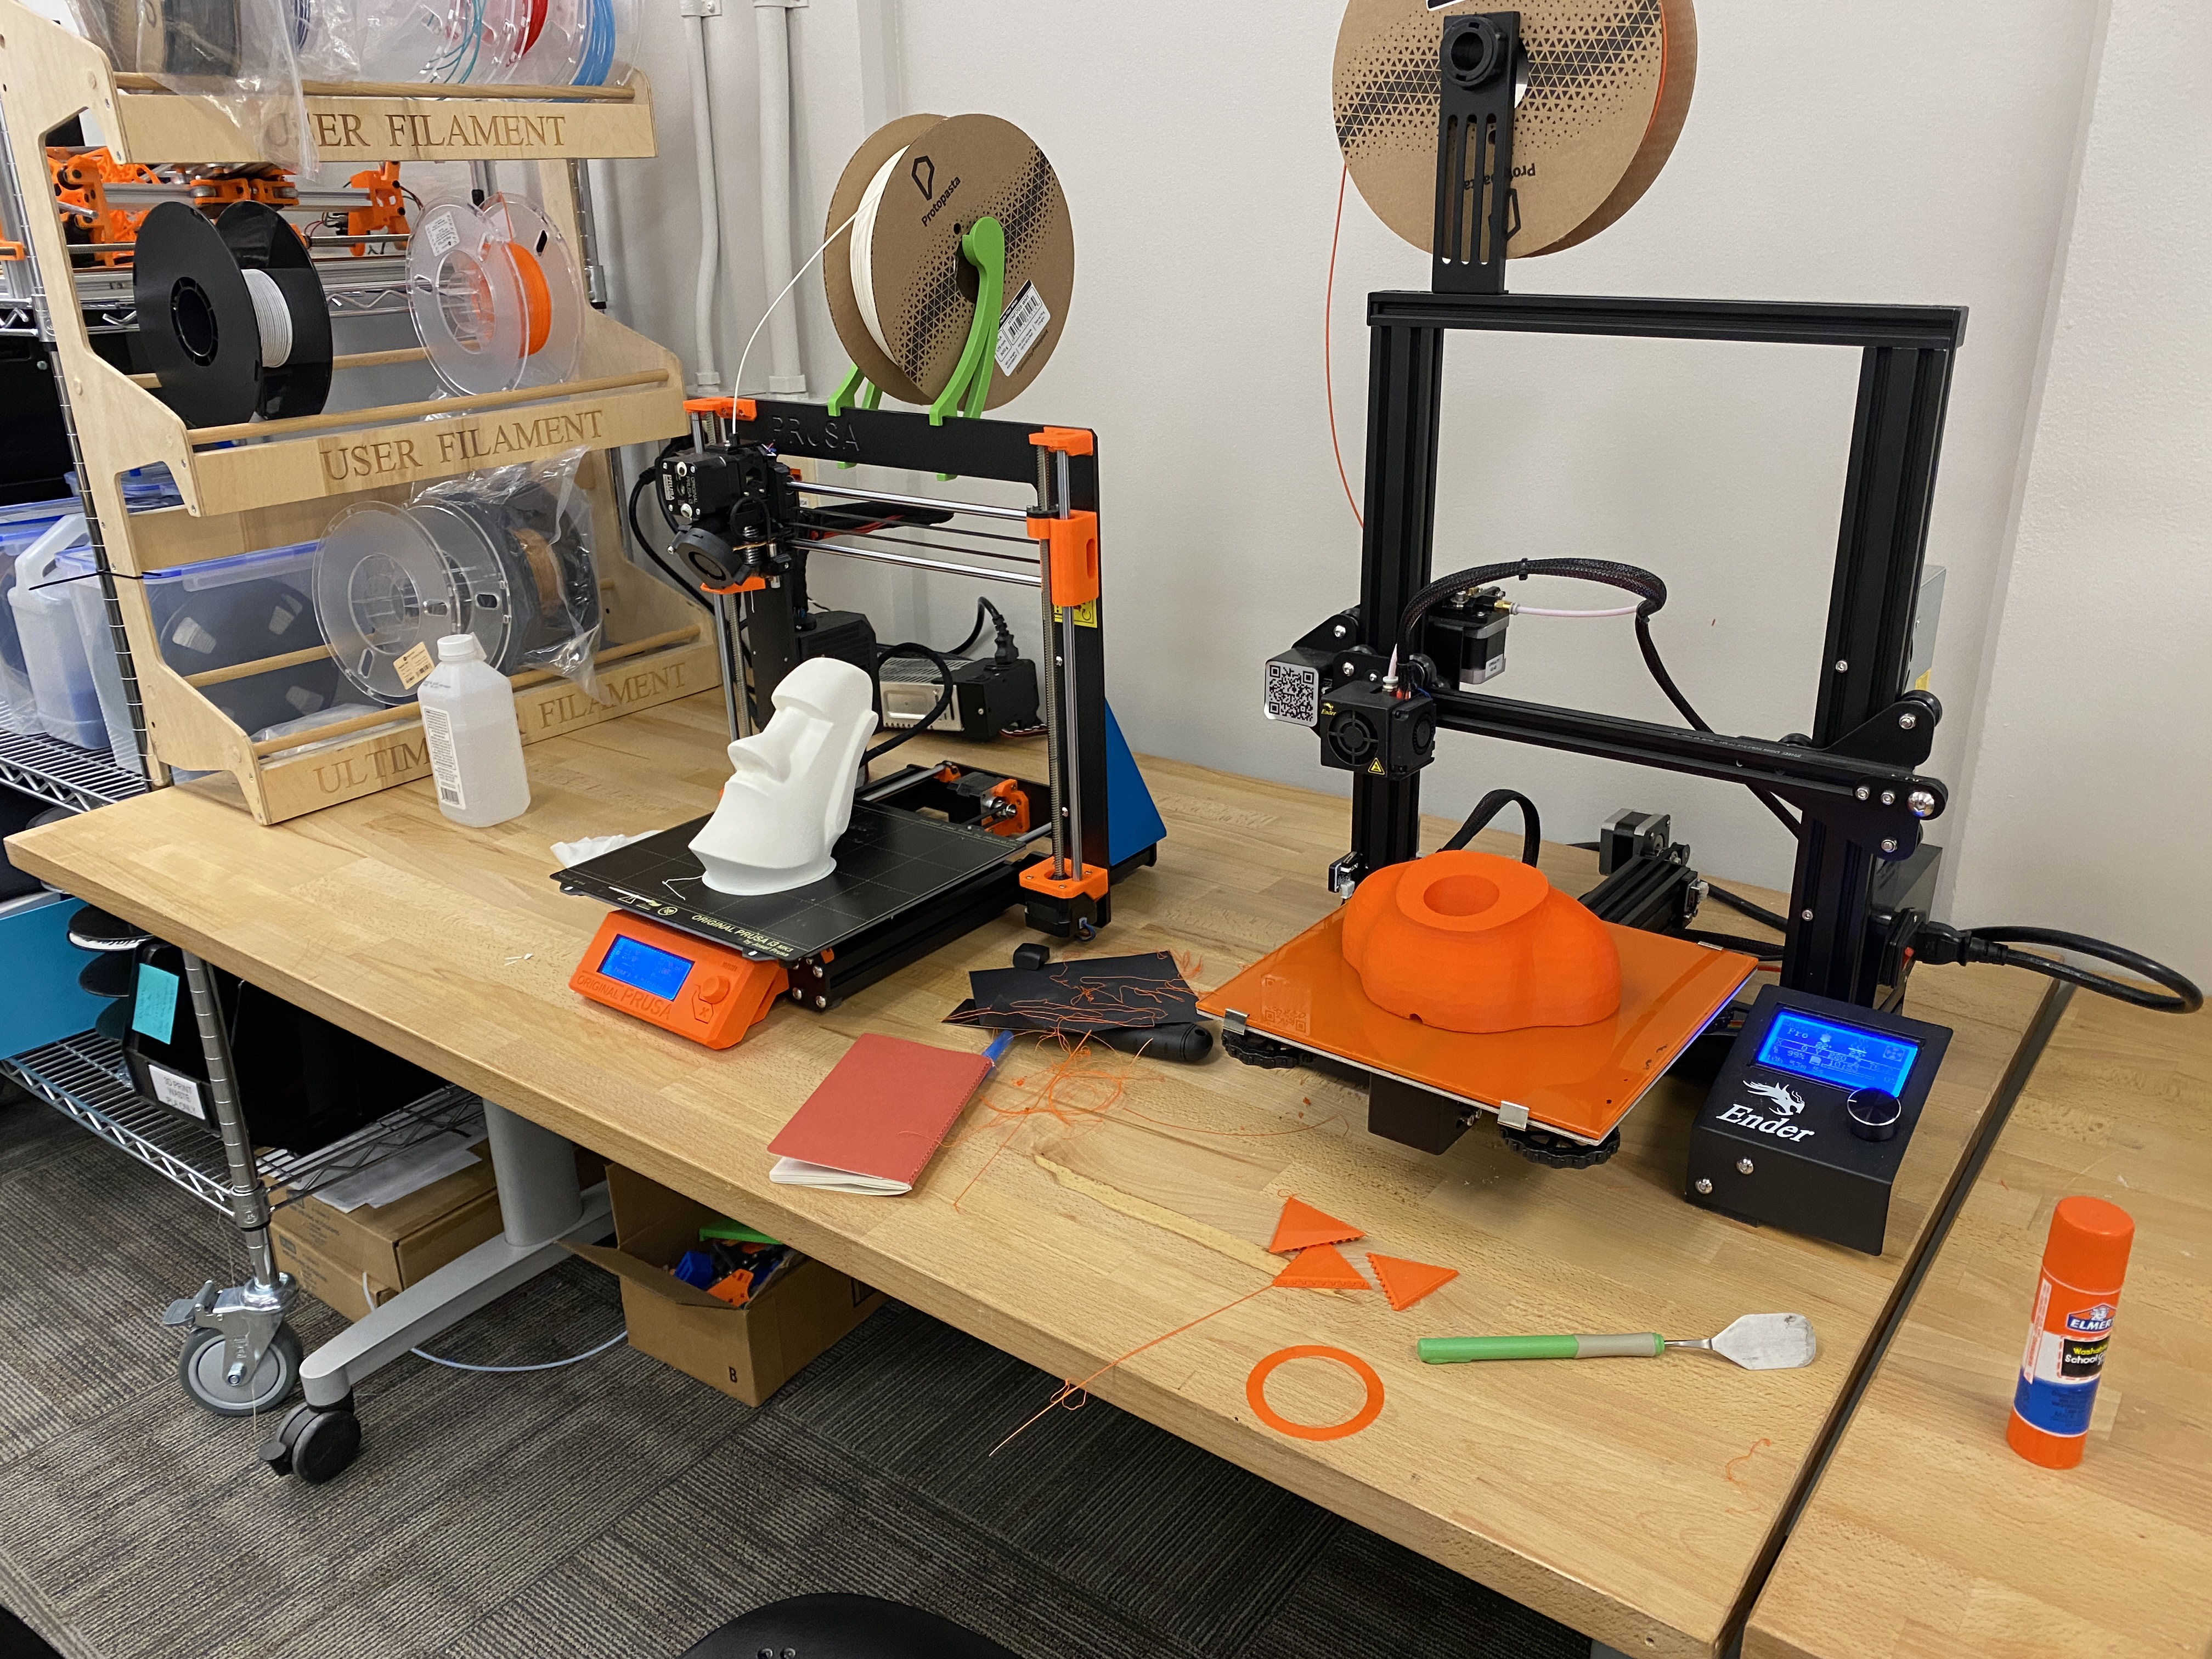
I employed two printers to do the job.
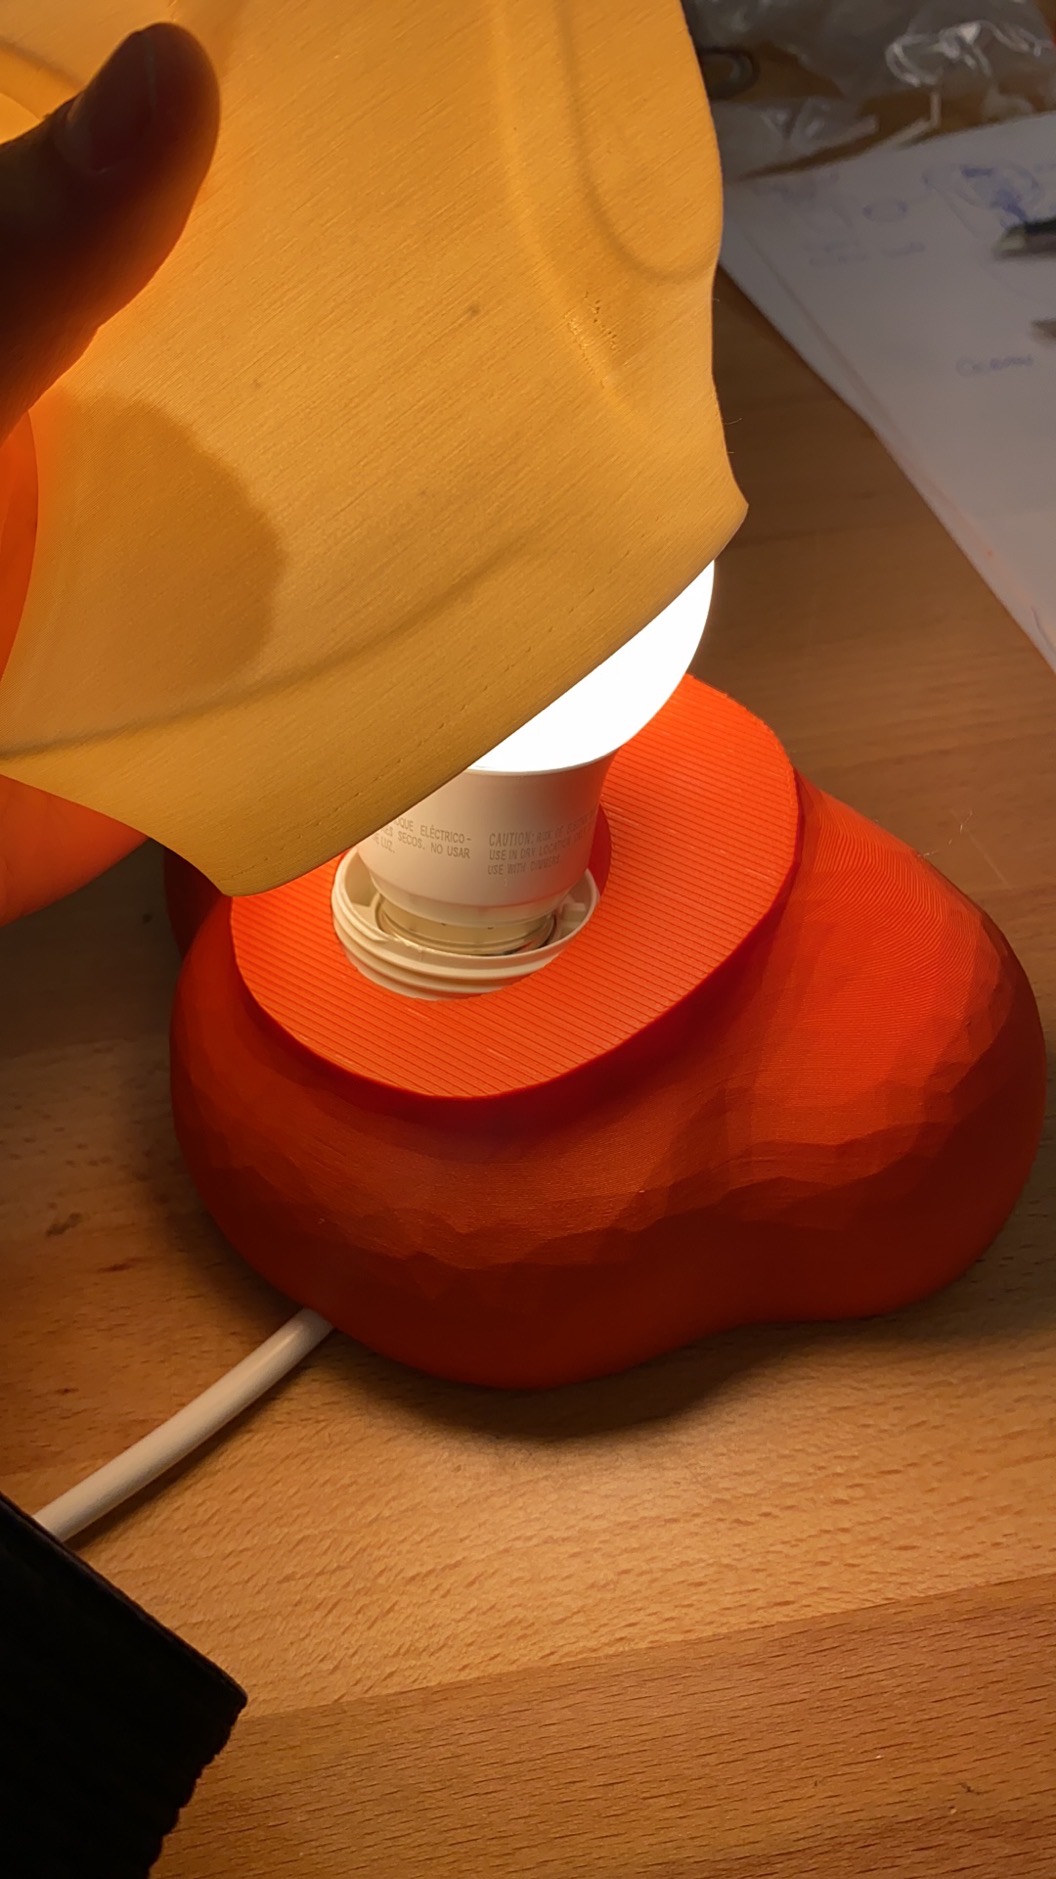
The thread worked just fine!
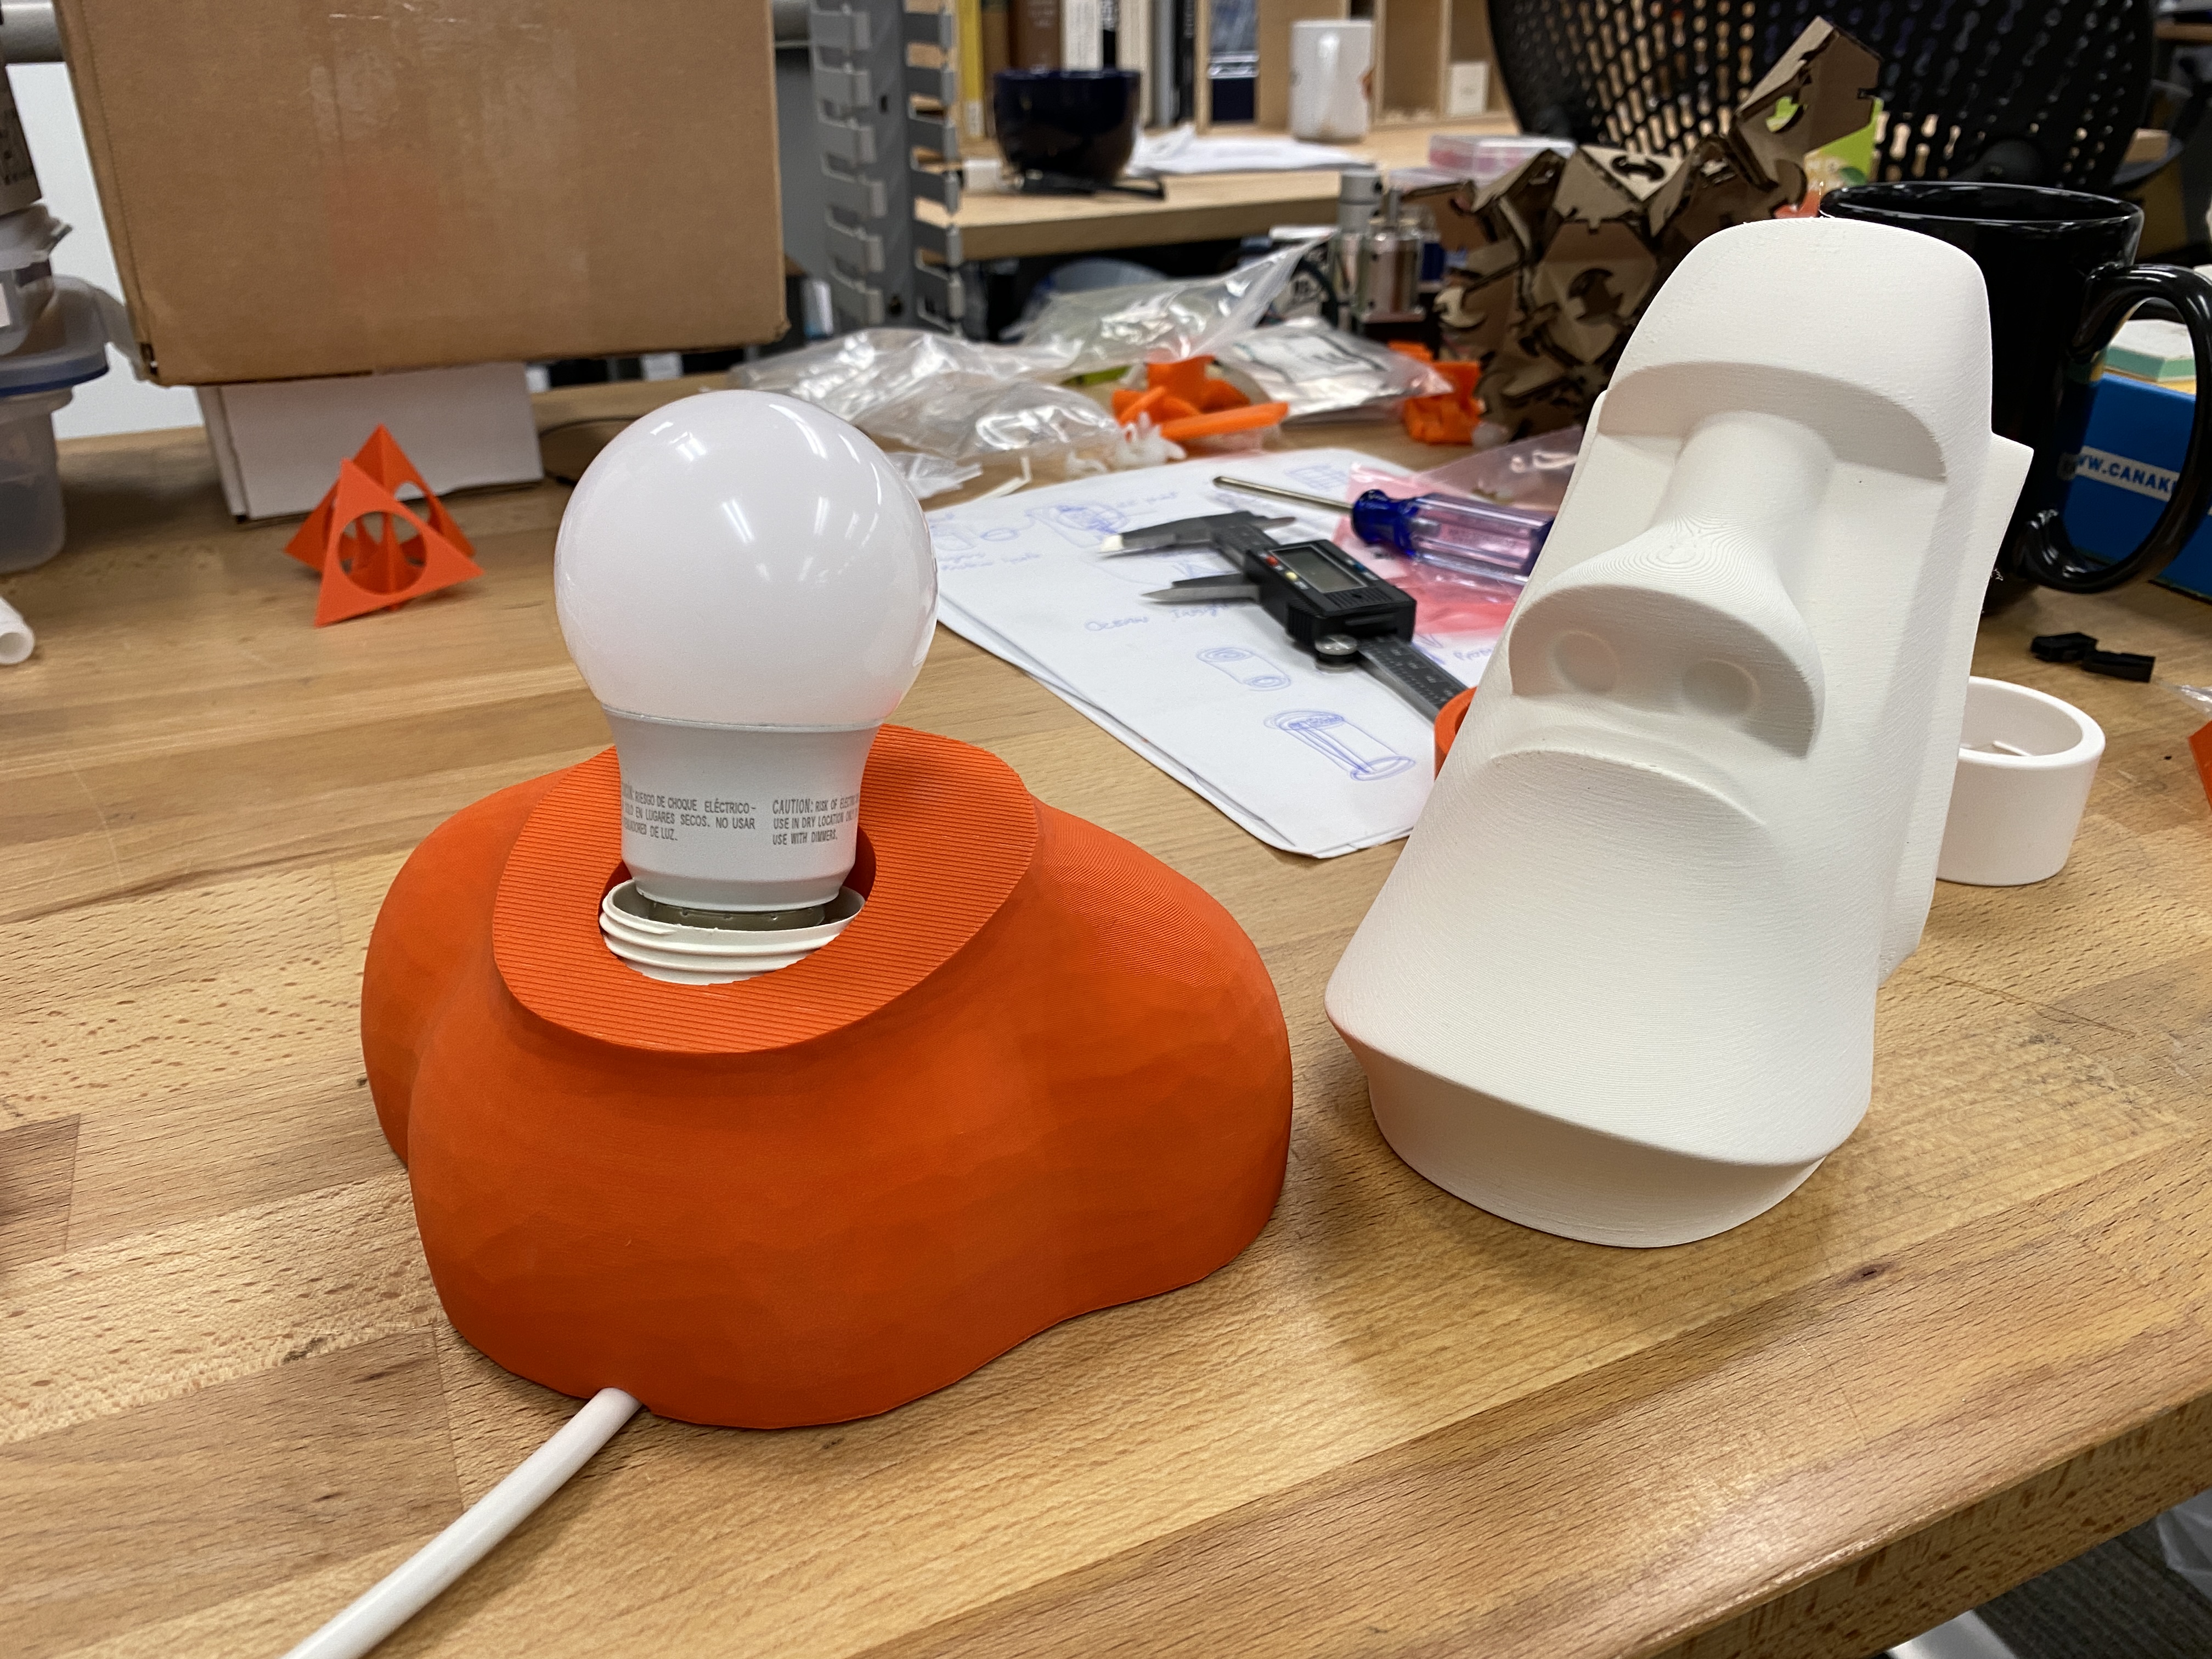
I did not actually considered how to fix the head onto the base. The head is just sitting on top of the base.
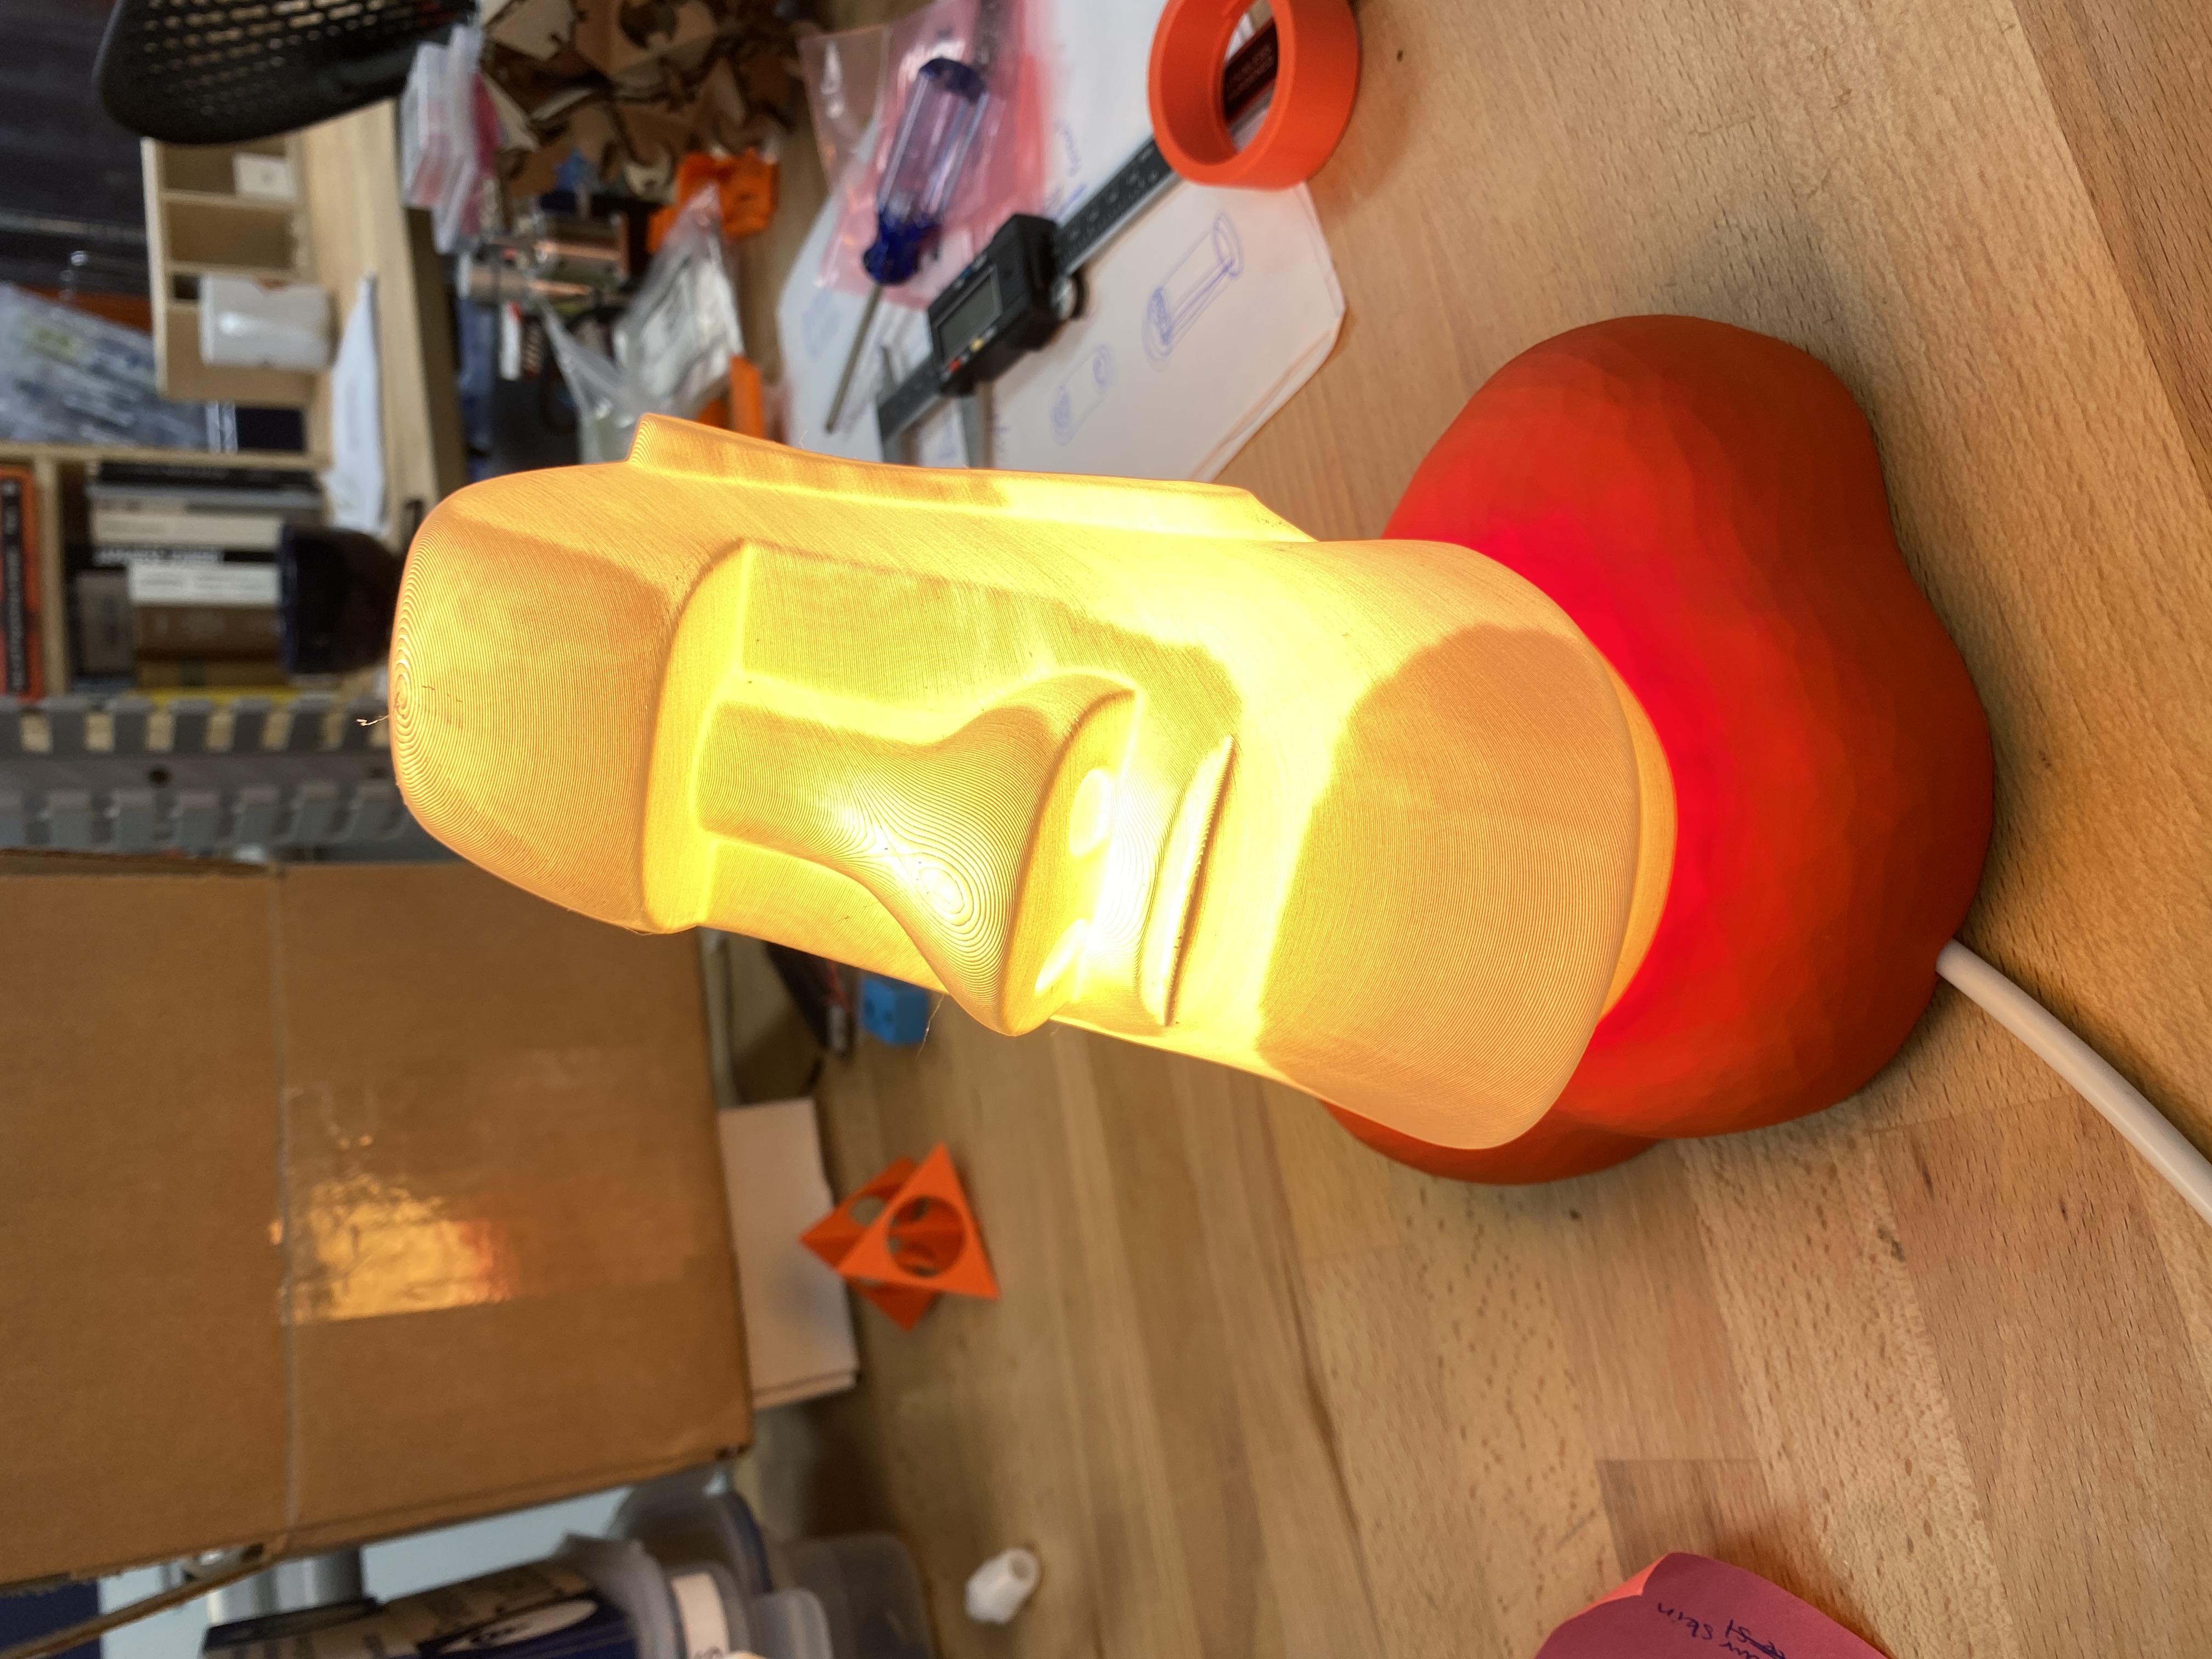
Here it is.
I’m going to cast the shoulders next week so I’m making the silicone mold for it.
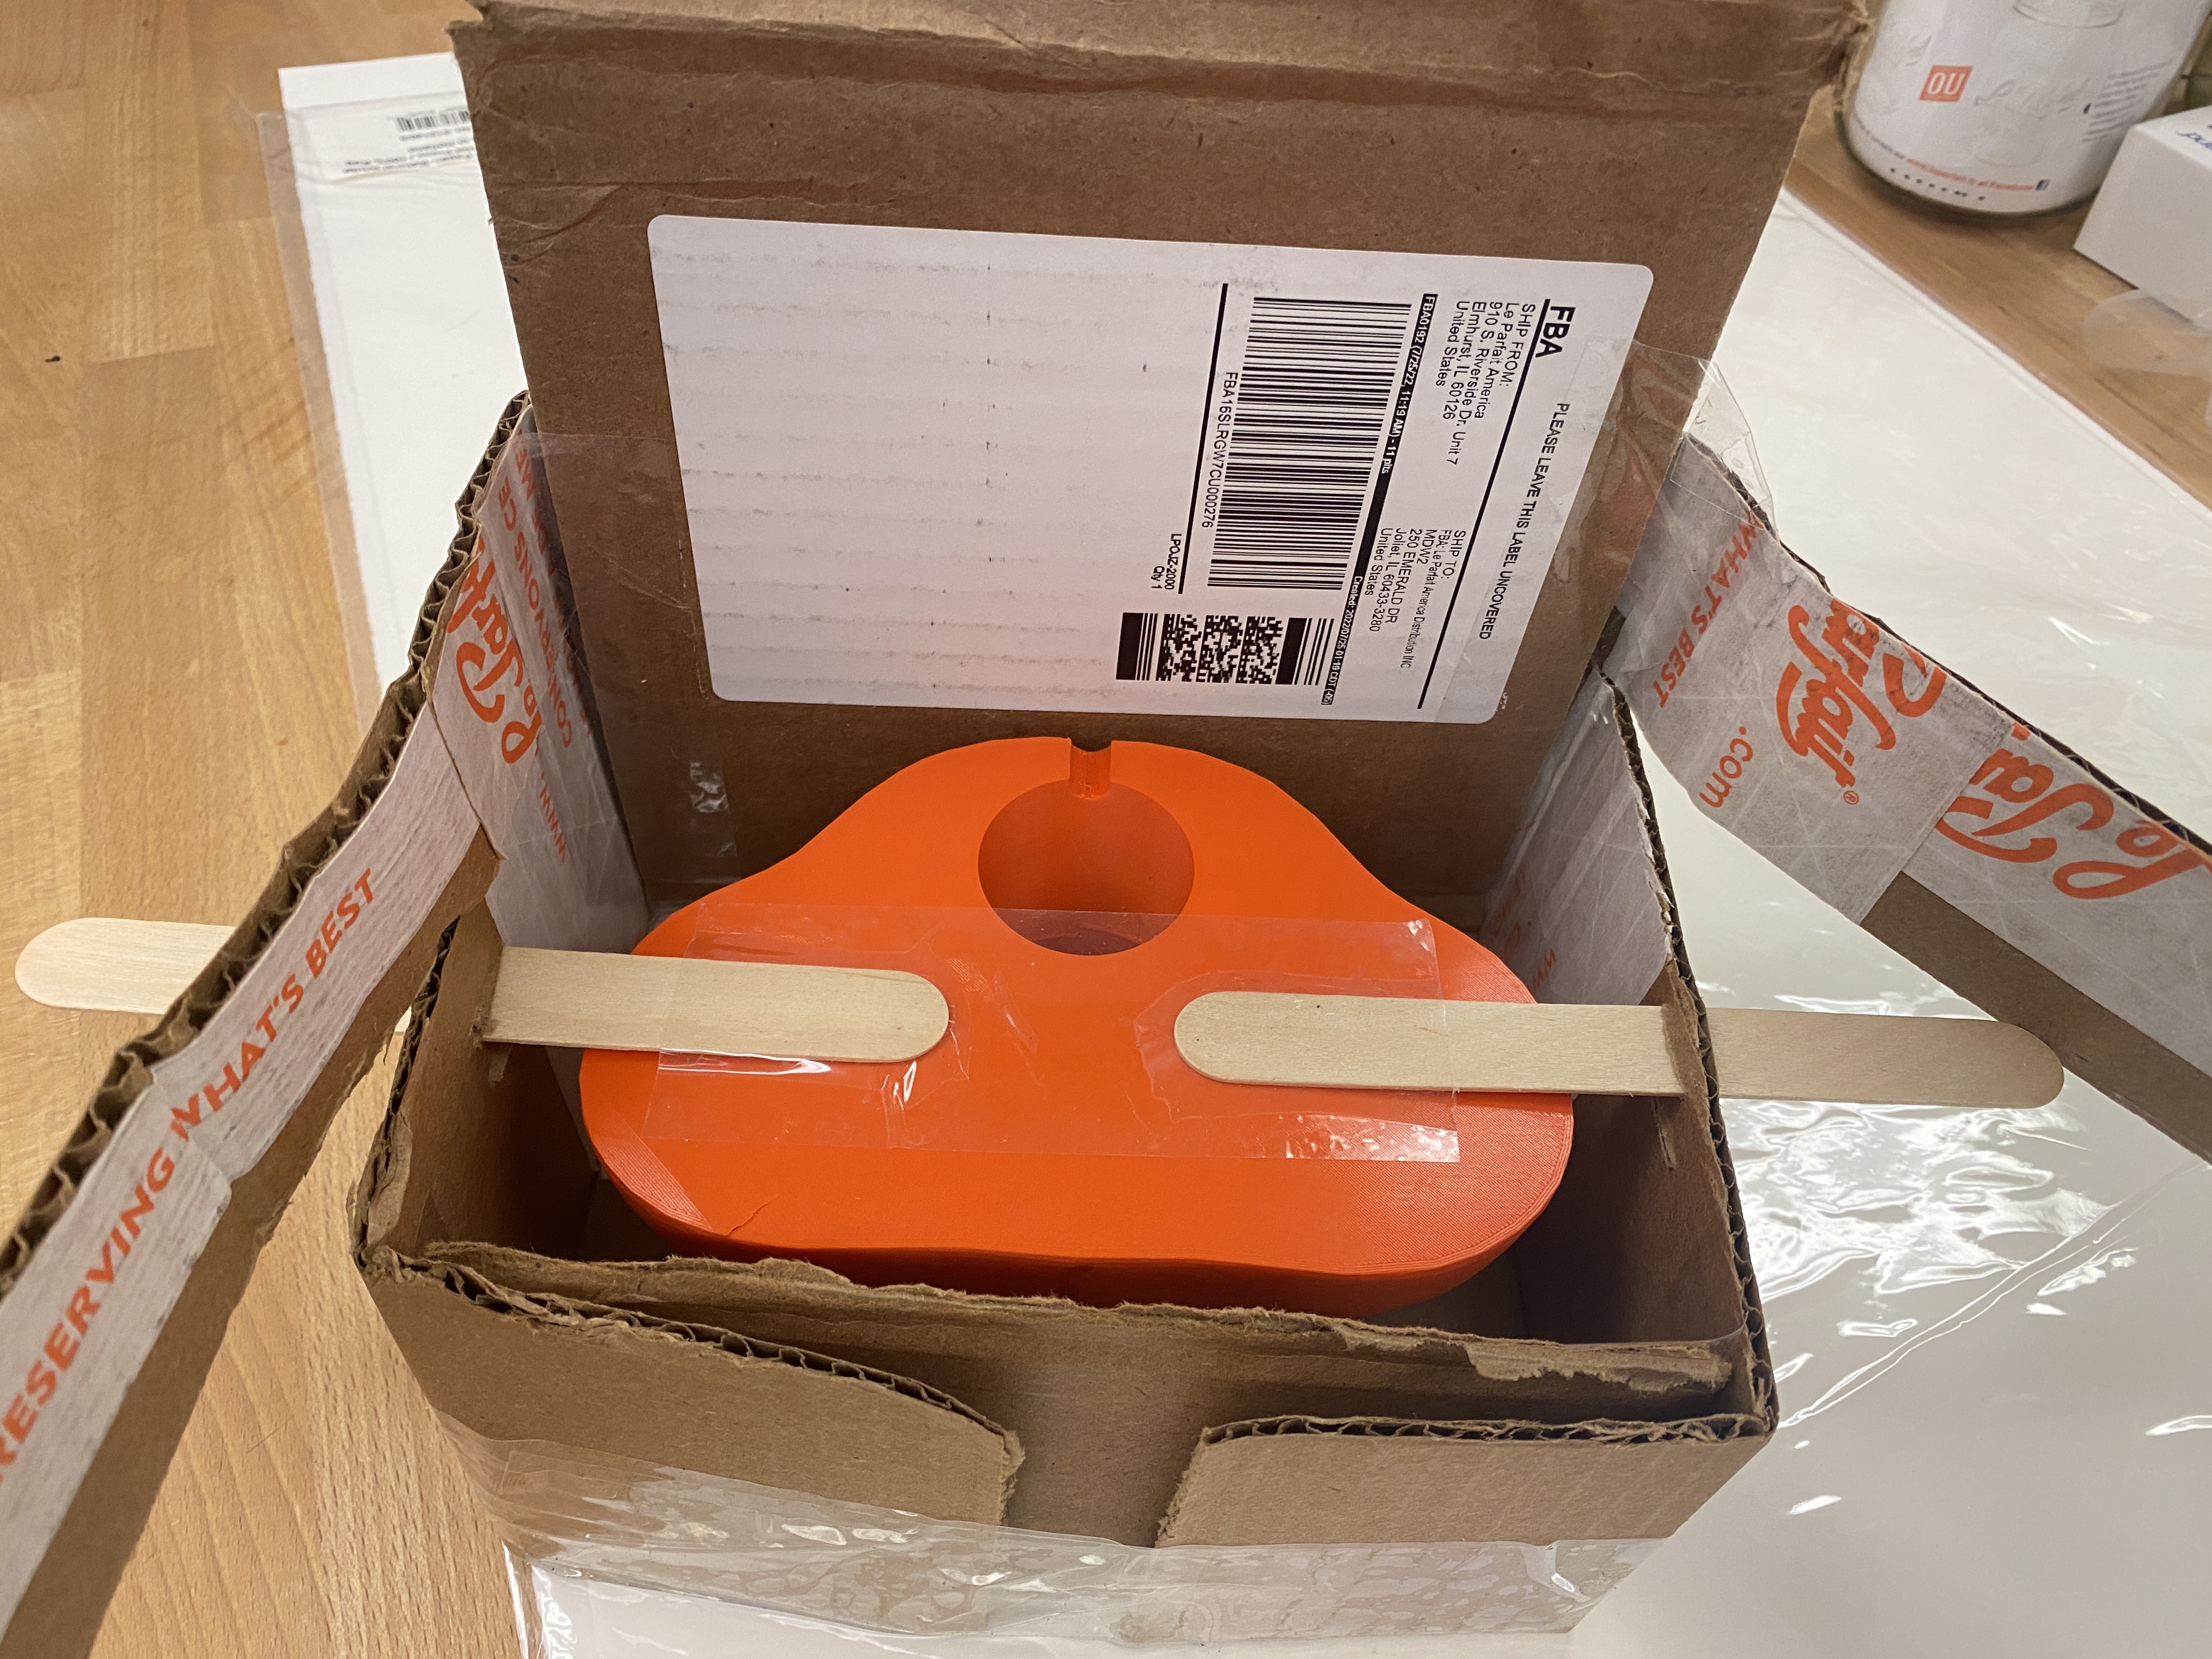
I didn’t actually follow the workflow that would comply to the requirement of this task which is to make a two-part mold with registration points and an inlet. My workflow is more similar to this Prusa tutorial. I designed my model in a way that the master model would not have any overhang. And I cast the mold around the master model inside a cardboard box I trimmed to be just about the right size.
All files: