Today we are making press-fit assembly with cardboard using lAsEr!
Ideation
I was struggling with coming up with a novel idea that has not been done yet. I wanted it to be a modular kit that I can assemble into different meta-structure. Che-Wei Wang and Jonathan Bobrow inspired me, but my design has a materials science-y kick to it.
A matter can be either crystalline or not crystalline. A crystalline matter is one that has ordered microscopic structure, i.e. there is a pattern that repeats over the entire structure. There is a finite number of ways to represent all of the crystals on earth (230 unique structures, or space groups). A ball-and-stick kit is more or less a popular representation in science classrooms to demonstrate such structures on the molecular scale. I am making a cardboard kit to visualize the most sturdy crystal structure of the hardest material on earth, the diamond crystal.
Diamond is crystalized carbon. In crystallography, the study of crystal structures, diamond crystal is one type of cubic lattice:

which is obscure to interpret. But the essence is that every atom, being carbon or any element in group 14, is equally distanced to 3 of its nearest neighbours in three-dimensional space. The geometry that has 4 equally spaced vertices is tetrahedron. Simply put, every 4 atoms in a diamond crystal form a regular tetrahedron. Tetrahedra of carbon atoms can fill the entire crystal structure with some, to use Rhinoceros commands, rotation and array.
Modeling
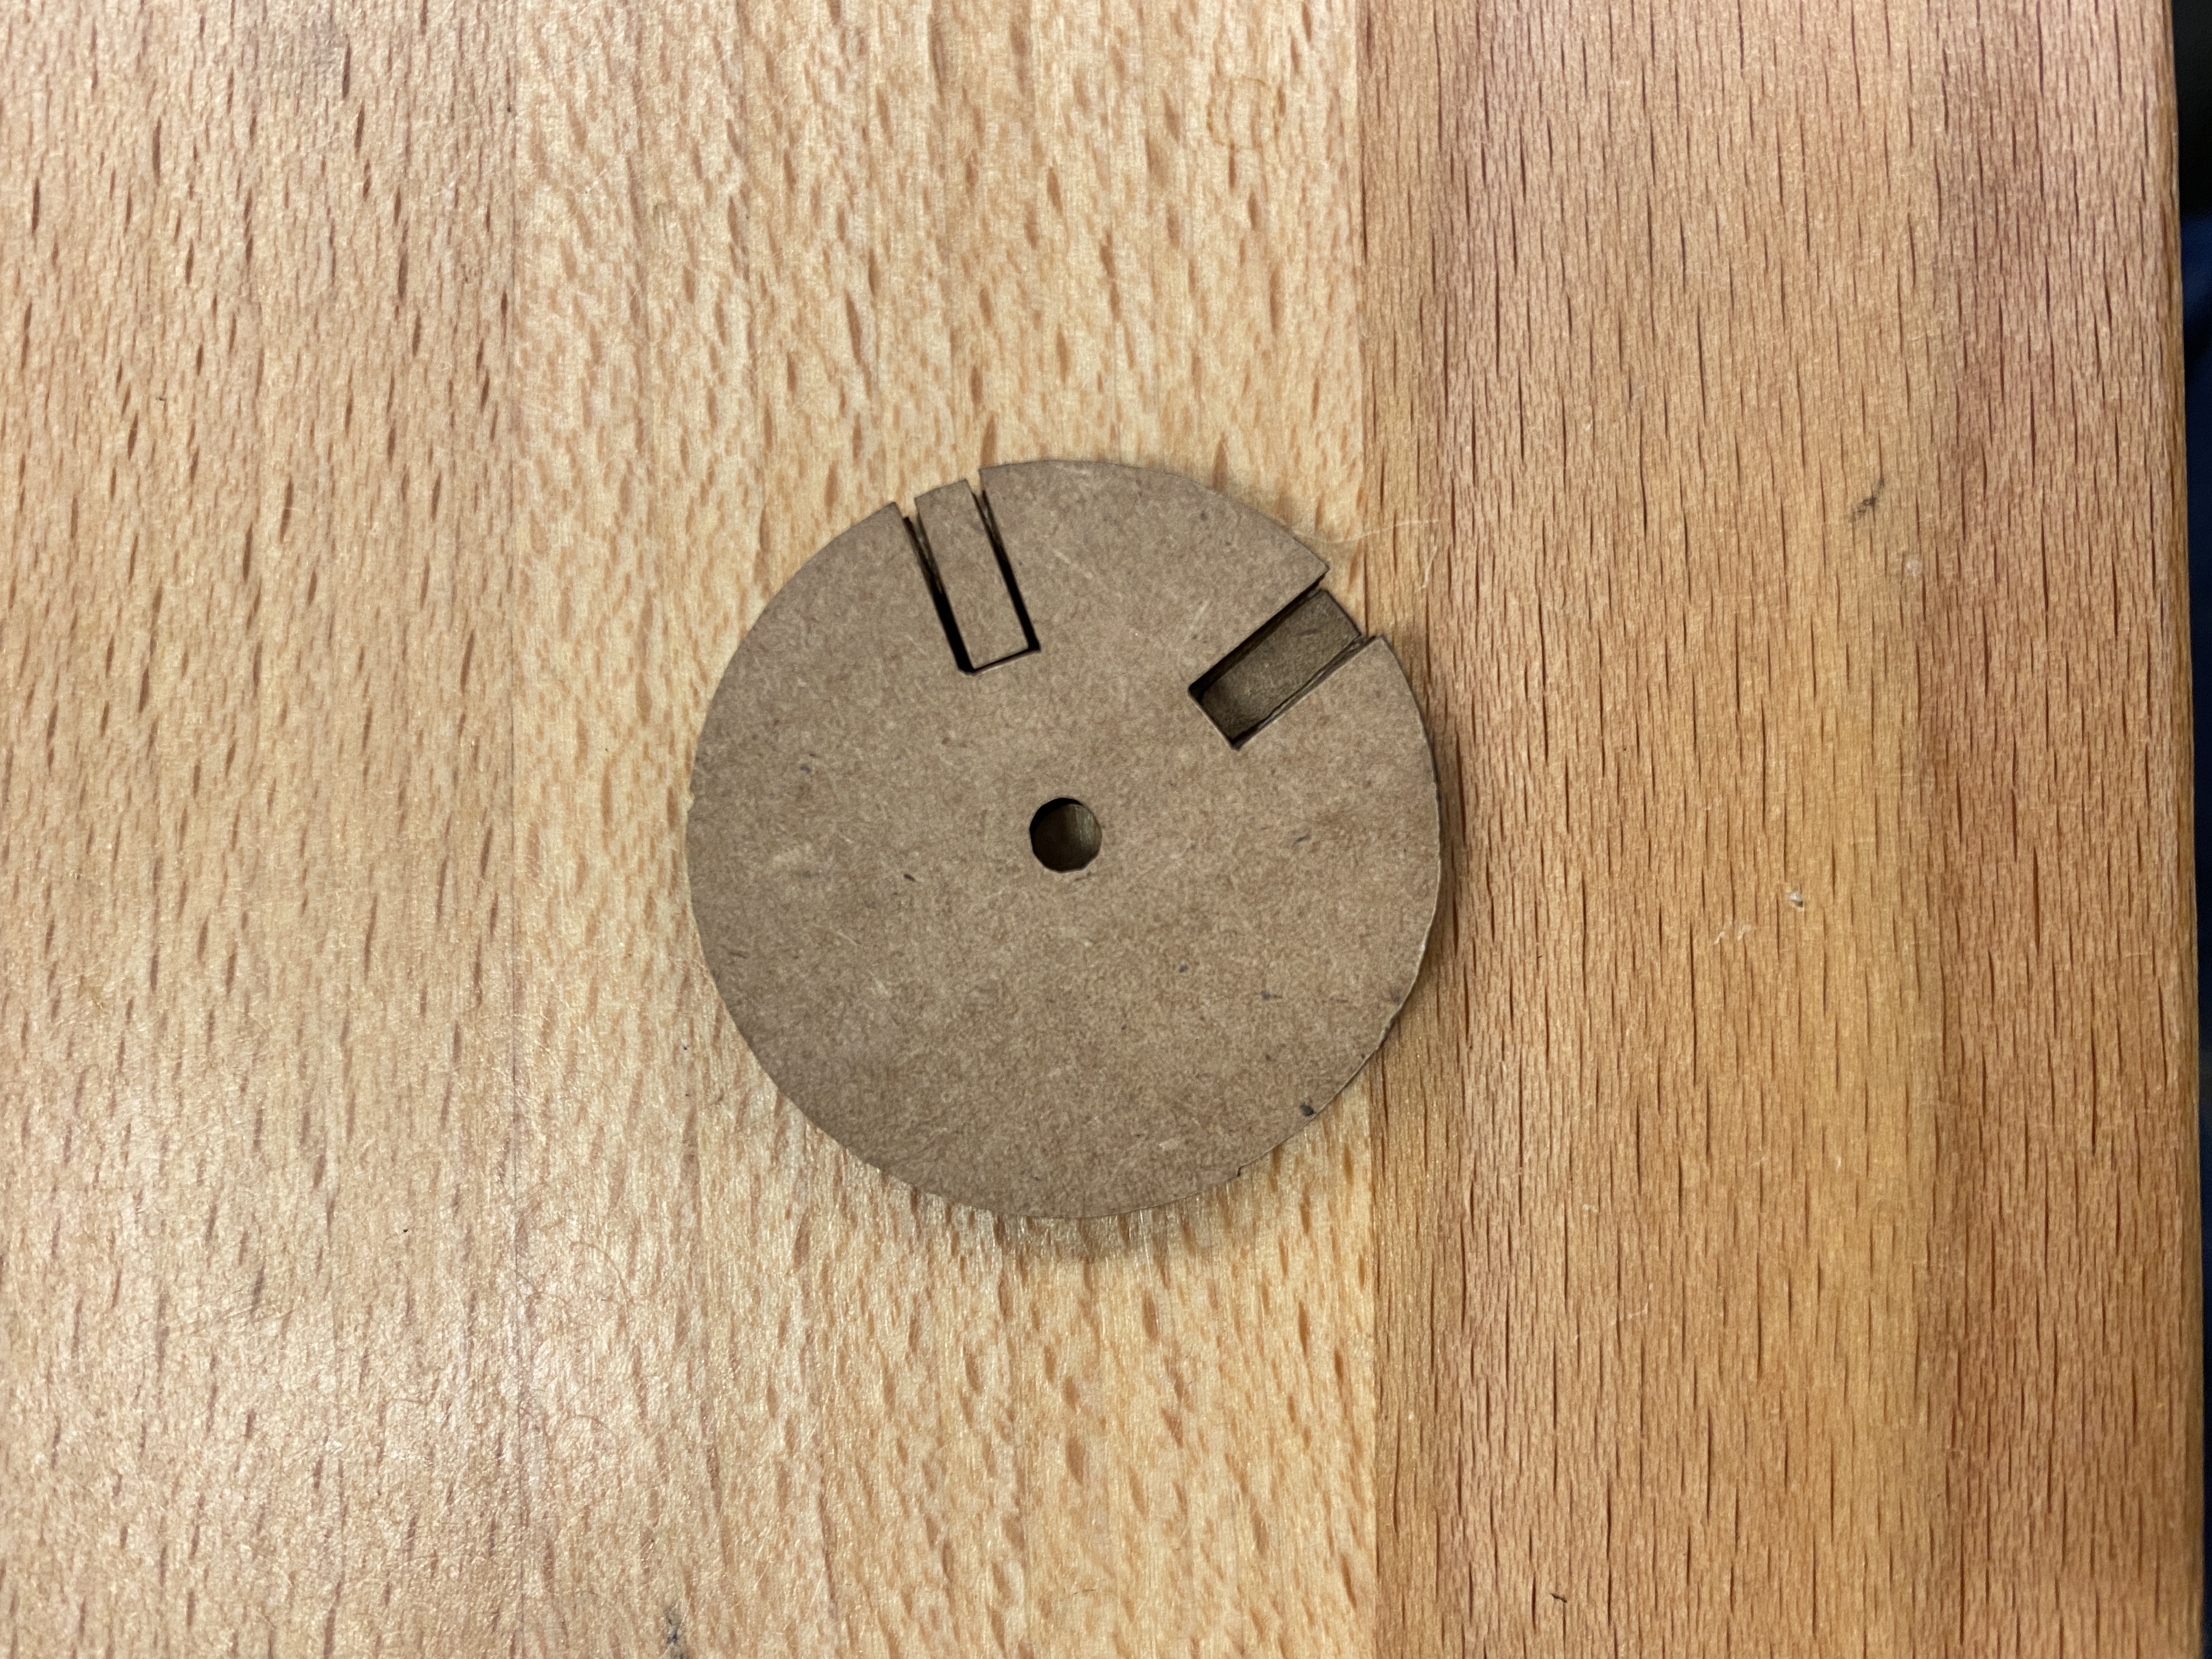
I am going to make a few tetrahedral units and assemble the units into a meta-structure. I used this regular tetrahedron model as a starting point. I am not as good as Jonathan Bobrow who made a quite smart and delicate structure that folds and press-fit on itself. I am making three faces and two disks on each edge to press-fit adjascent faces. To reduce material waste, the disks are cut out from the triangular faces.
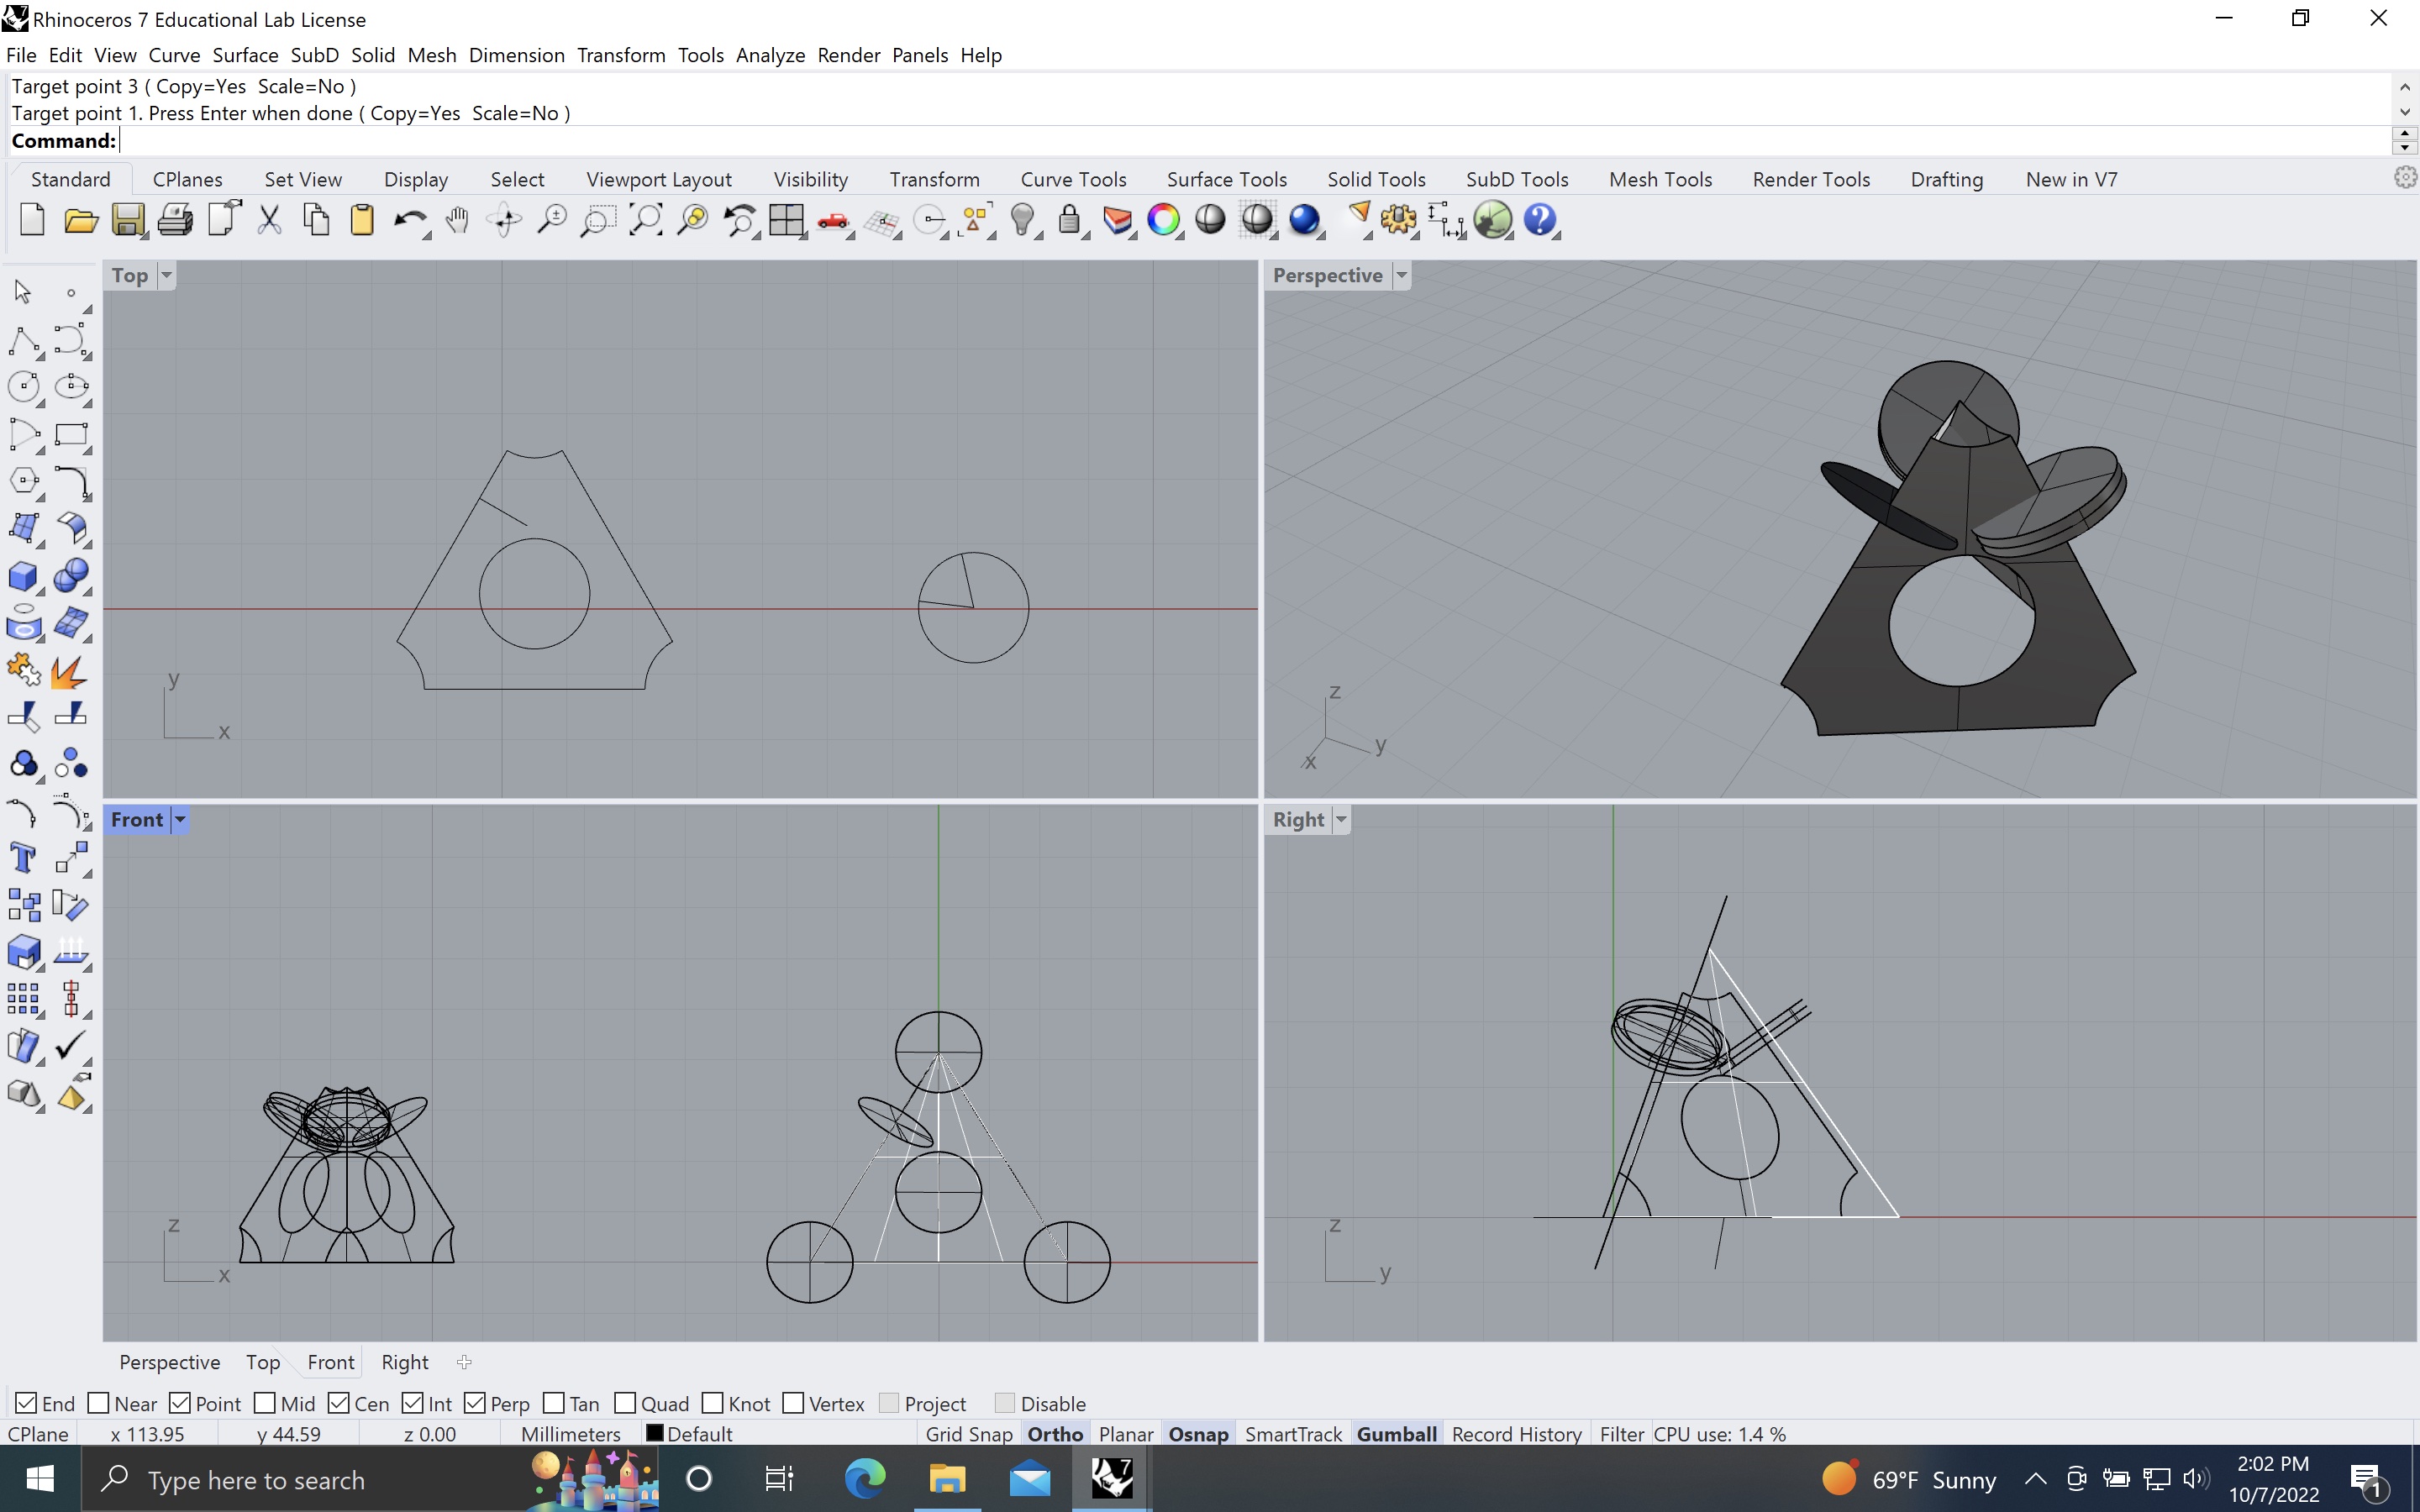
In the perspective view, I simulated how the final unit cell would look like. I used DupBoarder to get the outline of all the surfaces, and I used Orient3Pt to place the outlines on one surface. Make2D also comes handy when making curves on a 2D plane.
I tested a couple of fitting sizes and find out that for the 4 mm cardboard I used, a 3.2 mm slit would fit tightly and snuggly taking into account kerf effect and uneven surface of the cardboard.
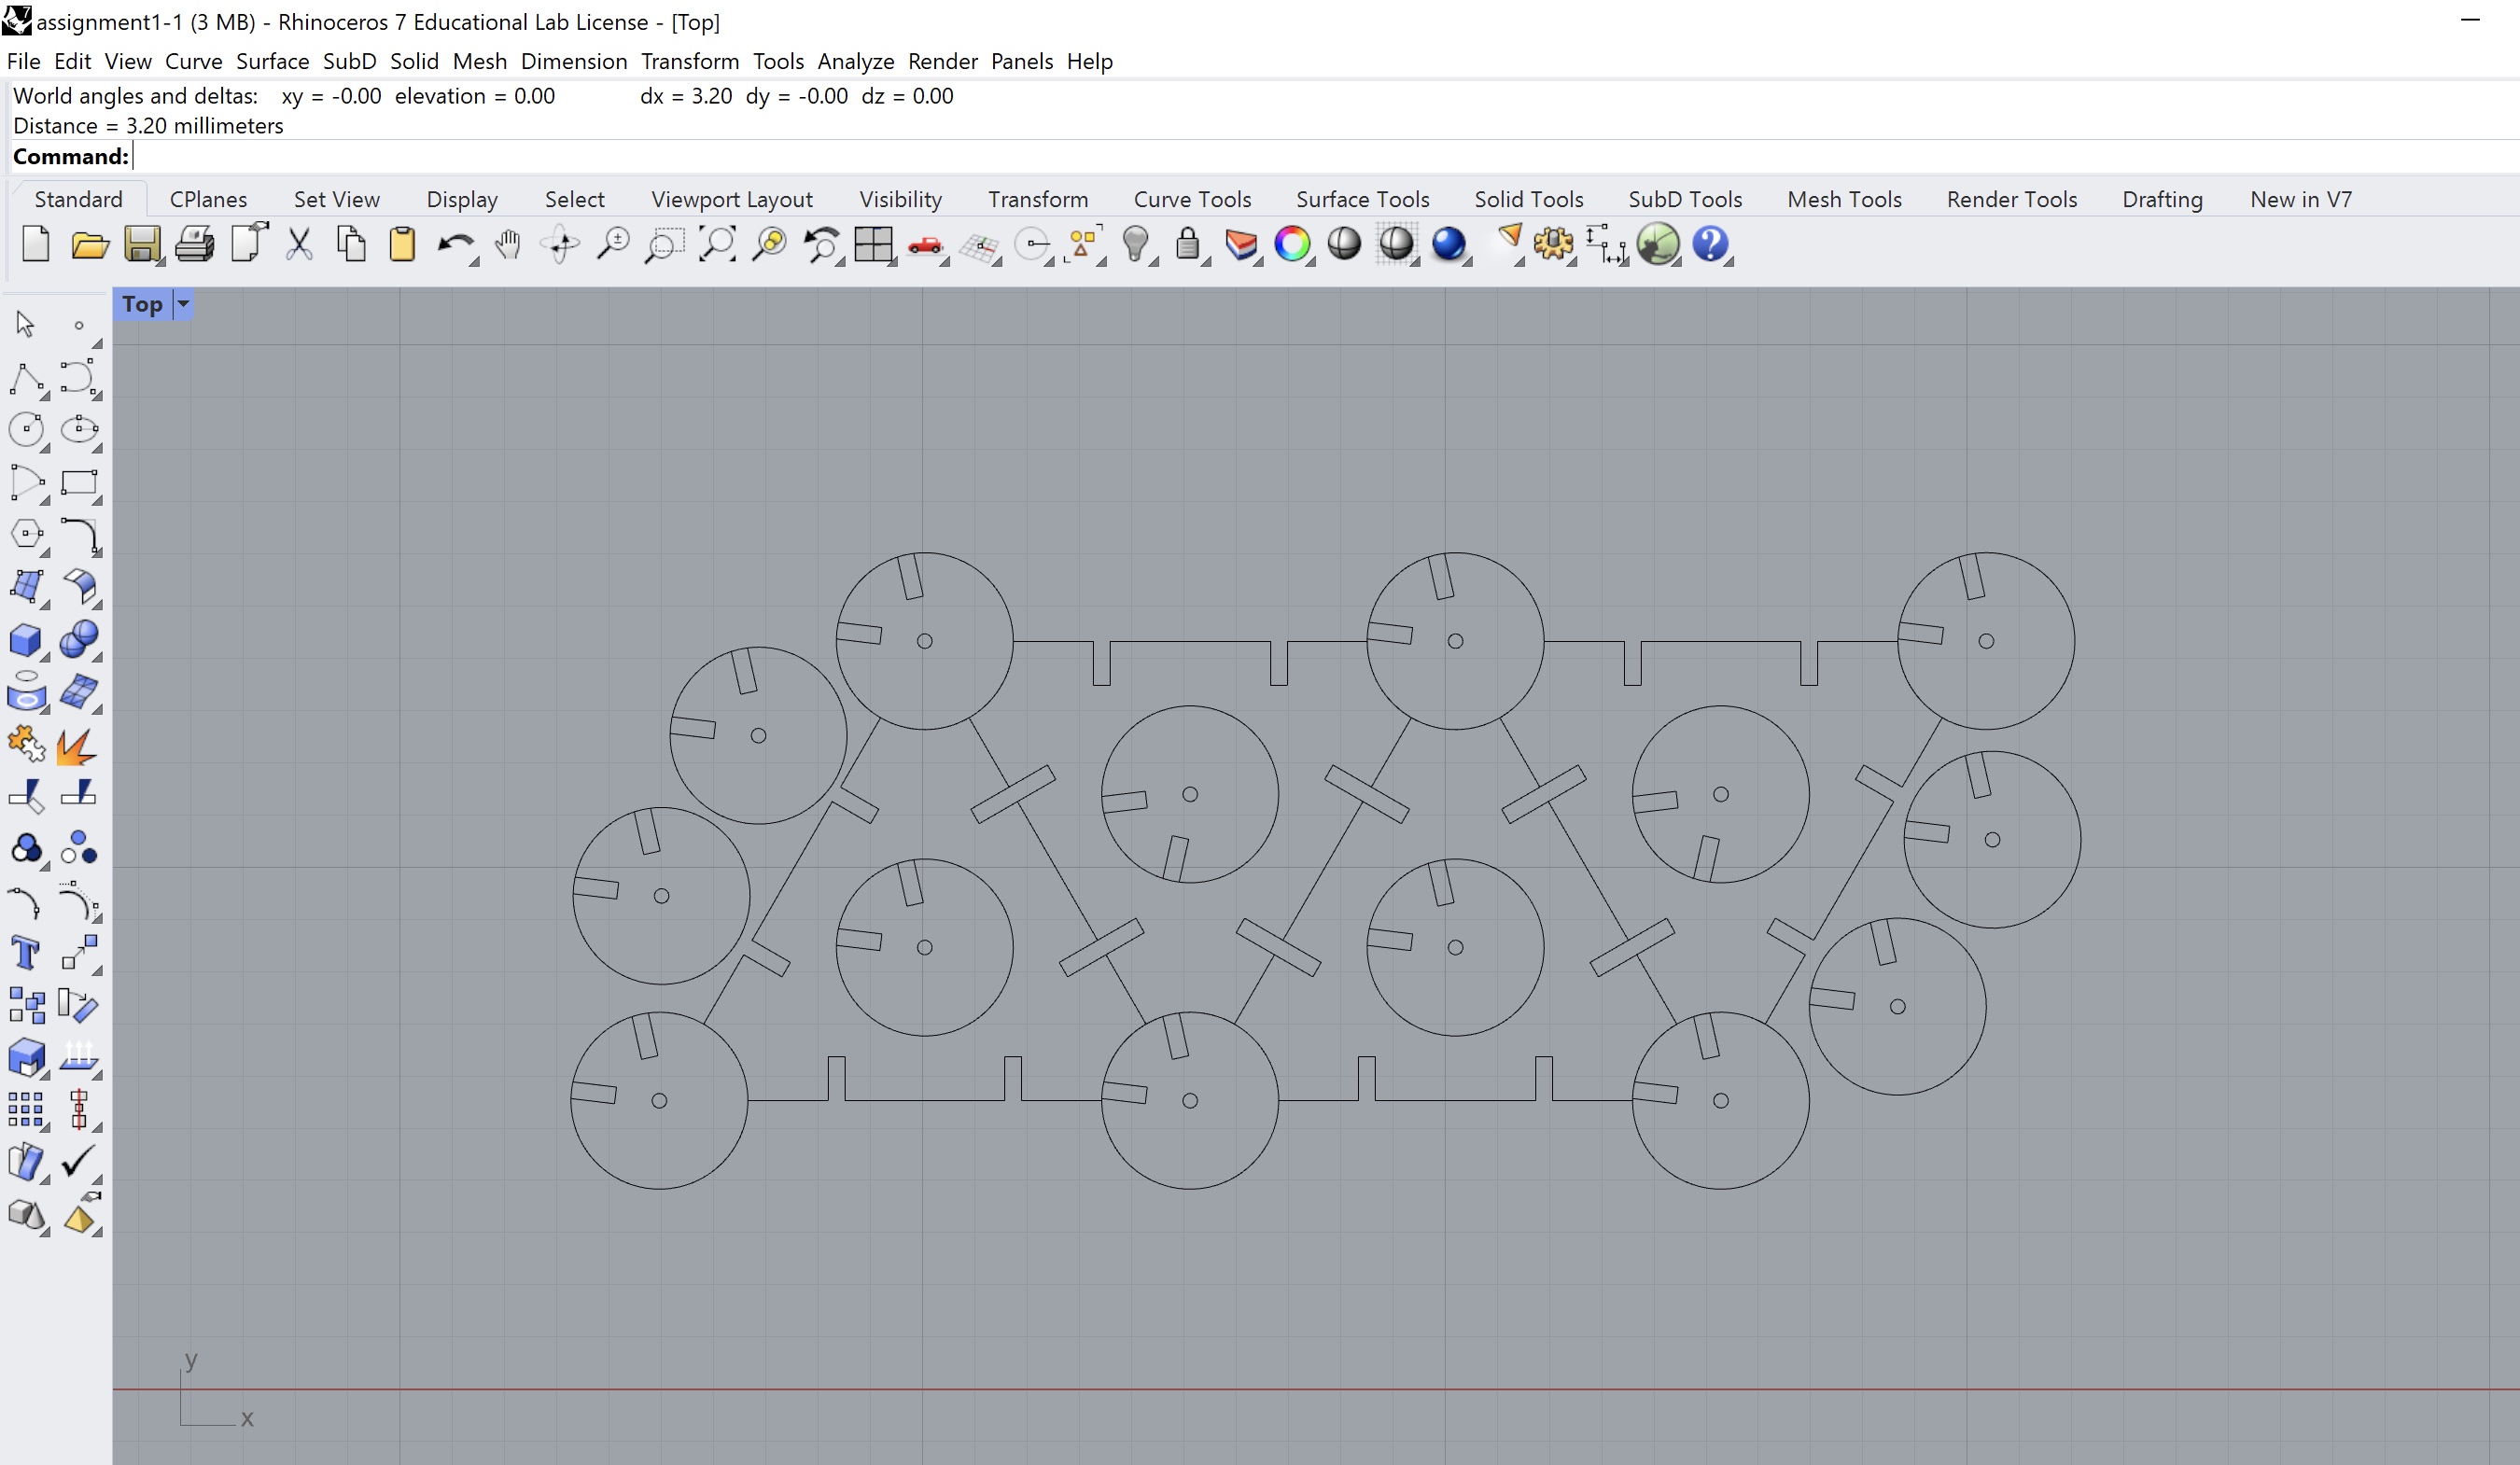
Other than the extra disks I had to cut to connect all the slits, the cut path is fairly close-packed, minimizing material waste.
I didn’t chamfer or fillet the slits because I’m jaded at this point, but it is strongly recommended.
Making
I used a Trotec laser cutter to cut a cardboard I recycled from a package.
Cardboard doesn’t require a lot of energy to cut through, but it is prone to burning up with high-energy laser. My personal preference is to cut twice with a higher speed and lower power and PPI. The combination I used on Trotec is S80-P8-PPI300 and I cut twice.
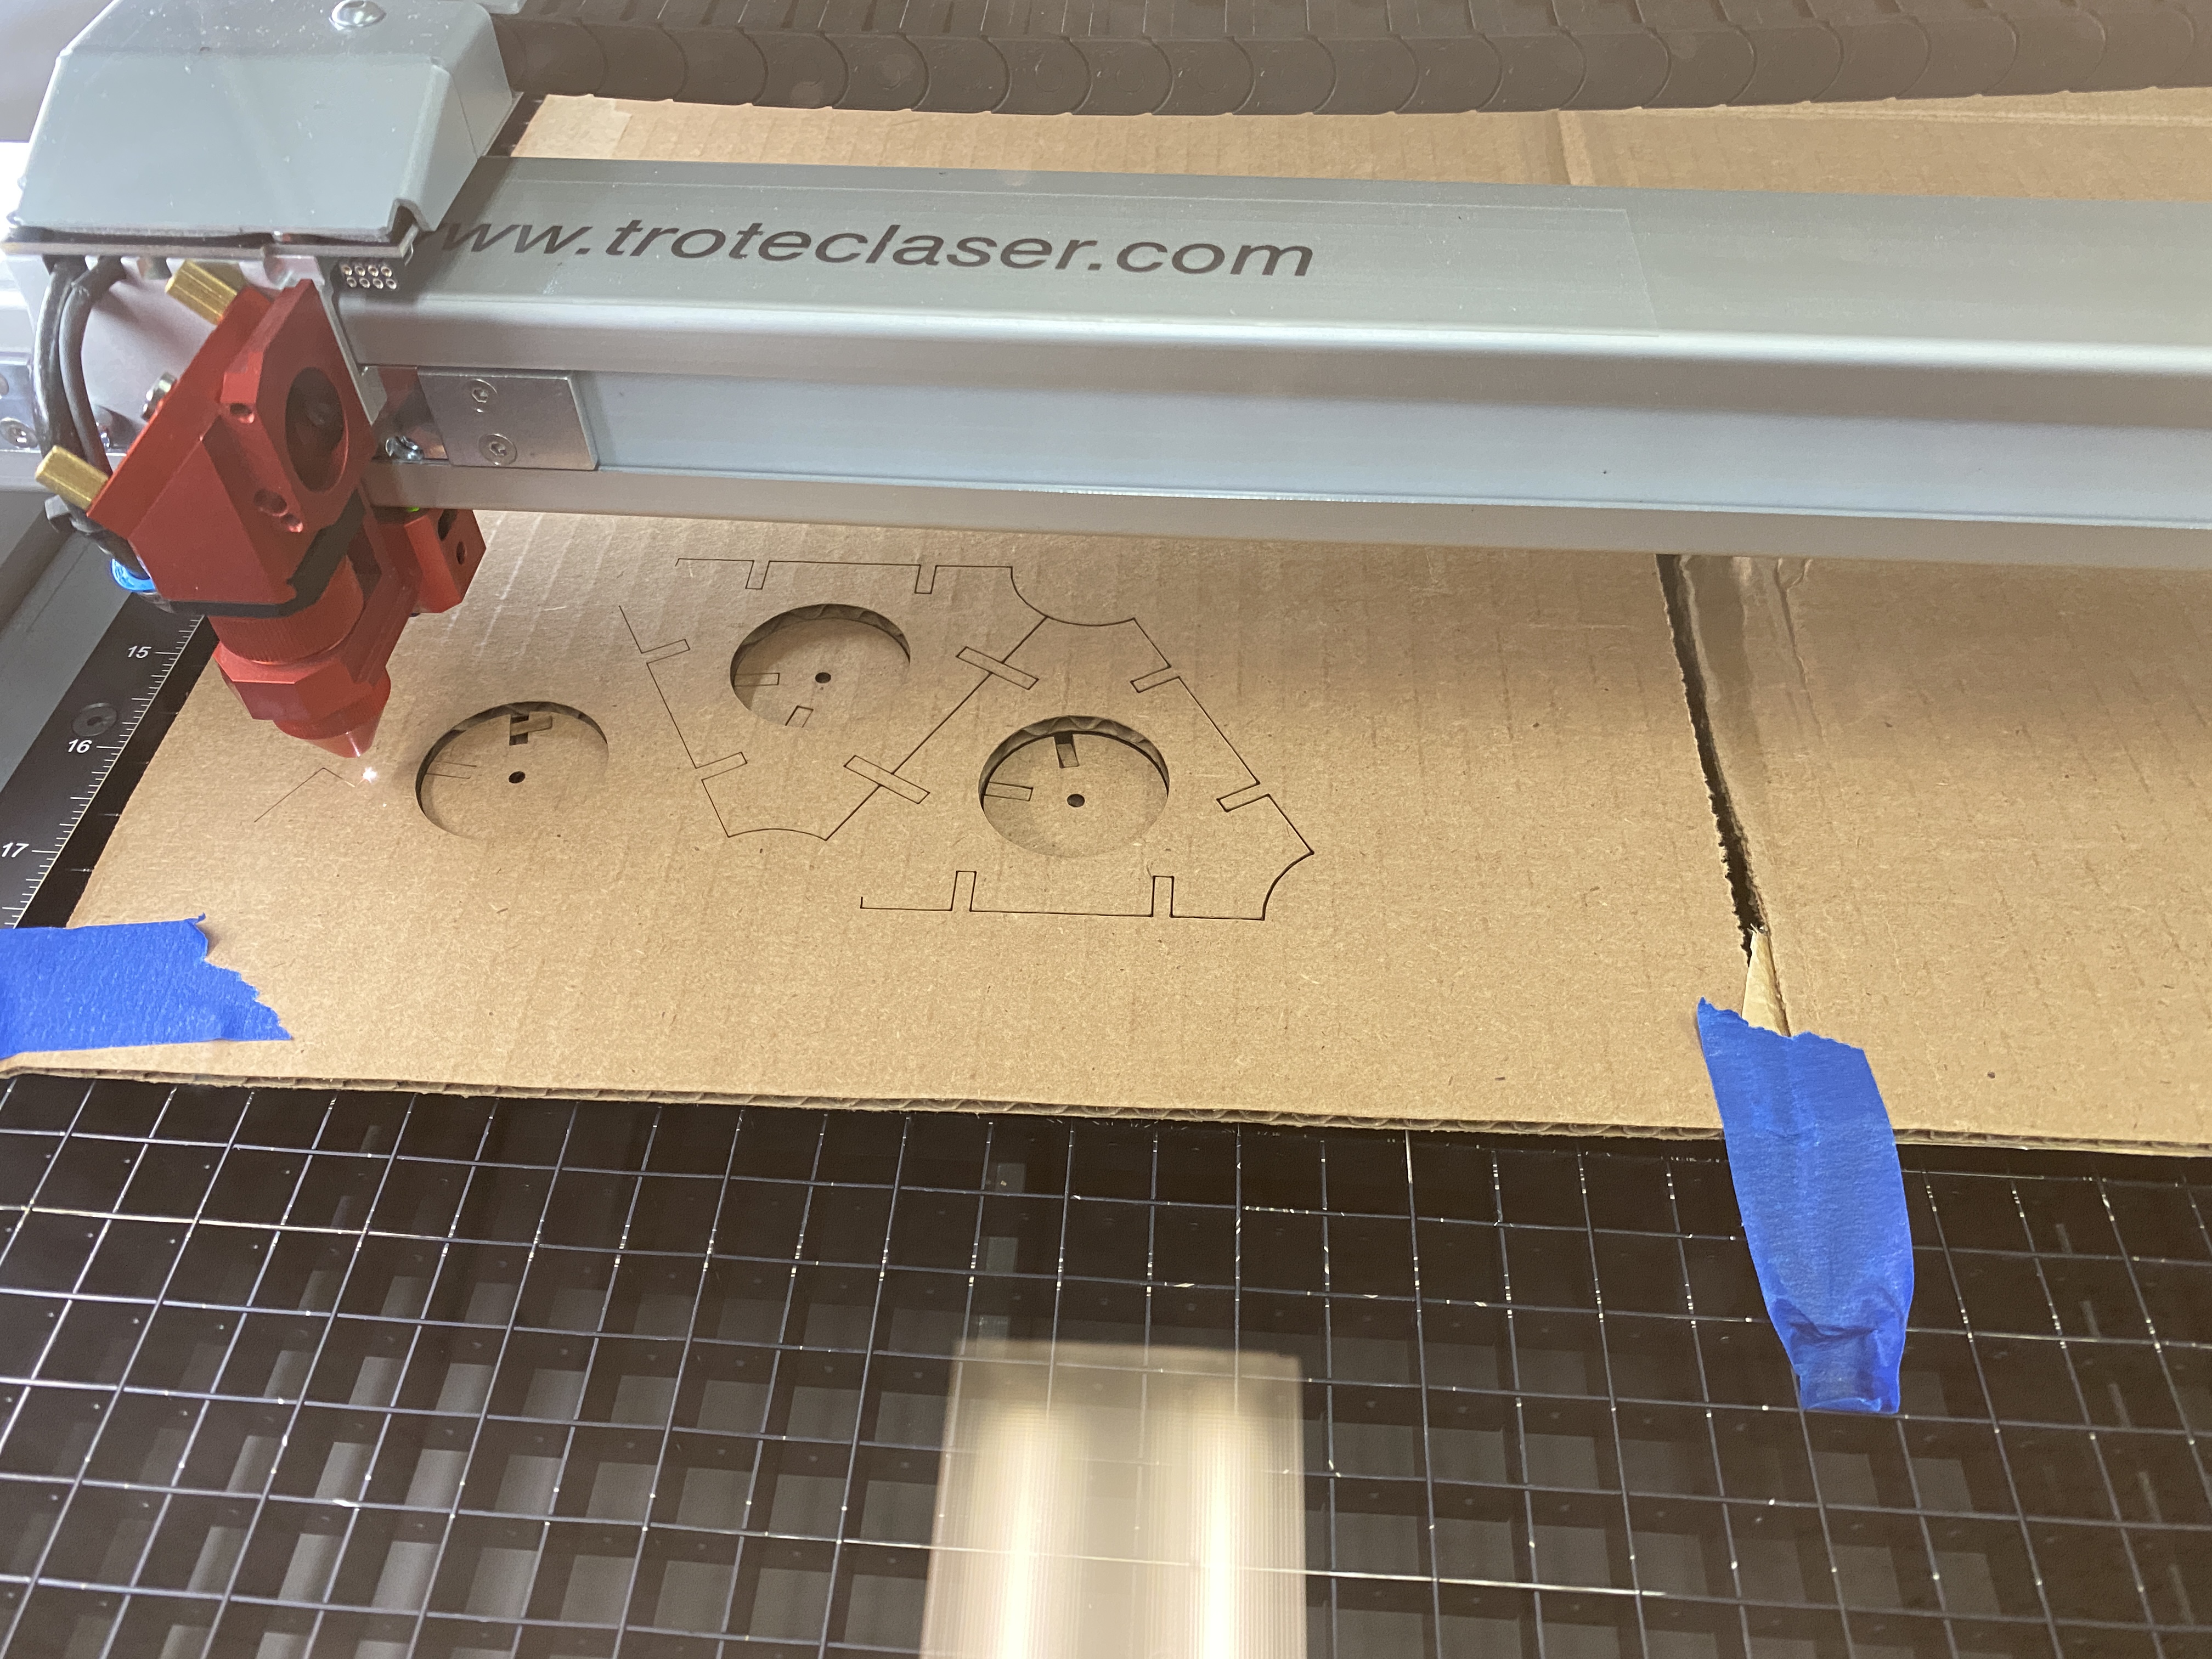
The cardboard can’t be flattened perfectly, and the bed is not made of steel, so I taped the corners down. There are still some defects due to the height variation as some parts were not cut all the way through.
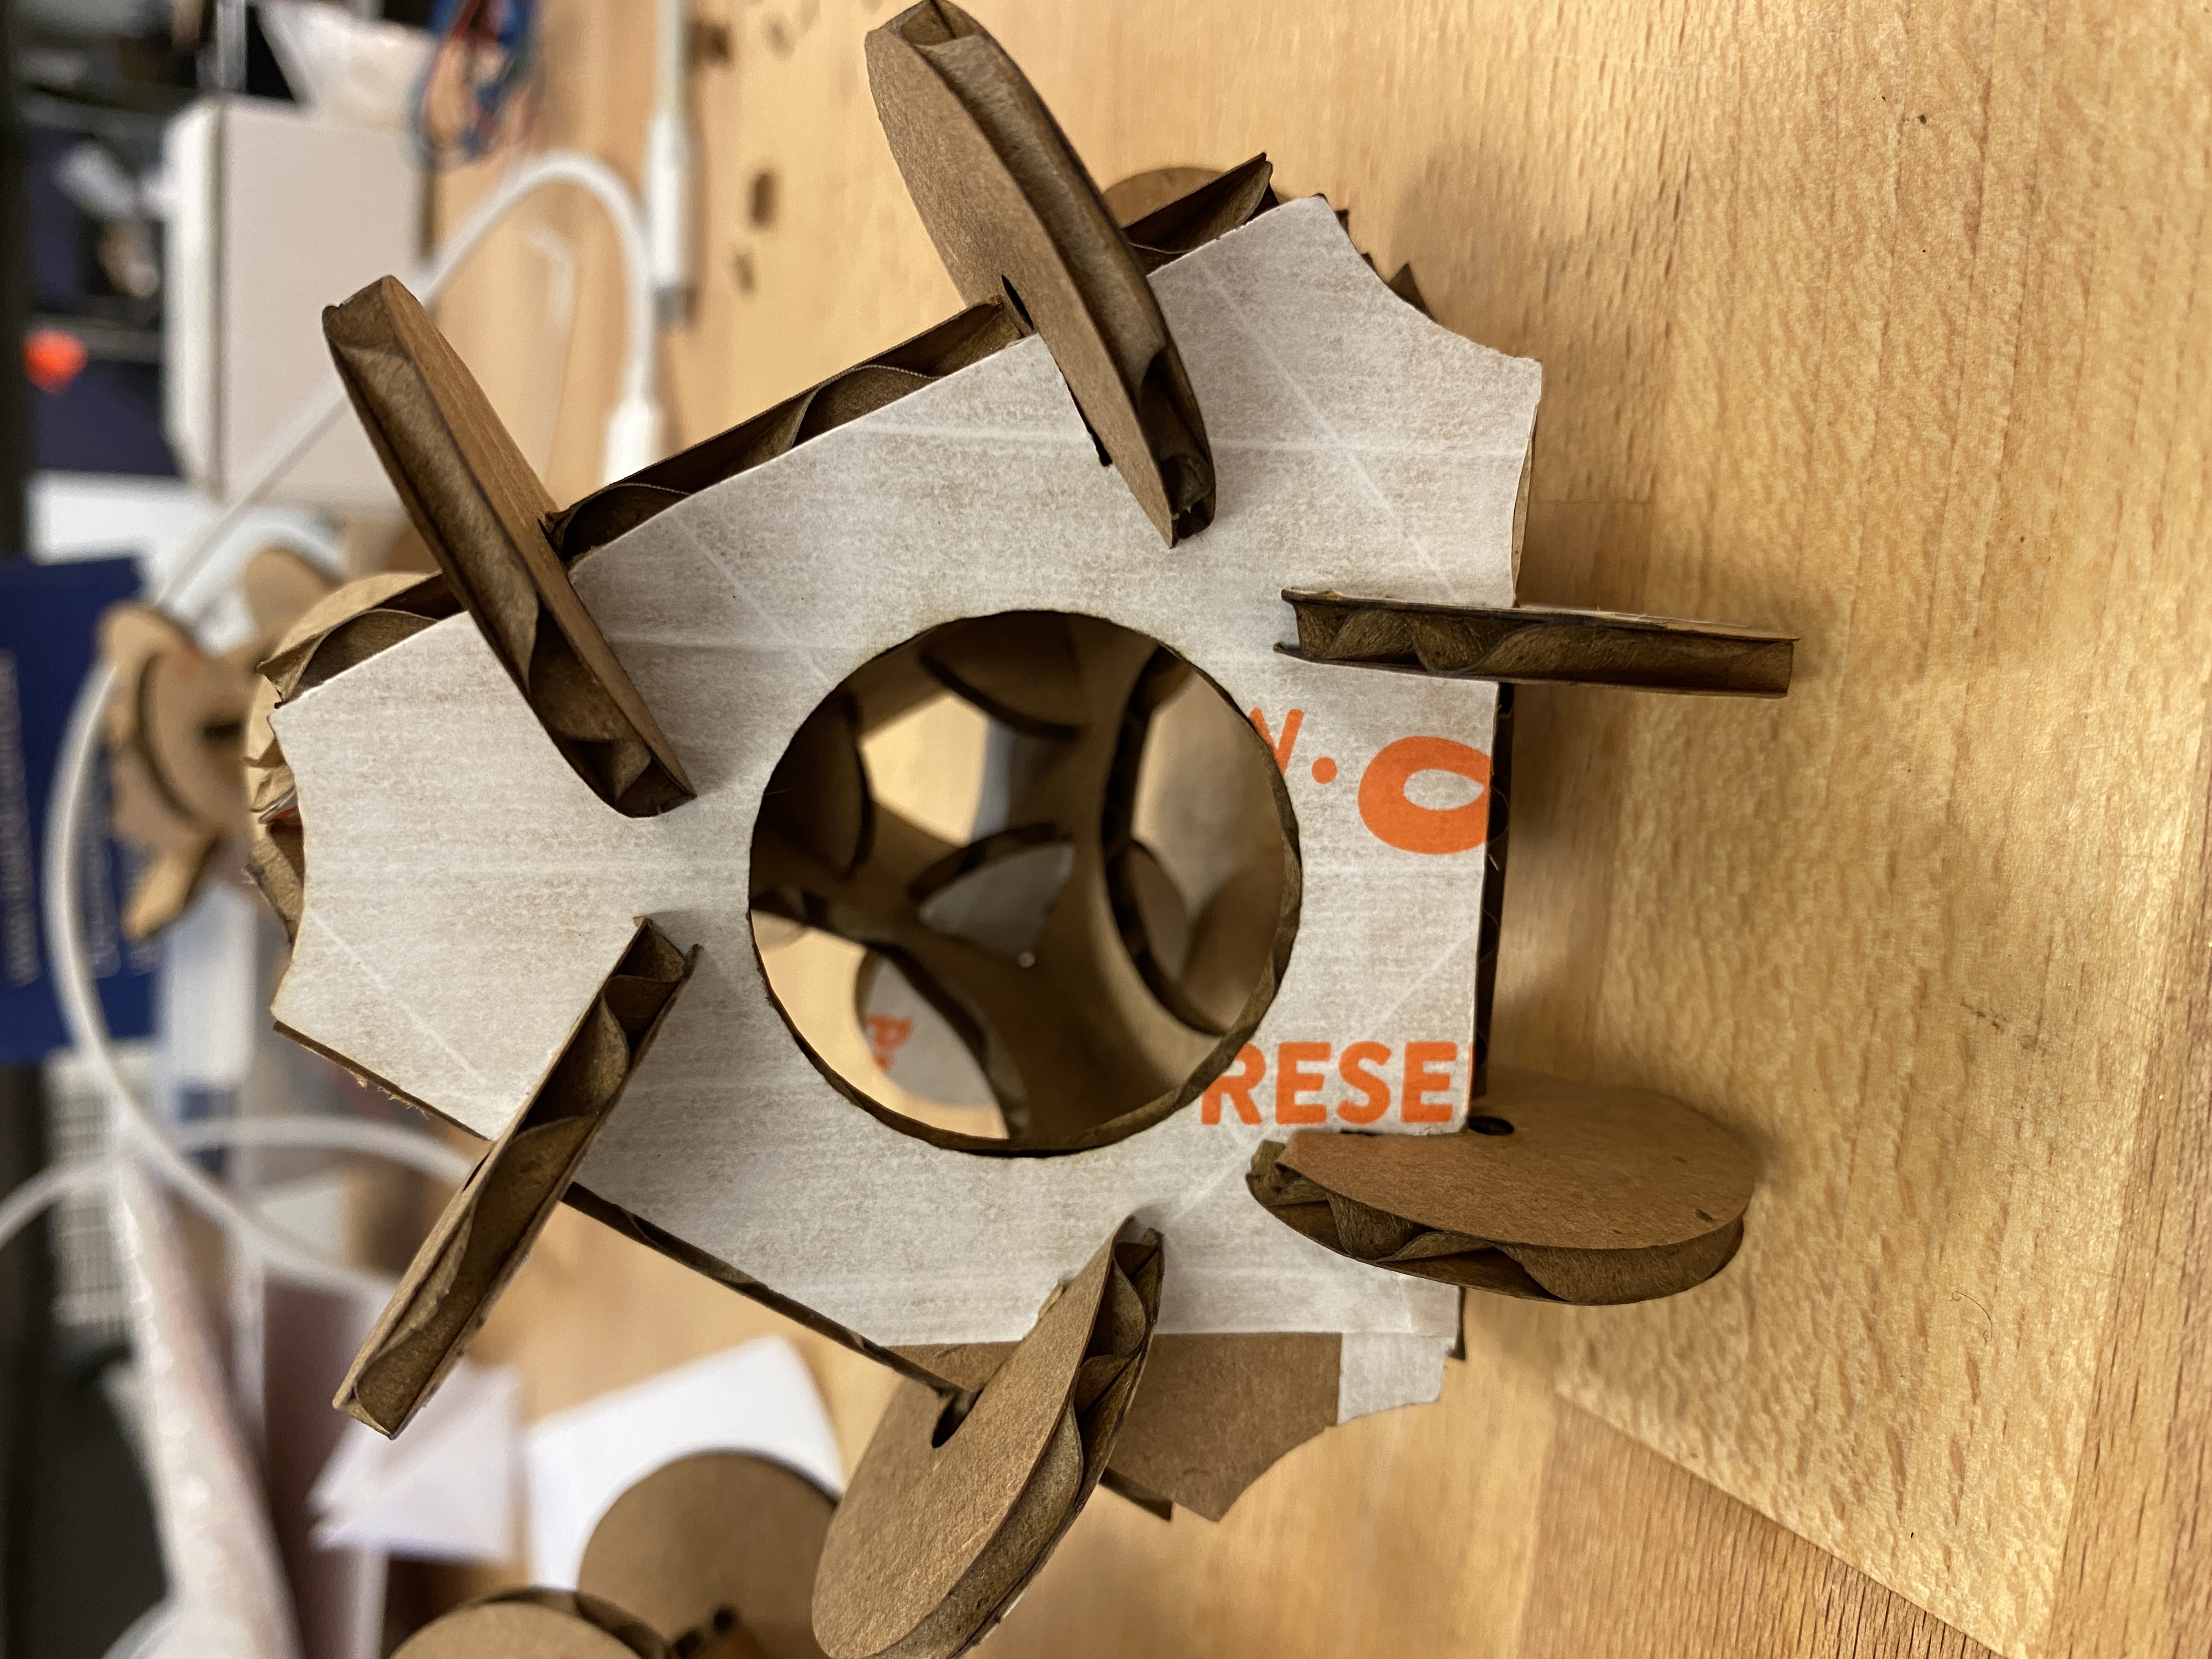
I assembled one unit cell. I saw RESE from the leftover tape on the box, so I’m calling this kit RESE!
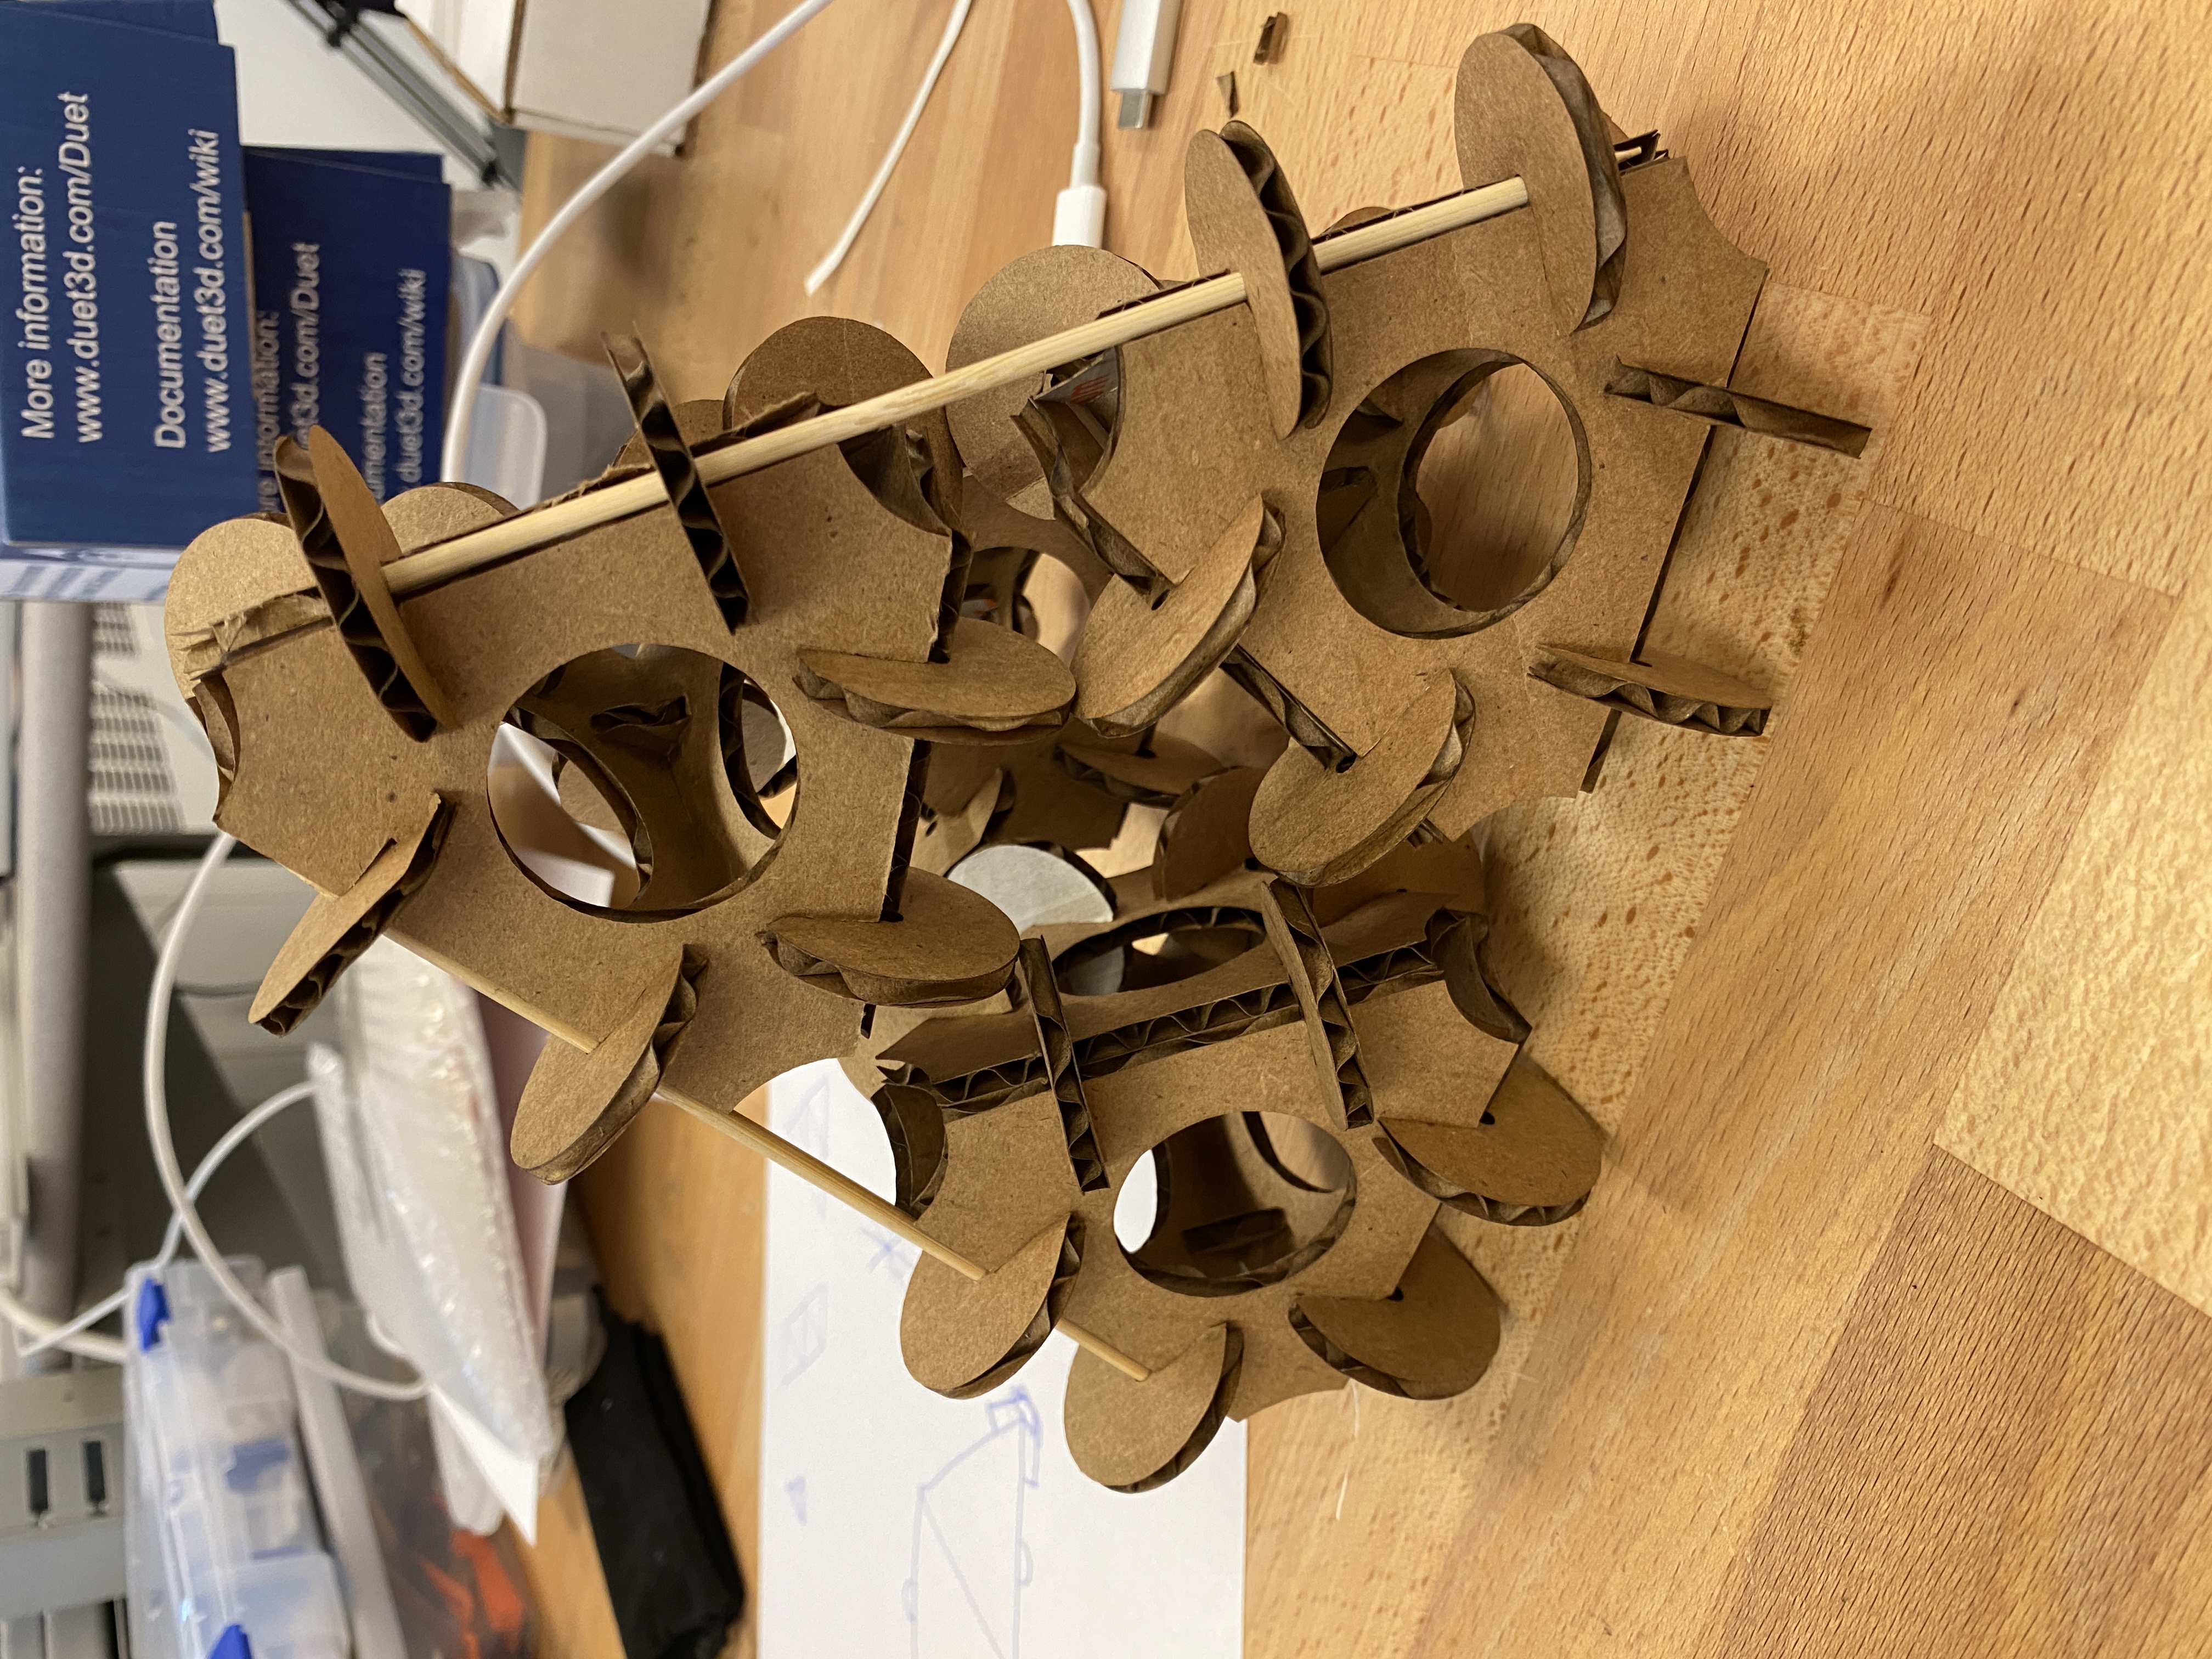
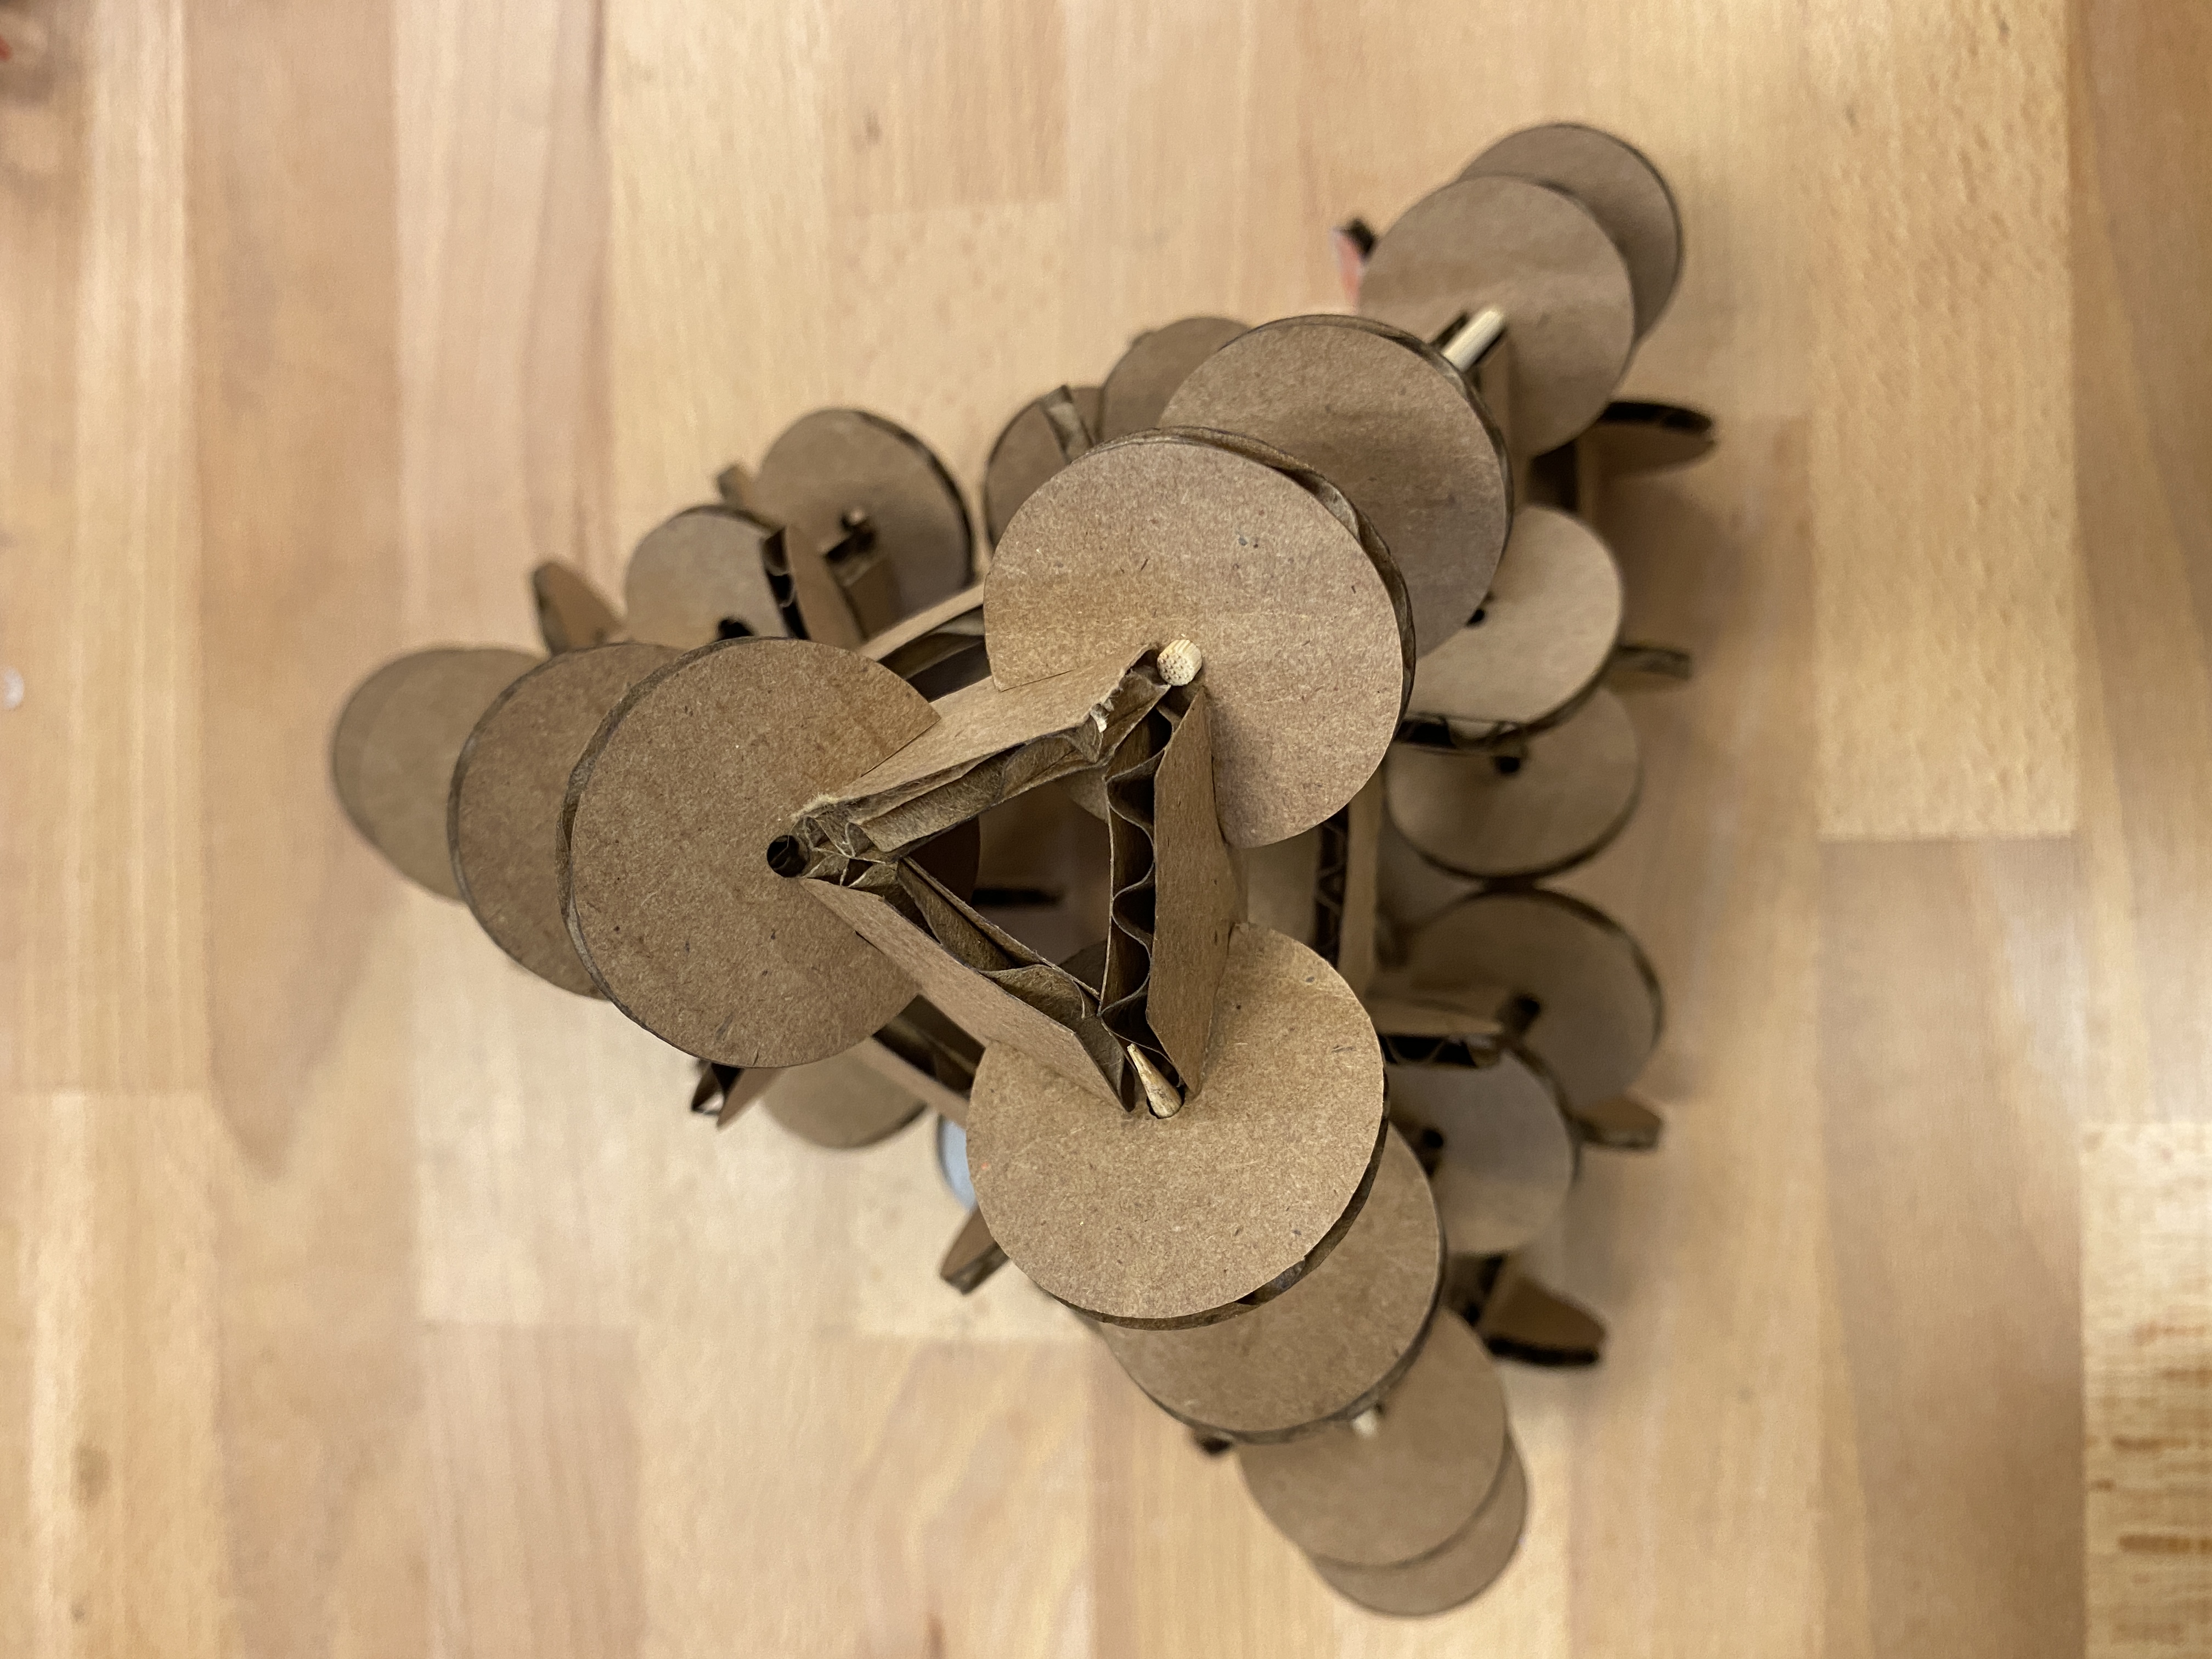
And I assembled another three unit cells and made a meta-structure with bamboo skewers poking through the edges.
Rhino file: